
An email signature is like your digital business card—it appears automatically at the bottom of your emails, making it easy to share your contact details, job title, and even a touch of personality.
Whether you're adding a logo, social links, or a simple sign-off, a well-designed signature helps you maintain a professional and consistent brand in every email you send.
With Smackdab.AI, you can take it a step further by creating unique, customized signatures that fit your style and communication needs.
This allows you to add a personal touch while keeping your emails professional and tailored to different recipients.
How to Add an Email Signature
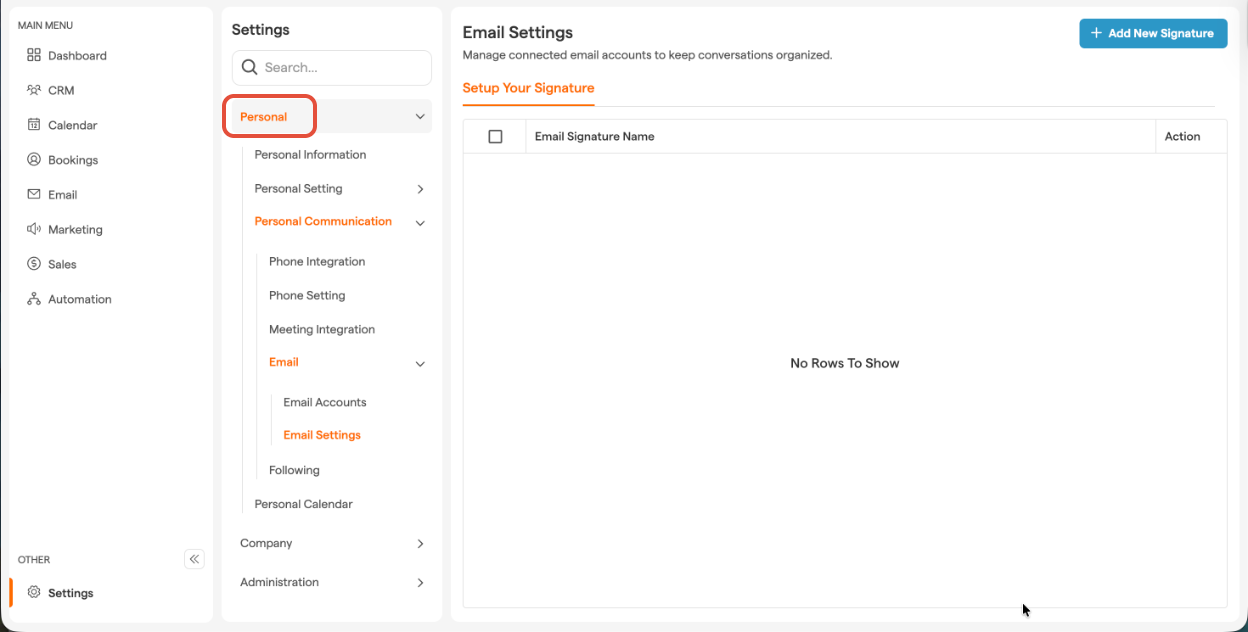
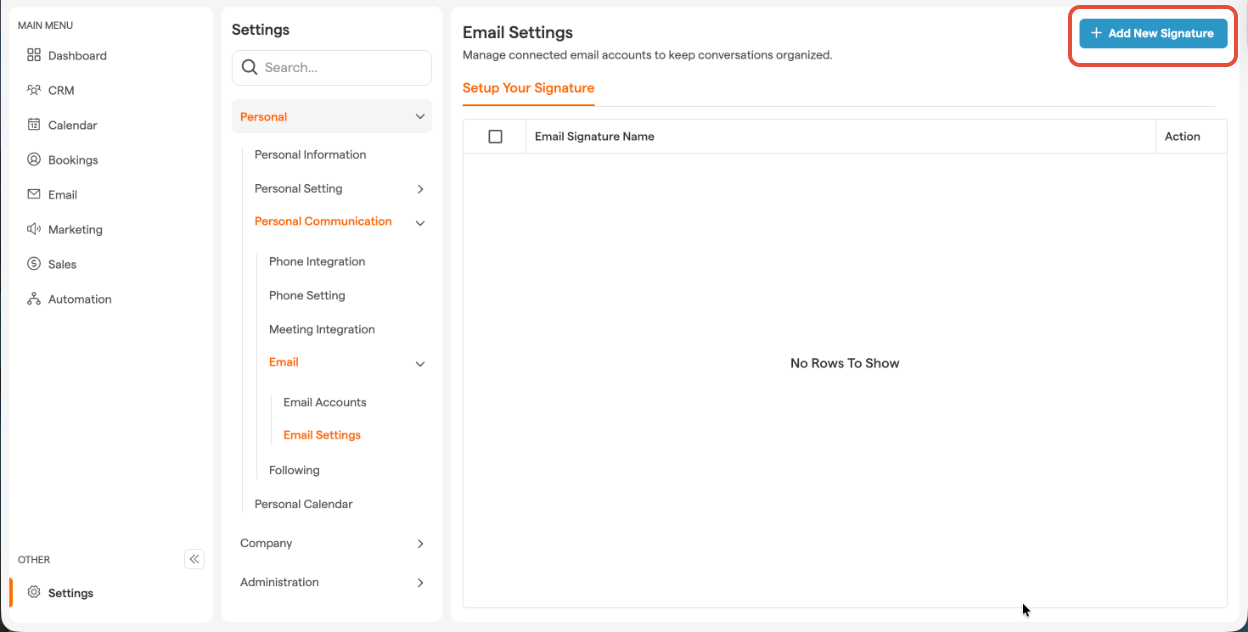
Go to "Settings"
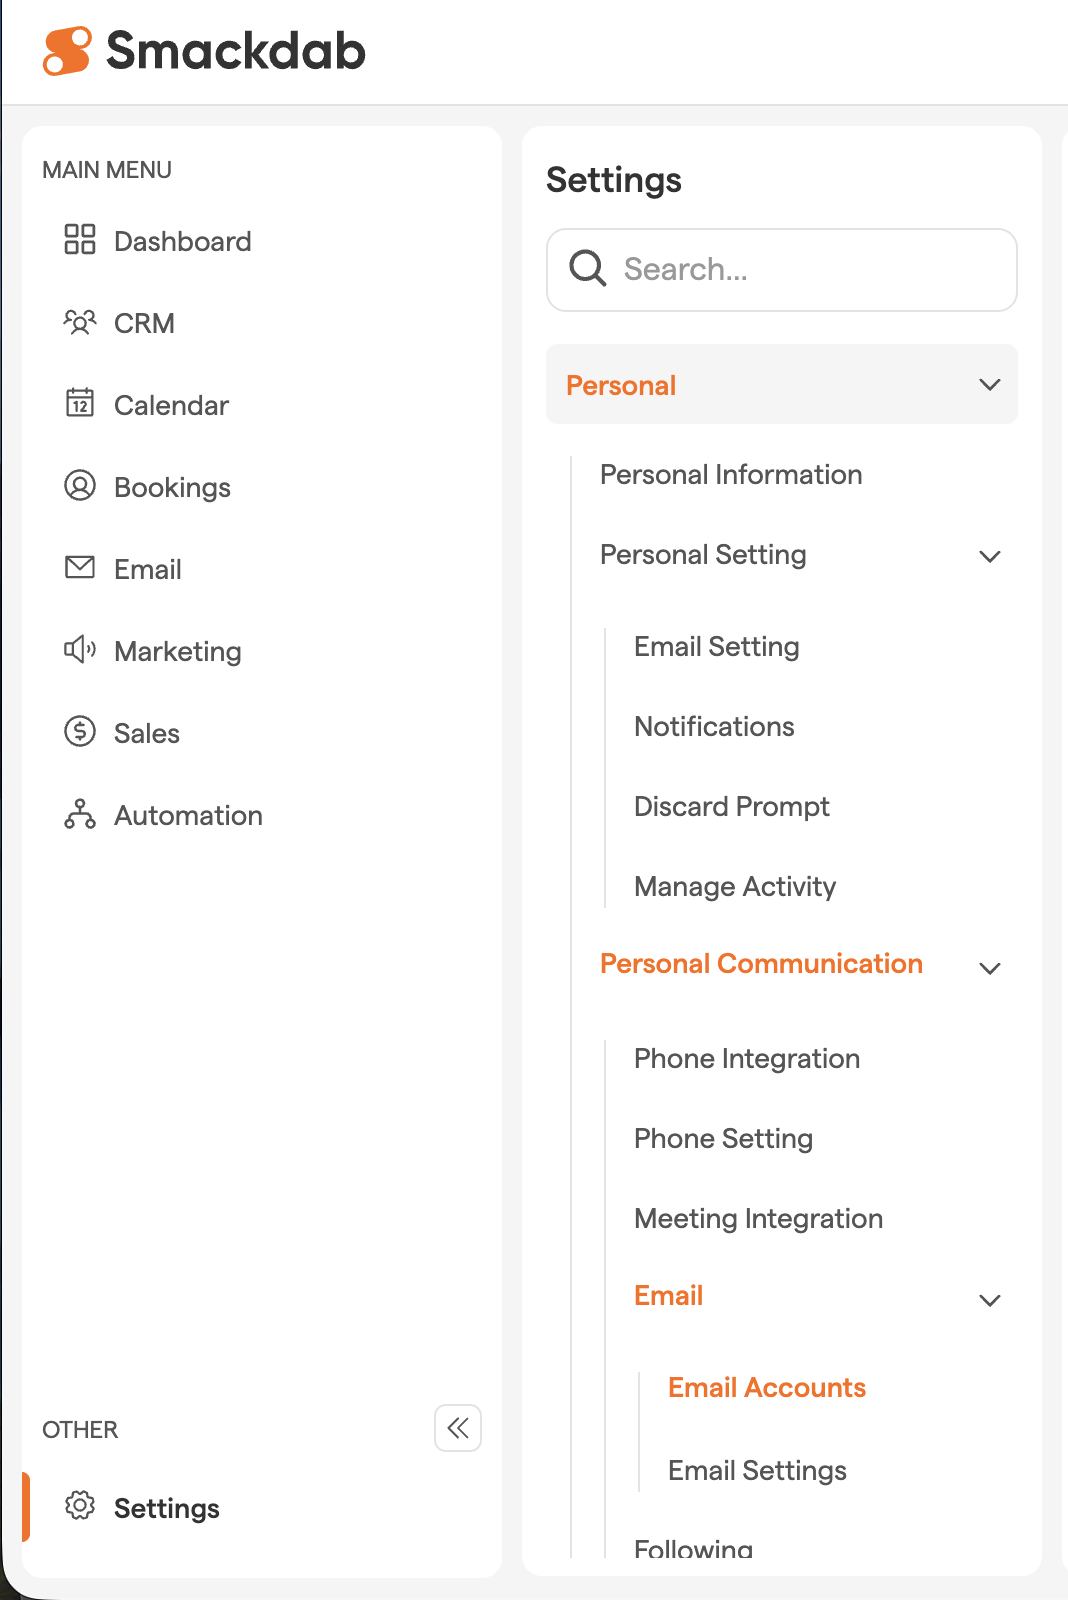
Under "Settings", click on "Personal".
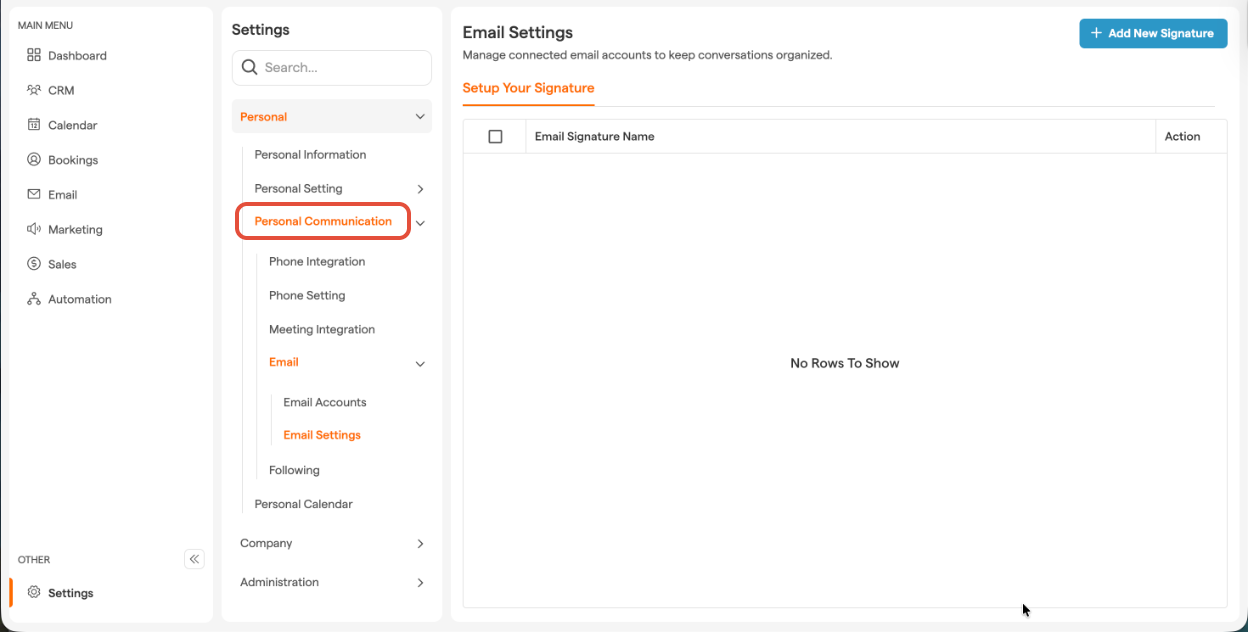
Under "Personal", select "Personal Communication".
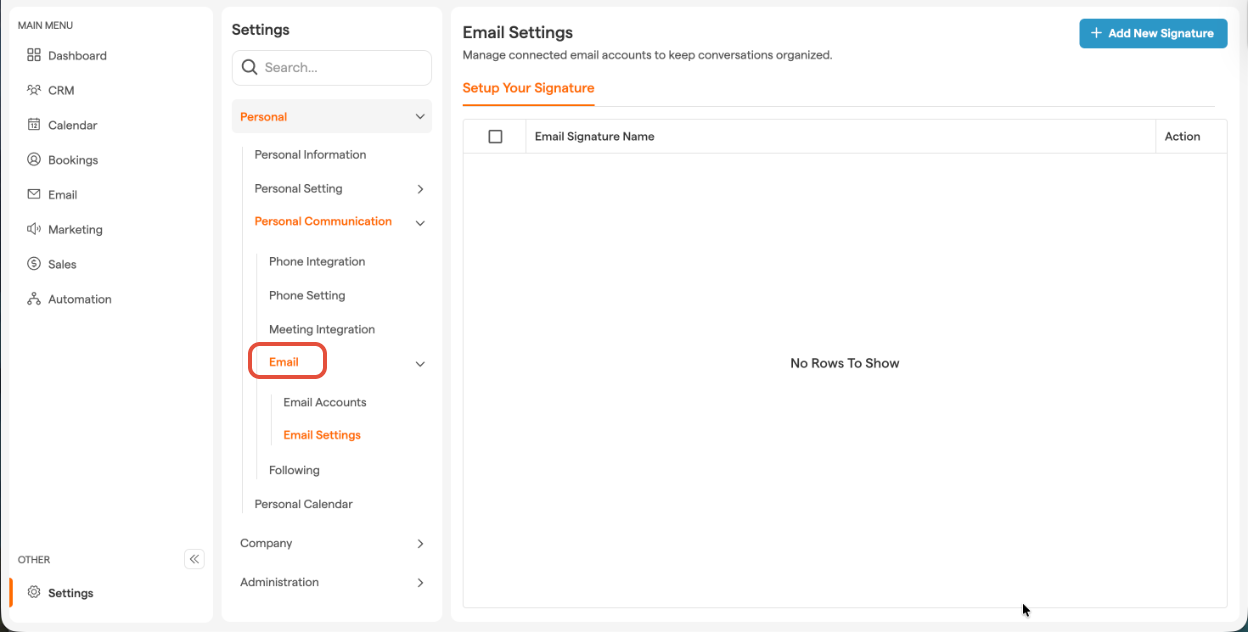
Under "Personal Communication", click on "Email".
Click on "Email Settings".
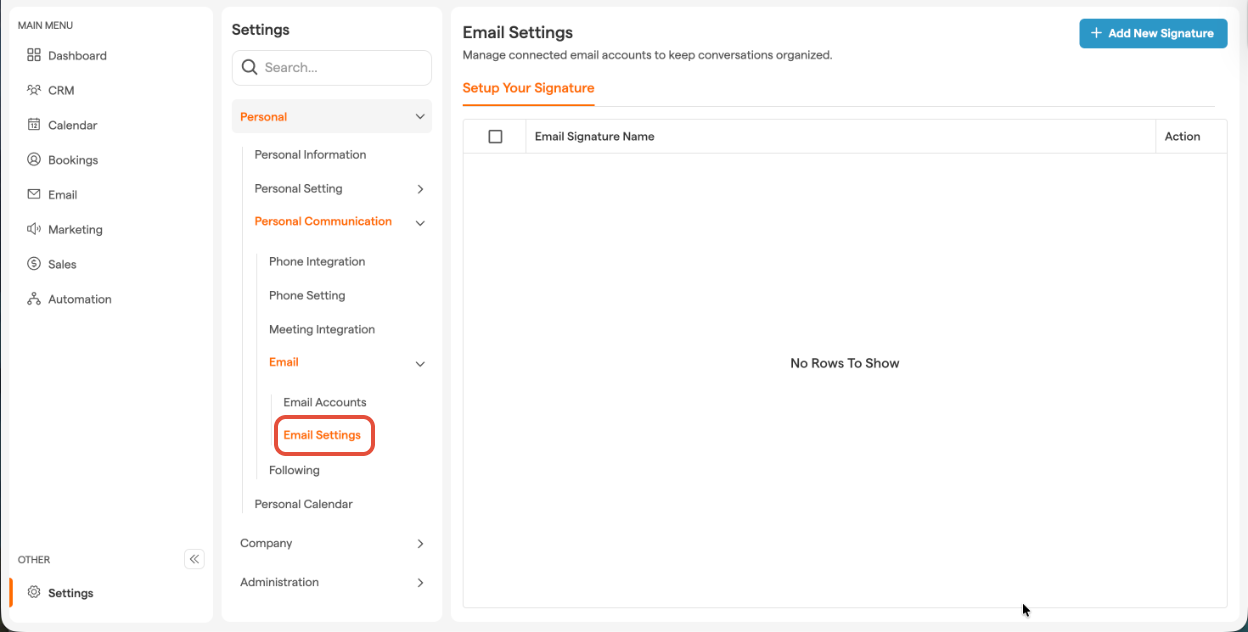
In this tab, you’ll find a list of existing signatures you’ve created.
-
Start a New Signature
To create a new email signature, click the "New Signature" button at the top right.
-
Name
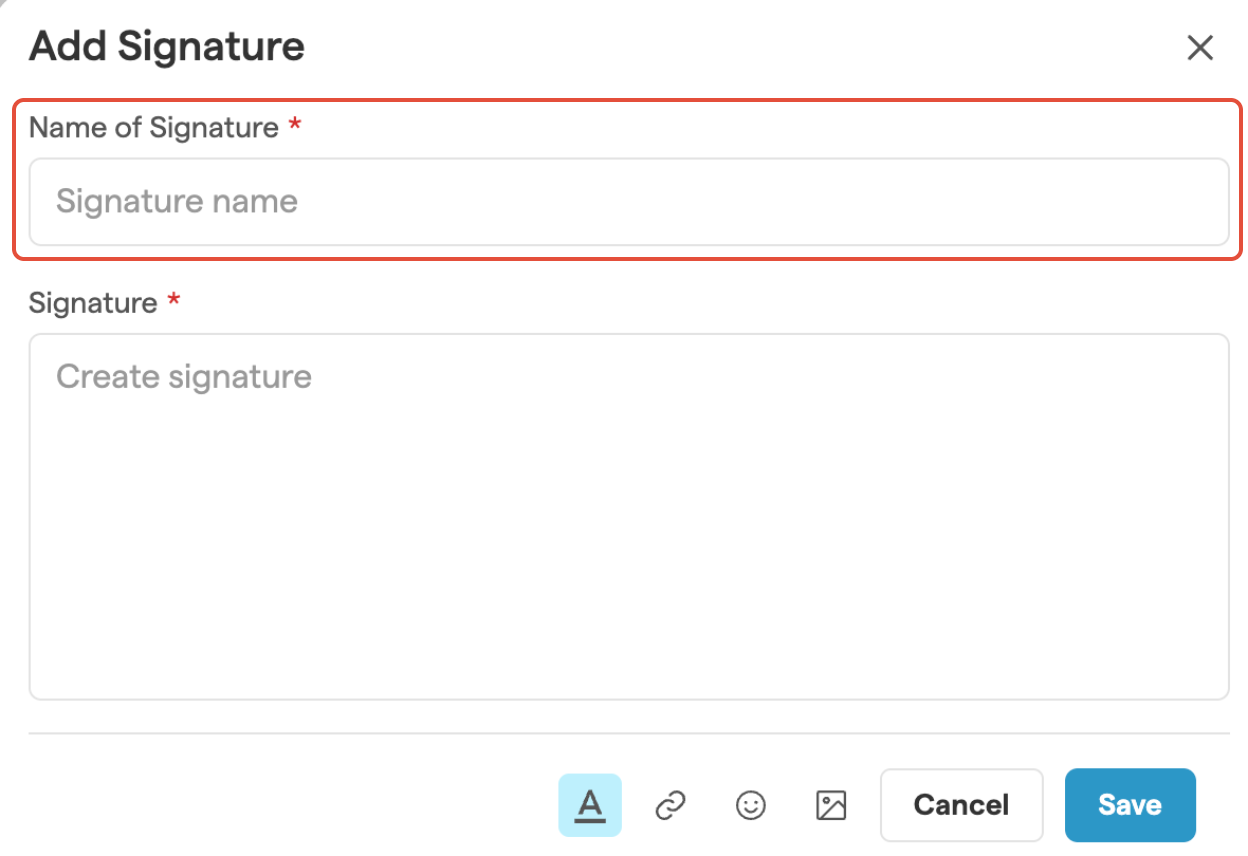
In the "Add Signature" pop-up window, enter a name for your signature in the Name of Signature field.
-
Create Signature
In the signature field, add your details, such as company name, job title, and contact information.
-
Format
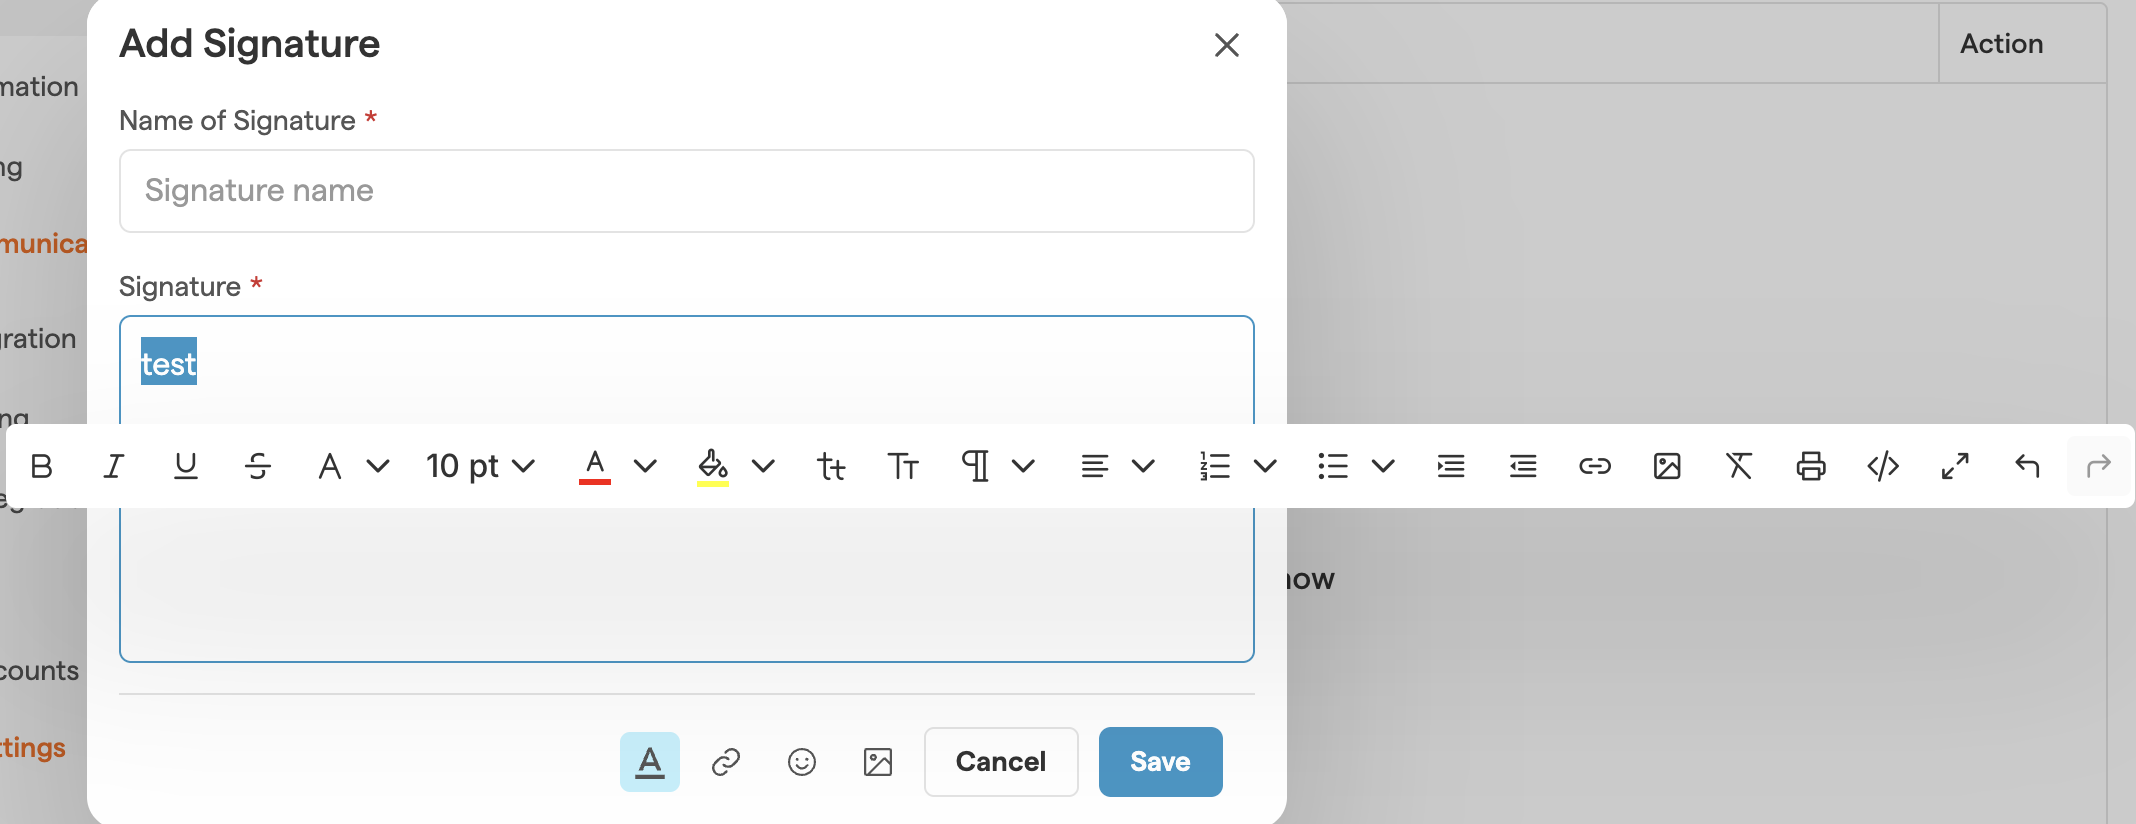
To format your signature, click on the ToolBox button (A) in the bottom left corner, or highlight the text you want to edit and the editor will appear.
Add an Email Signature While Writing an Email
Need to quickly add a signature while composing an email? Smackdab.AI makes it easy!
You can insert a saved signature with just a few clicks while writing an email.
Whether you're sending a new email, replying, or forwarding, you can choose the perfect signature to match your message.
Plus, if you need to create a new one, simply select Manage Signatures, and you'll be redirected to the setup screen to customize it right away!
Let's walk you through the process!
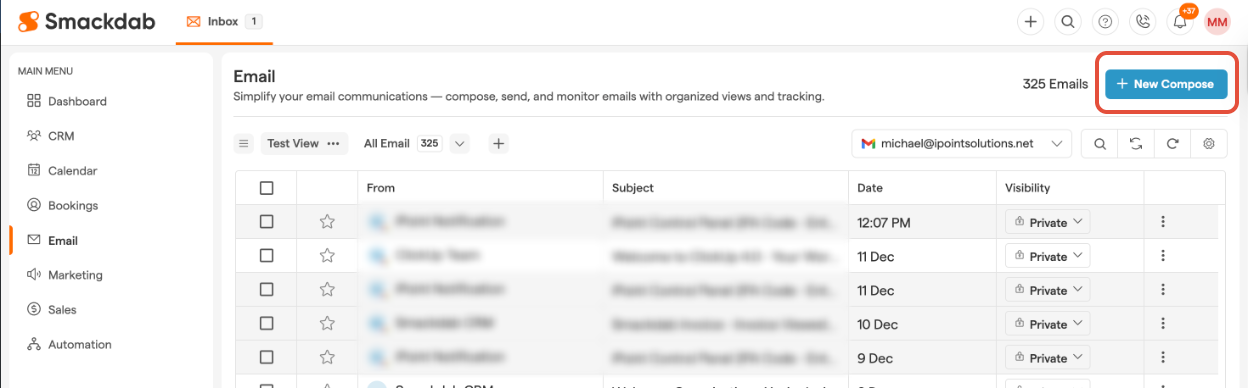
Go to "Email"
-
Start a New Email
At the top right, click the "New Compose" button.
-
Add Saved Signature
At the bottom of the "New Message" pop-up window, click the Pen icon and select the signature you want to add to the email.
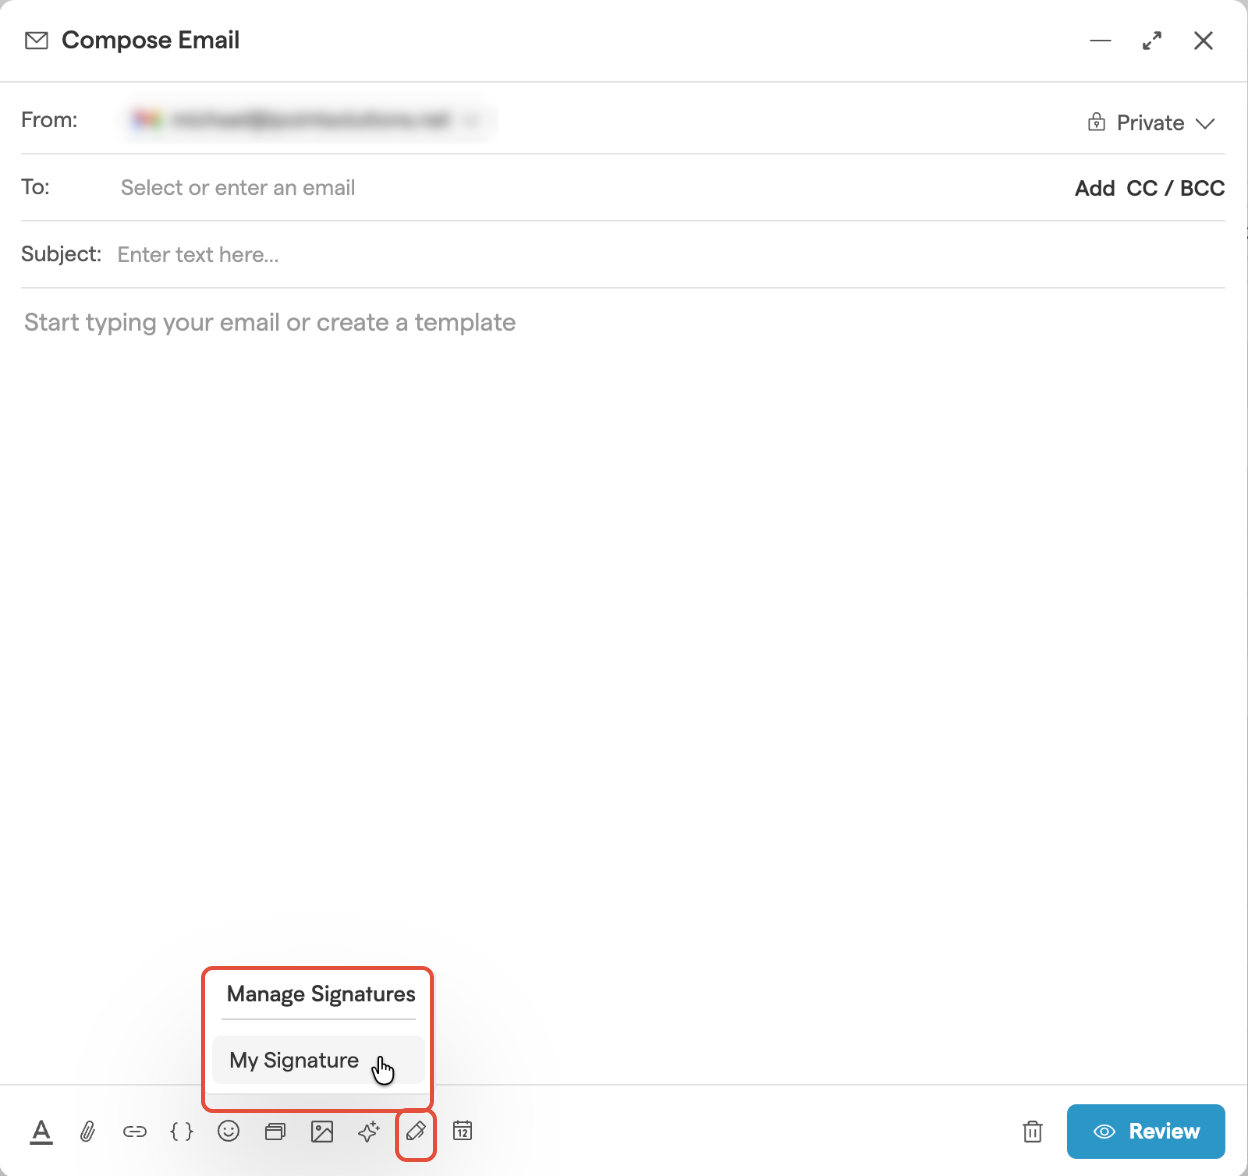
If you're replying, forwarding, or working in draft mode, you can add a signature by clicking the Pen icon.
To create a new signature, choose the "Manage Signatures" option. This will redirect you to the "Setup Your Signature" screen. Follow the steps listed at the top of this article starting at Step 8 to create a new signature.
How to Set a Default Signature
A default email signature ensures that your preferred sign-off is automatically added to every email you send, saving time and maintaining consistency.
With Smackdab.AI, you can set different default signatures for new emails, replies, and forwards, allowing you to customize your communication based on the context.
Go to "Settings"
-
Navigate to Personal Communication
Select "Personal", then select "Personal Communication".
Under "Personal Communication", select "Email"
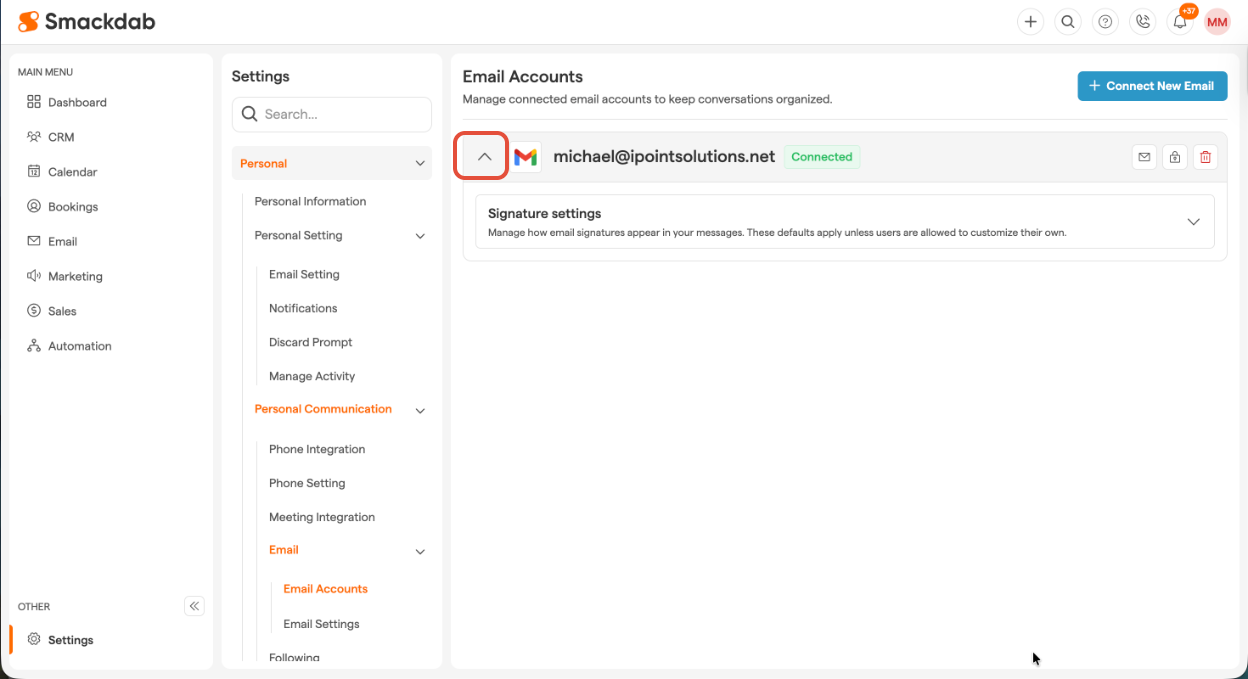
Click on "Email Accounts"
-
Click the drop-down next to your email
From there, expand the signature section
If your Email account is not setup check following article about How to connect your Email?
-
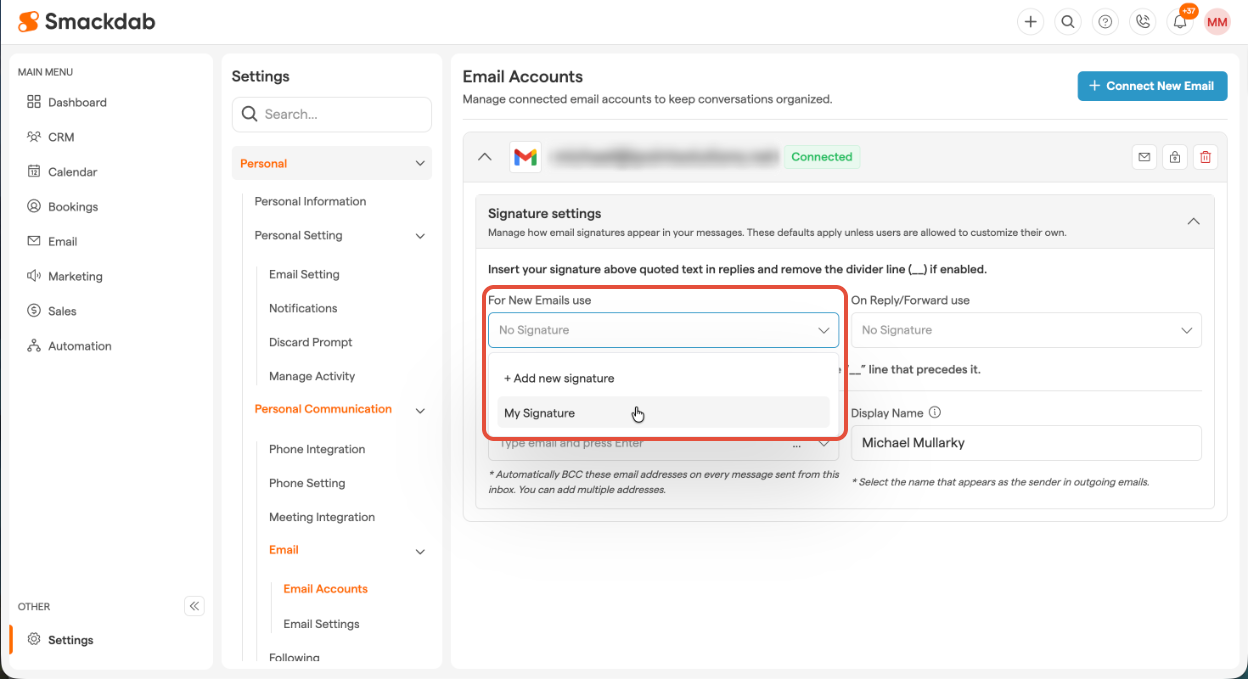
Assign Signatures
Smackdab allows you to set different signatures for New Emails and Reply/Forward Emails. Use the dropdown menu to select which signature to set as your default.
With these simple steps, you can create and manage professional email signatures effortlessly in Smackdab.ai , ensuring consistent and polished communication every time.
Your signature is more than just a sign-off—it’s your digital handshake. Make it count!