
Ready to truly connect with your audience? Let's dive into mastering the art of creating and managing your marketing campaigns! This guide will empower you with simple steps to kick off dazzling new campaigns, pinpoint their powerful purpose, and effortlessly tweak them as your vision grows. Plus, we'll reveal the crucial secrets to activating your campaigns for deployment and confidently adjusting their status whenever your strategy shifts!
Get Ready to Connect! Here's how to create a new campaign:
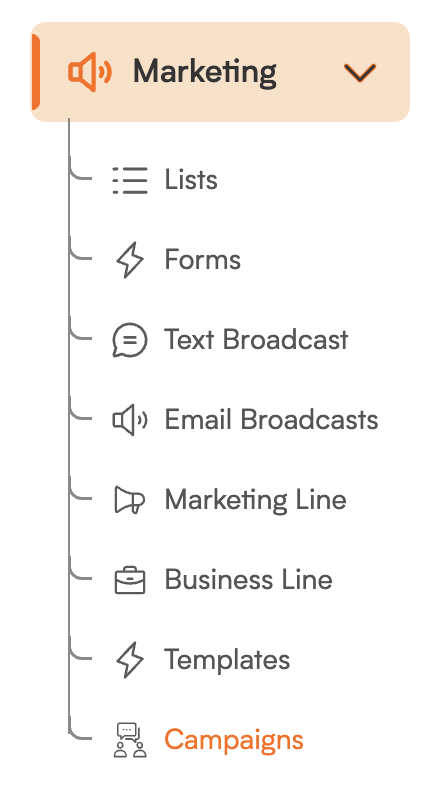
Jump into Marketing: First things first, head over to the "Marketing" section – your go-to spot for all your marketing activities!
-
Explore Campaigns: Once you're in the Marketing section, click on "Campaigns." This will bring you to your central campaign overview.
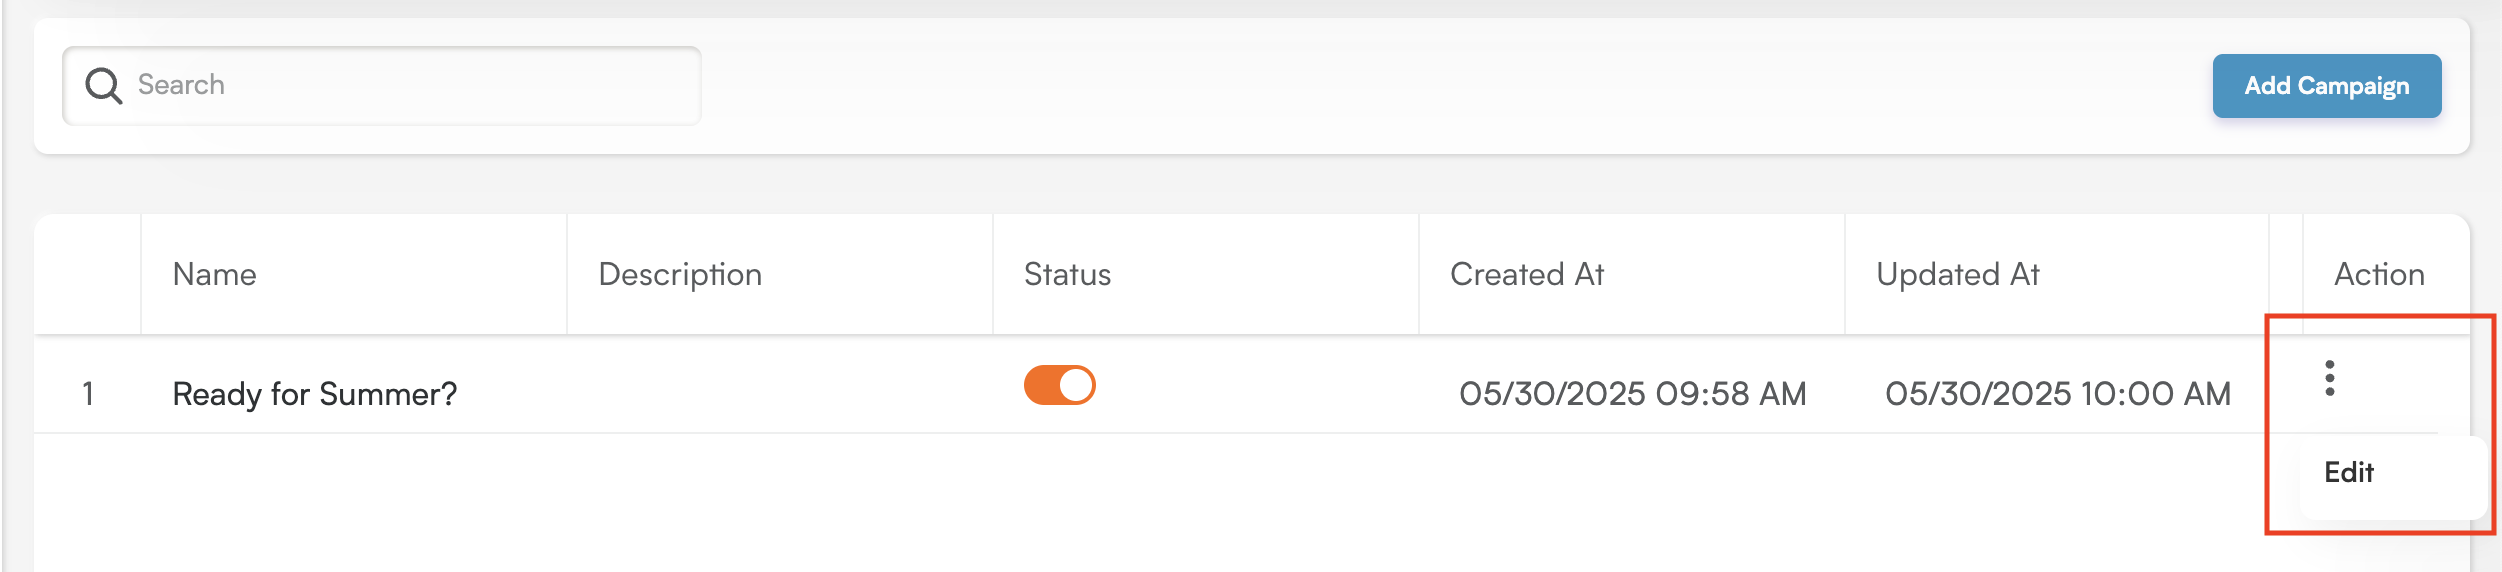
See Your Current Campaigns: On this screen, you'll find a clear and organized list of all the campaigns you've already created.
-
Start Something New! To kick off a brand-new campaign, look towards the top-right corner and click the inviting "Add Campaign" button.

Clicking "Add Campaign" will open the "Add Campaign" window. Here's the info you'll want to provide:
Name: Give your campaign a short, catchy, and easily recognizable name. Think "Fall Promotion" or "Customer Appreciation Event" – something that makes it clear at a glance!
Description: Jot down a quick summary of what this campaign is all about. What are you hoping to achieve?
Once you've filled in the name and description, simply click the "Save" button to bring your new campaign to life. If you're not quite ready to save, just click "Cancel" to close the window without saving any changes.
Friendly Reminder: New campaigns start in an "Inactive" state. Don't forget to activate your campaign when you're ready to use it in an Email Broadcast! This ensures it's ready to go when you are.
Need to Tweak a Campaign? Here's how to make edits:
Head Back to Marketing: First, navigate over to the "Marketing" section.
Revisit Campaigns: Within the Marketing section, click on "Campaigns." This will take you back to your campaign management overview.
Find the Campaign to Edit: Take a look at your list of existing campaigns and locate the one you'd like to make changes to.
Access the Editing Options: Once you've found the campaign, look for the three little dots (⋮) next to its name and click on them. This will open a dropdown menu of options.
-
Select "Edit": From the dropdown menu that appears, simply choose the "Edit" option.
Making Your Updates:
Clicking "Edit" will open the "Edit Campaign" window. Here's what you can update:
Name: Feel free to change the campaign title if you need a new one (e.g., "Summer Sale - Extended").
Description: Update the brief summary or purpose of the campaign if things have evolved.
Saving or Discarding Changes:
Click "Save" to Keep Your Updates: Once you've made your desired changes, click the "Save" button to apply them to your campaign.
"Cancel" to Go Back: If you decide not to make any changes, simply click "Cancel" to close the window and keep the campaign as it is.
Important Reminders:
Activation is Key: If you're planning to use this campaign in an Email Broadcast, make sure it's set to "Active"! Only active campaigns are available for selection during the broadcast setup.
Deactivating, Not Deleting: Please note that campaigns cannot be deleted. However, you can easily deactivate a campaign from the main campaign listing page if you no longer need it active. This keeps your overview clean and focused!

