
What is Email Broadcasts
Want to send a message to the masses? In a Sales CRM, an email broadcast is your go-to! It's the exciting process of beaming a single email to a huge list of contacts or leads all at the same time. This is perfect for broad communications and getting the word out to many, rather than a personalized note to just one!
Key Features of Email Broadcast in a CRM:
Bulk sending: Send to hundreds or thousands of contacts at once.
Templates: Use predefined email templates for consistency.
Personalization tokens: Add dynamic fields like [First Name], [Company Name] to personalize each email.
Scheduling: Set a specific date and time to send the broadcast.
Analytics: Track open rates, click-through rates, bounce rates, and unsubscribe rates.
Common Use Cases:
Announcing new products or features
Sending newsletters or updates
Running promotional campaigns
Sharing company news or event invitations
How to Set Up and Send an Email Broadcast
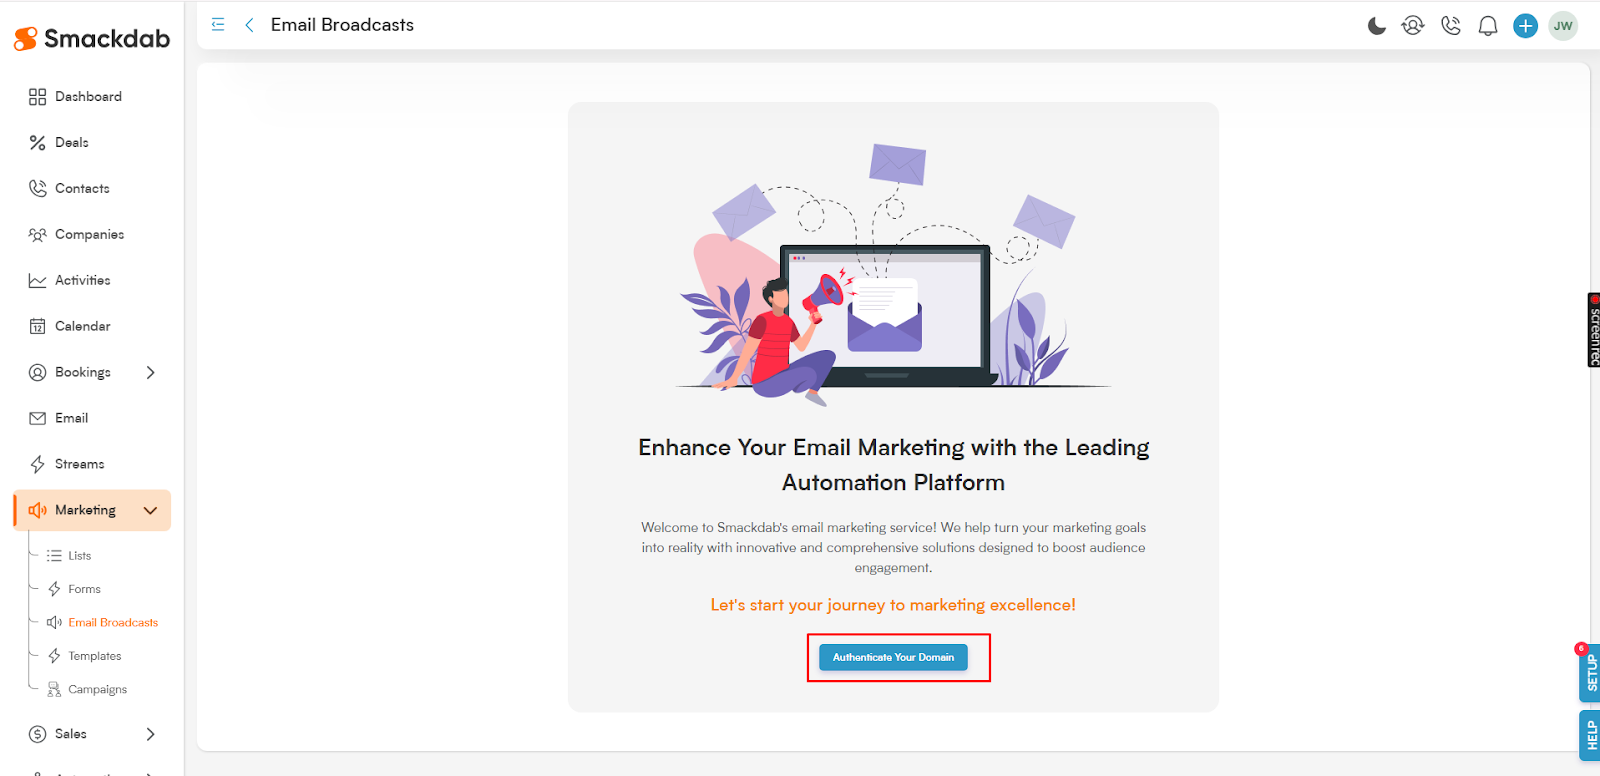
Step 1: Authenticate Your Domain
Go to the Marketing section.
Click on Email Broadcast under Marketing.
-
On the right-hand side, click Authenticate Your Domain to open the authentication screen.
-
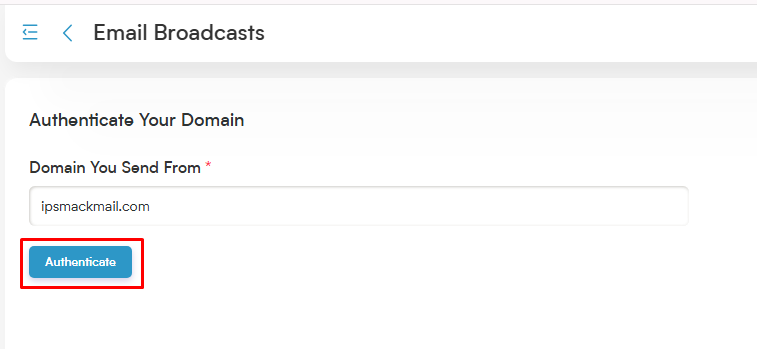
Enter your sending domain and click the Authenticate button.
-
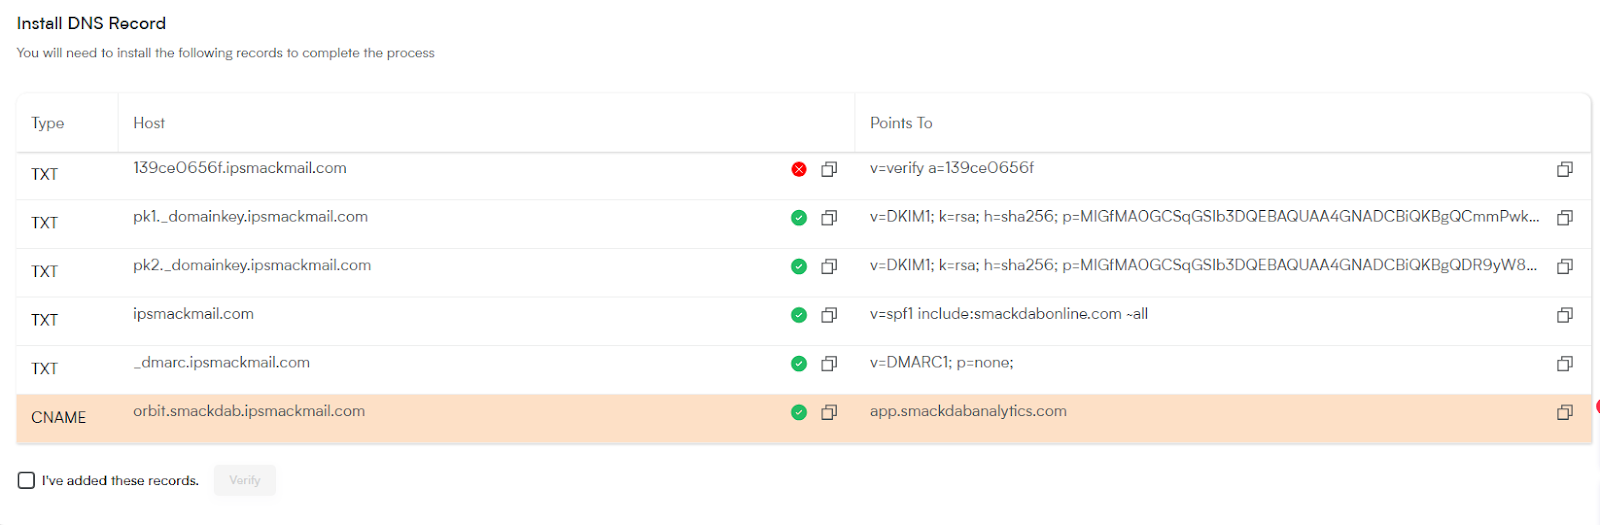
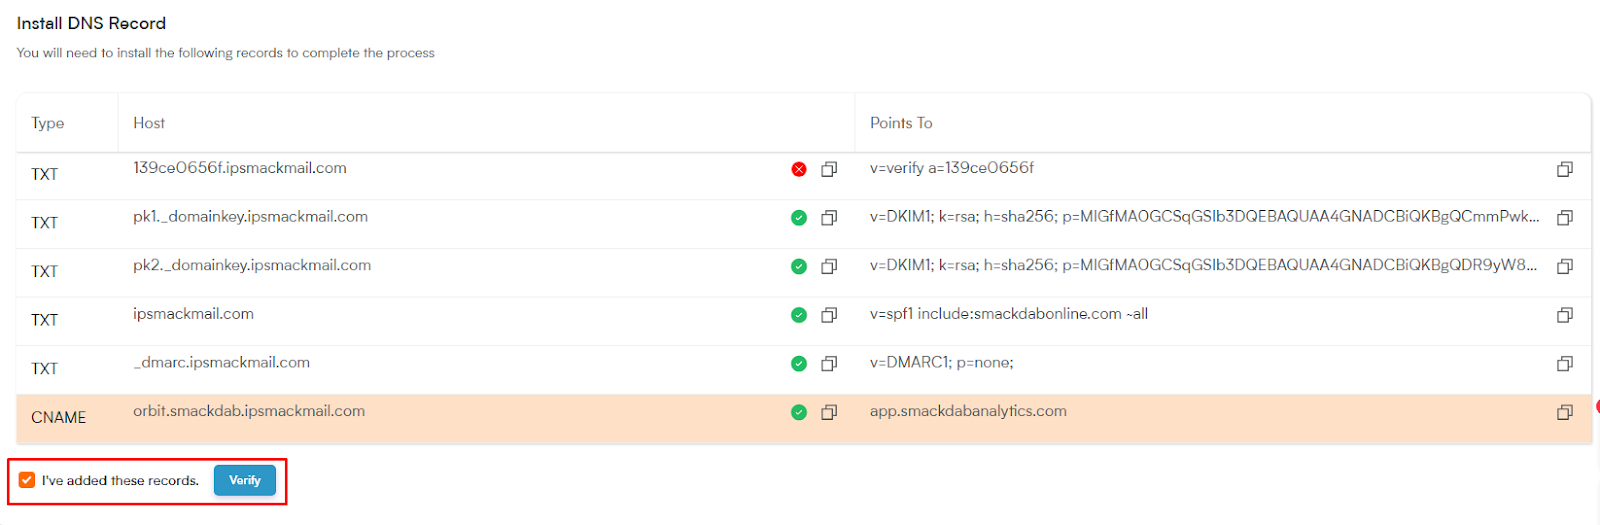
The system will display the required DNS records.
-
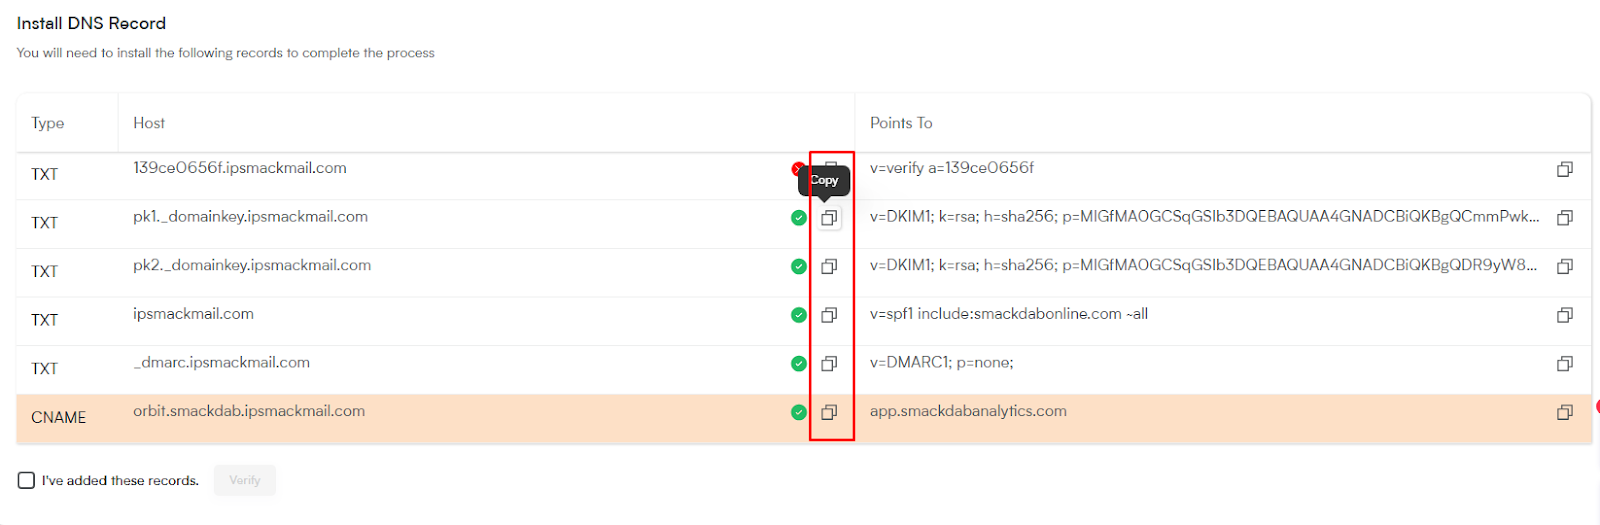
Add these DNS records to your domain's DNS settings. If you don’t have access, contact your network administrator.
-
Once the records are added, check the box "I’ve added these records", then click Verify.
-
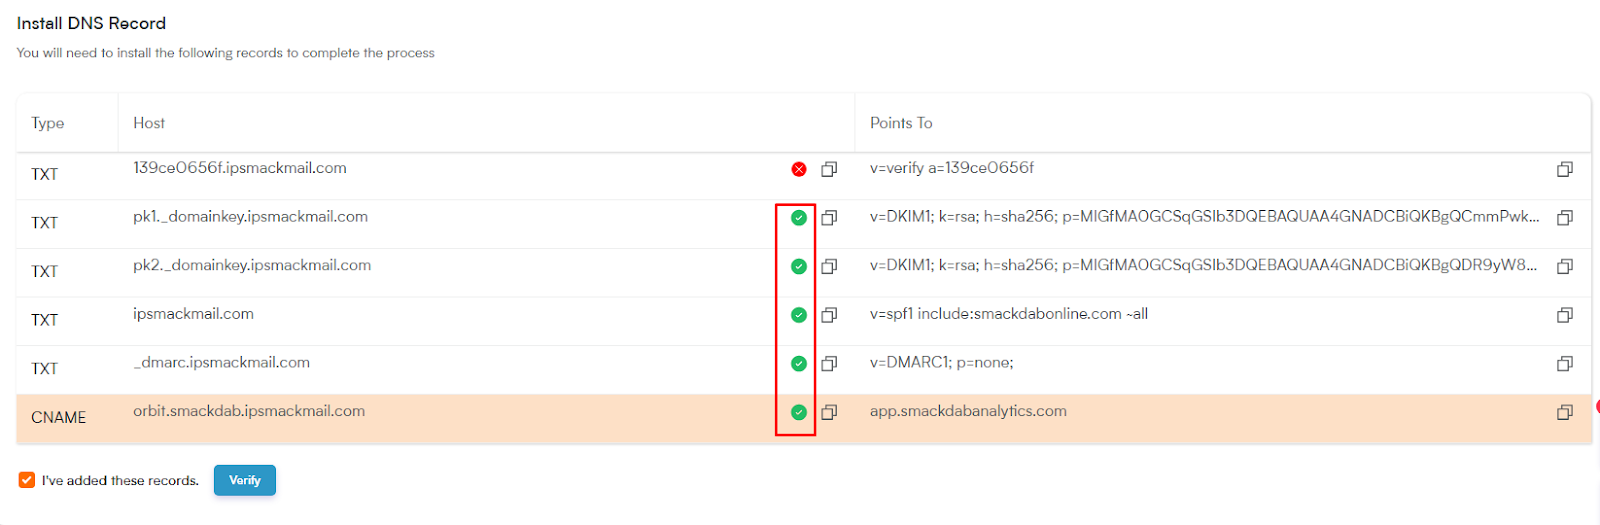
If the records are correct, a green checkmark will appear next to each DNS entry.
-
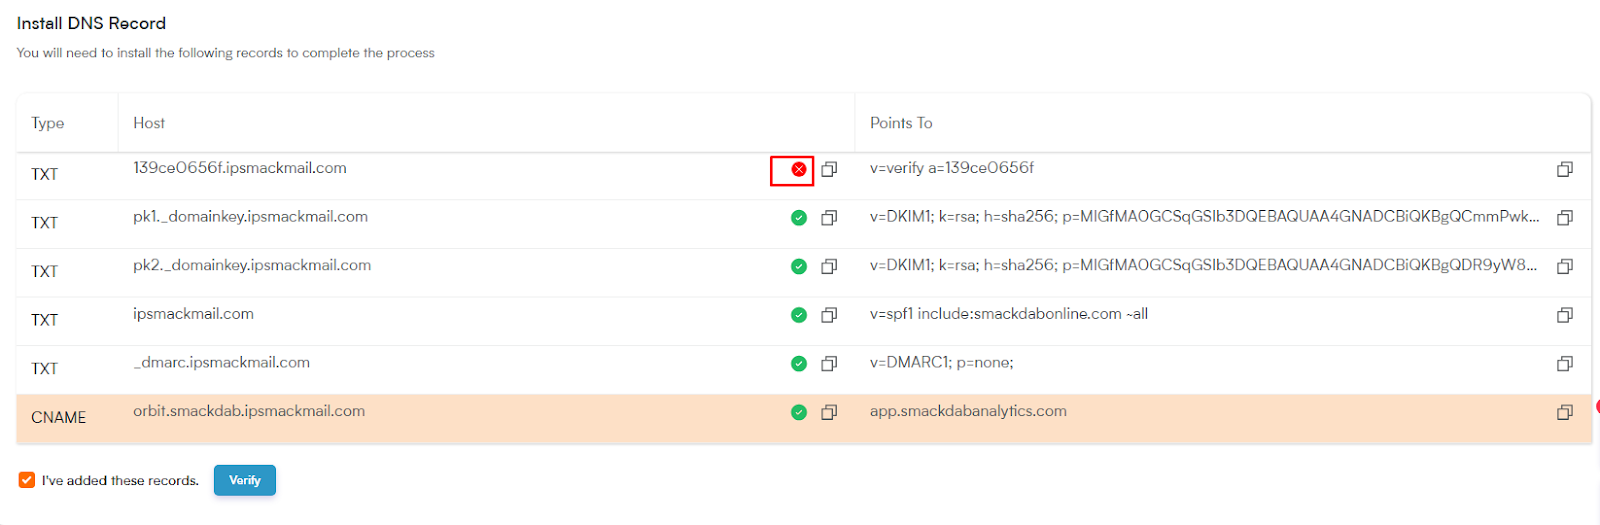
If any record is incorrect, a red X will appear. You must correct and re-verify those records.
-
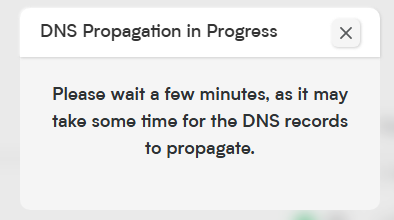
Clicking Verify will show a "DNS Propagation in Progress" message. During this time, the verification checkbox and button will be disabled.
-
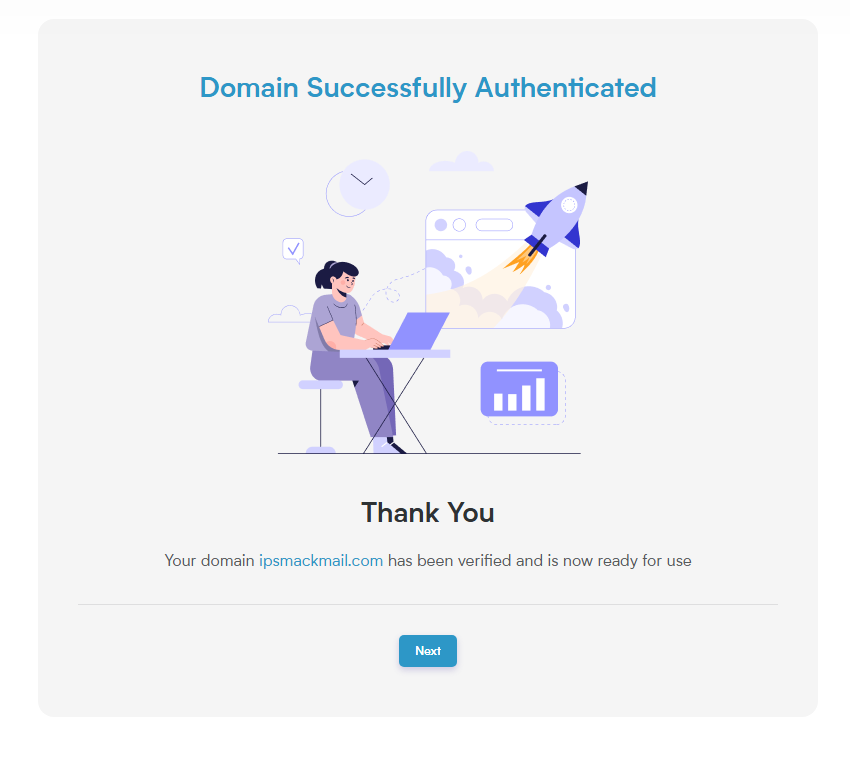
DNS verification usually takes about 5 minutes. Upon success, you'll be redirected to the Domain Successfully Authenticated screen.
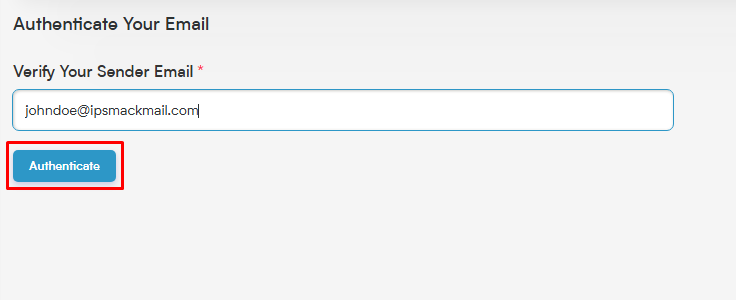
Step 2: Authenticate Your Email
Click Next to proceed to the Authenticate Your Email screen.
-
Enter a verified domain email address (e.g., [email protected]).
-
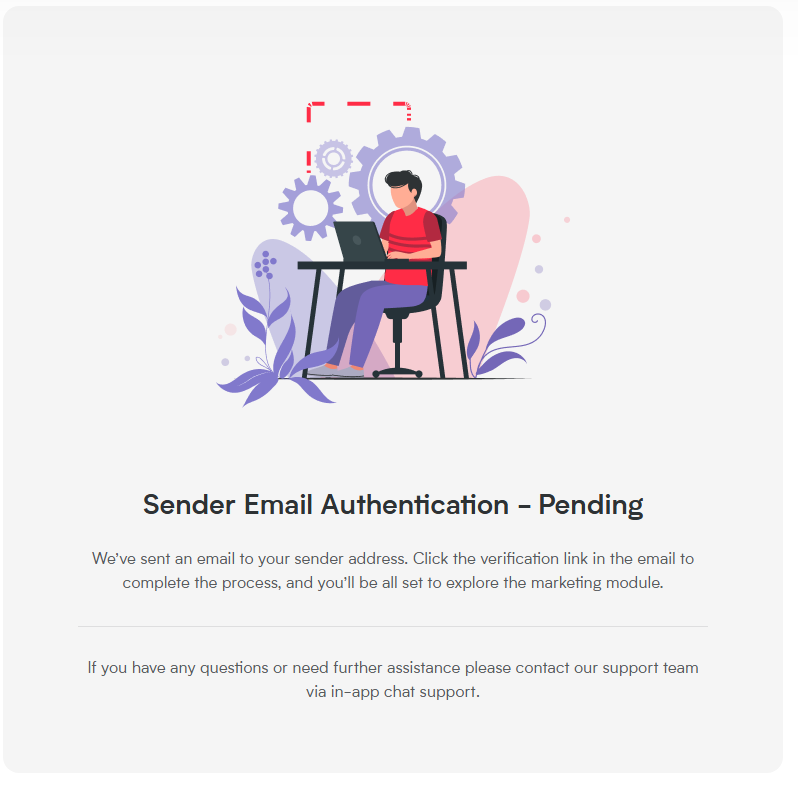
Click Authenticate Email ID to open the Sender Email Authentication - Pending screen.
-
A verification email will be sent to the entered address.

-
If the sender is logged into Smackdab, verification will redirect to the Verification Successful screen.
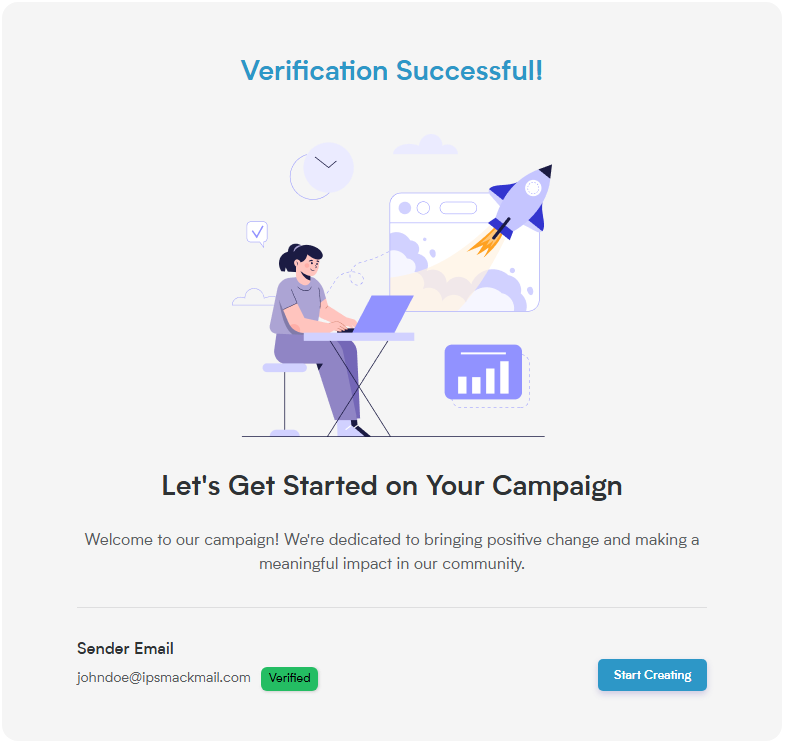
Click Start Creating to go to the Email Broadcast listing page.
Step 3: Create a New Broadcast
-
Click the New Broadcast button at the top right corner.
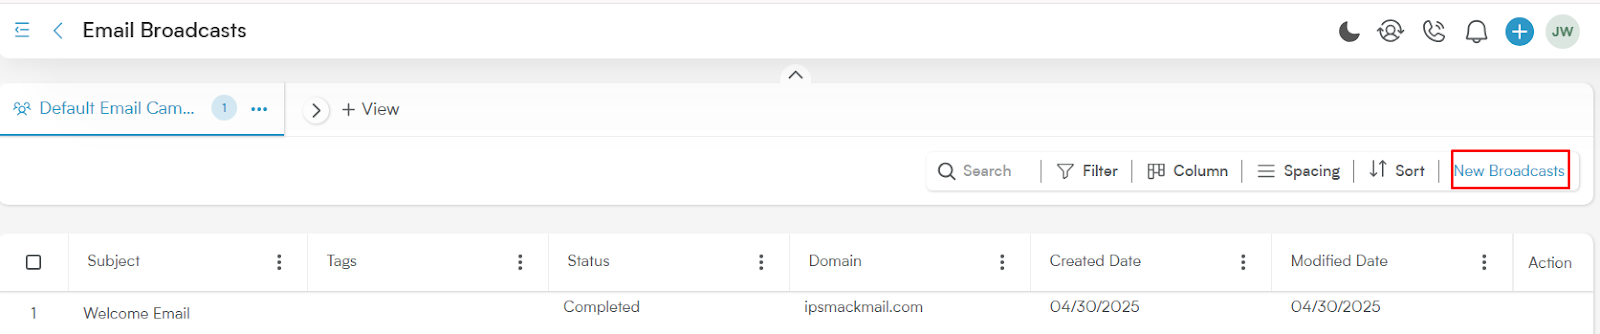
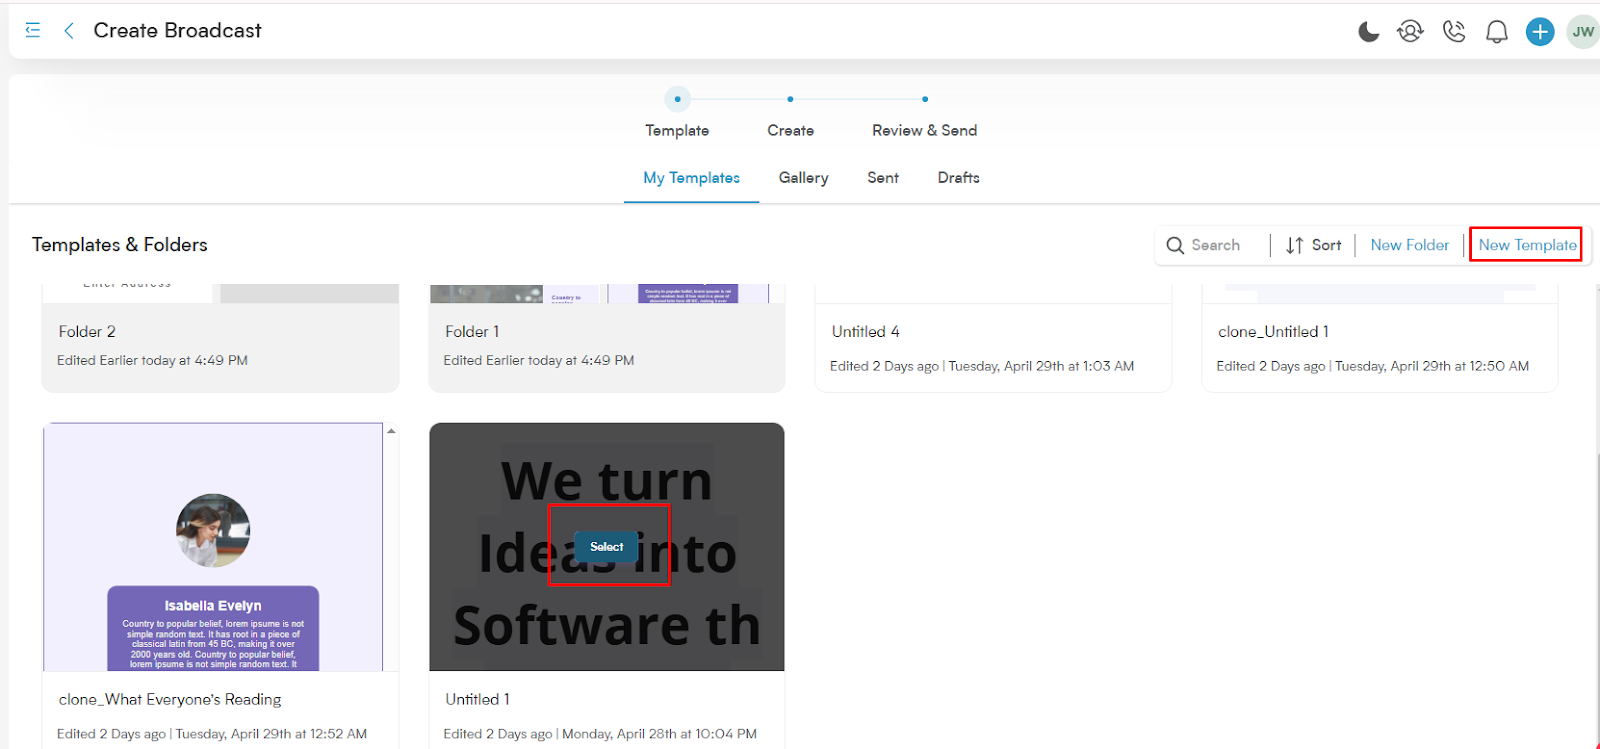
You'll be taken to the My Templates screen.
-
Select an existing template or click New Template to design a new one.
Step 4: Configure the Email Campaign
After selecting a template, you'll be taken to the Review Email Campaign step. Fill in the following fields:
From Email Domain: Choose the sending domain (e.g., @yourcompany.com).
Sender Email: Select the sender’s email address.
Audience: Choose a single or double opt-in list. By default it is All.
Subject Line: Enter the subject line that recipients will see.
Preview: Review how the email will look to recipients.
Campaign: Associate with an existing campaign (if applicable).
Email Type: Choose the category (e.g., Primary, Promotional, Business).
Send To: Select the target audience or segments.
Don't Send To: Exclude specific contacts or segments.
Tags: Add tags to help organize and filter the campaign later.
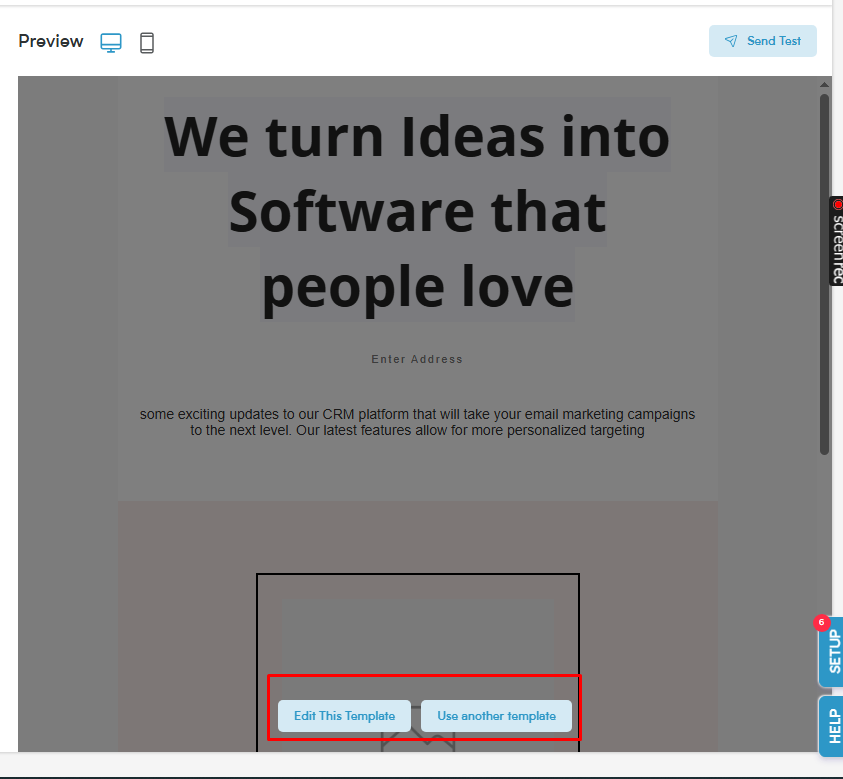
You can also switch or edit your template from this step using the preview screen.
Click Save & Continue to move to the next step.
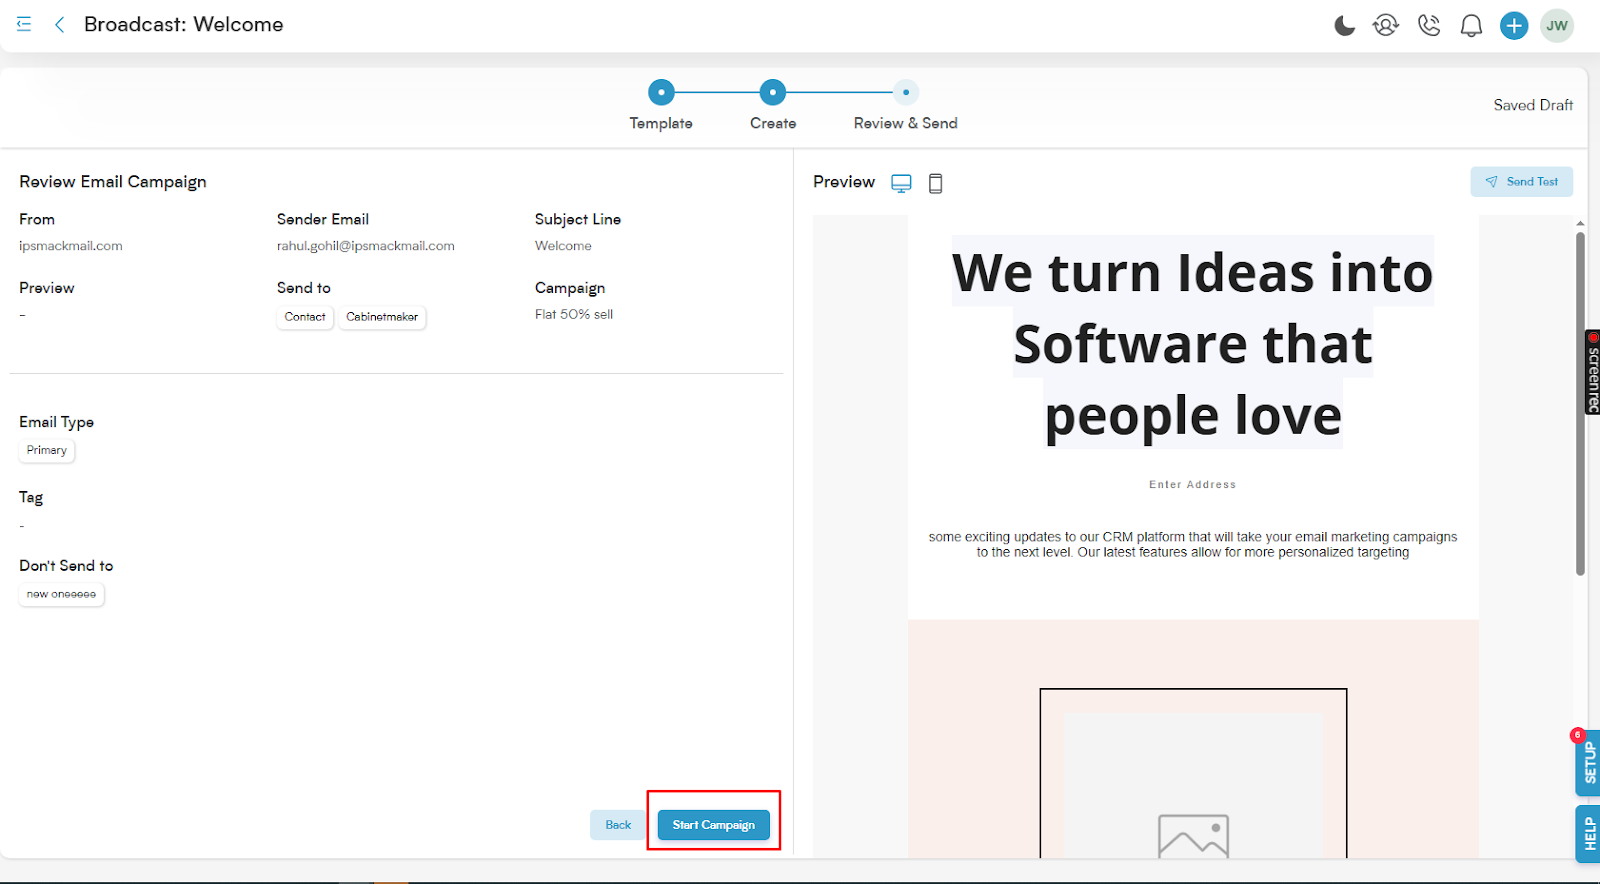
Step 5: Review & Send
On the Review & Send step, you'll see a summary of your campaign.
To make changes, click Back.
-
You can also send a test email from this screen.
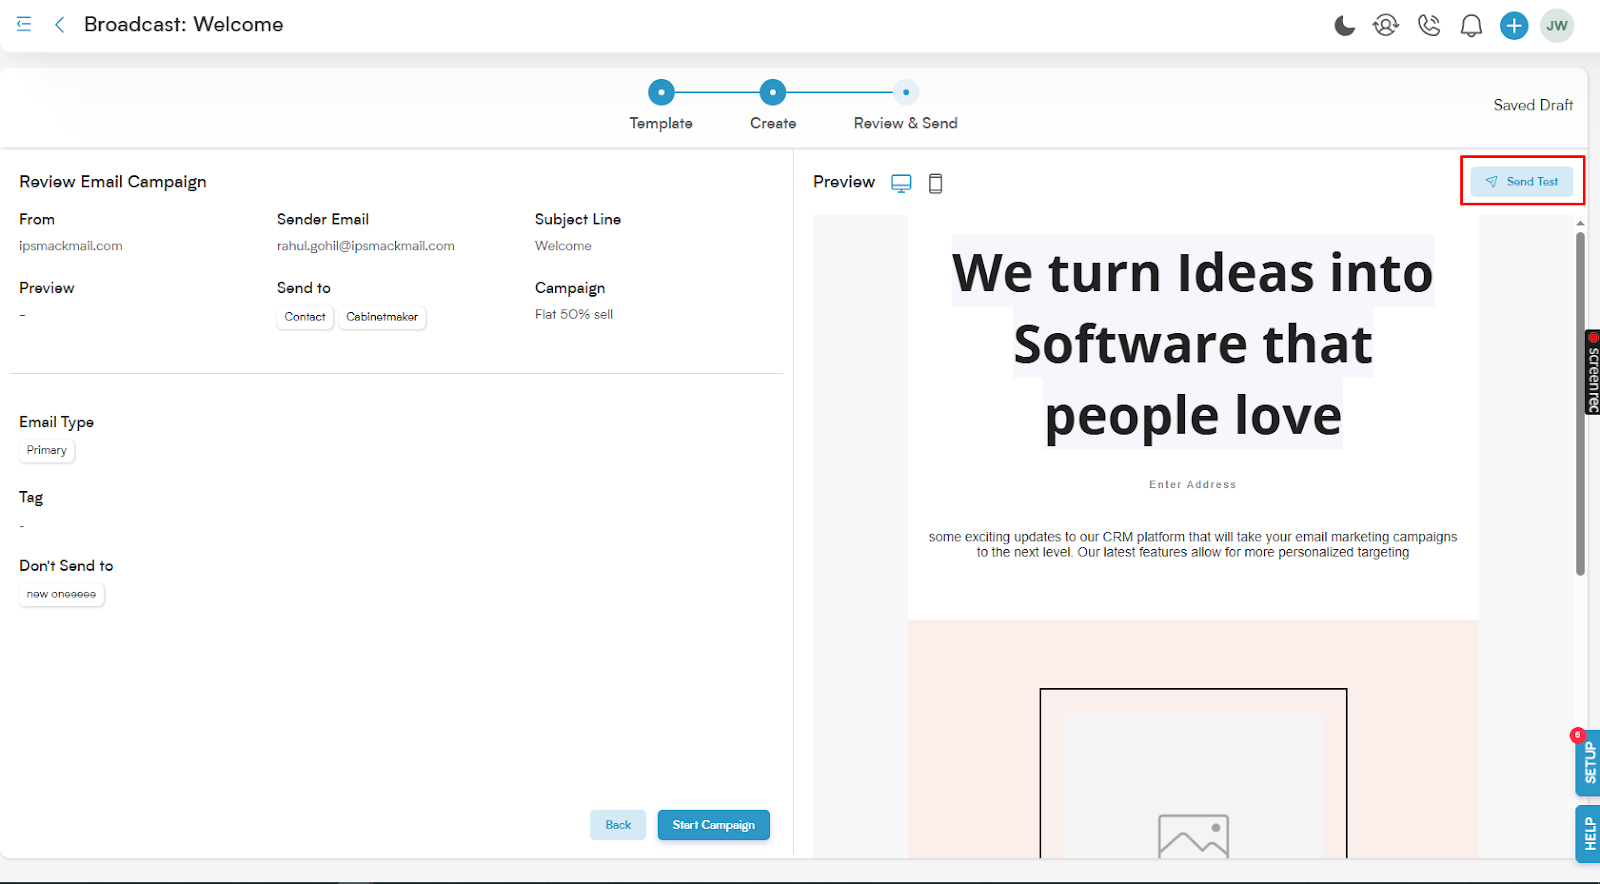
-
If everything looks good, click Start Campaign.
Step 6: Launch the Campaign
-
The Start Campaign modal will open with delivery options.
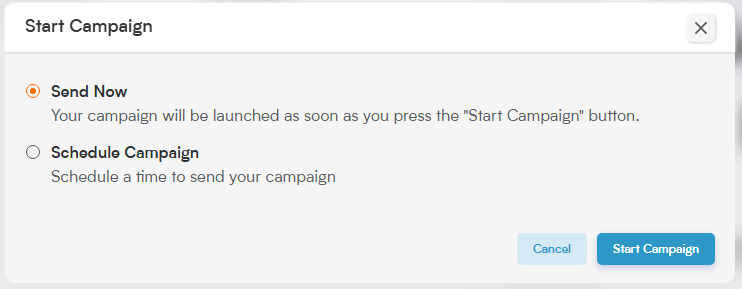
Choose your preferred campaign timing or delivery method.
Click Start Campaign again.
A Campaign Start Confirmation modal will appear — click Yes to launch or Cancel to go back.
You're getting ready to launch a campaign! As you move forward, keep a few important points in mind to ensure a smooth process:
Remember that Smackdab campaigns cannot be run from a subdomain.
When selecting your audience, you'll only be able to choose from your existing Contact or Company lists in the "Send To" dropdown.
Don't worry about manually saving your work; Smackdab automatically saves your progress throughout the campaign creation process.