
Get Paid Smoothly with Professional Invoices in Smackdab!
Think of an invoice in your CRM as a clear and professional bill you send to your customers after you've delivered a product or service. It's your official way to request payment, making sure all the important details of your transaction are neatly organized in one place.
Key Parts of Your Invoice – Made Simple:
Invoice Number: This is a unique code for each invoice, like a special reference number, making it super easy to keep track of every payment.
Due Date: Clearly displayed, this is the date by which your customer needs to make the payment.
Customer Details: All your customer's key information – their name, address, and how to reach them – right where you need it.
Your Company Details: Your business's name, address, and contact info, so customers know exactly who the invoice is from.
-
What You Provided (Product/Service Details):
A clear description of the awesome products or services you delivered.
How many items or hours, and the price for each.
Any special discounts you've offered or taxes that apply.
The Grand Total (Total Amount): The final amount your customer needs to pay, with all taxes and discounts clearly calculated.
-
How to Pay (Payment Terms):
Let customers know the ways they can pay (e.g., cash, check, online banking).
A friendly reminder of the payment deadline.
Tax Info (If Applicable): If there are taxes, they'll be clearly itemized here.
Extra Info (Notes or Terms - Optional): A space for any other important details, like your return policy or special instructions for the customer.
Add Supporting Files (Attachments): Easily include helpful extras like product photos, screenshots, or other relevant documents.
Sweeten the Deal (Discounts): Applying a special percentage or a fixed amount off for valued customers or promotional deals is a breeze!
Using invoices helps you look professional, communicate clearly, and get paid faster – keeping your business running smoothly!
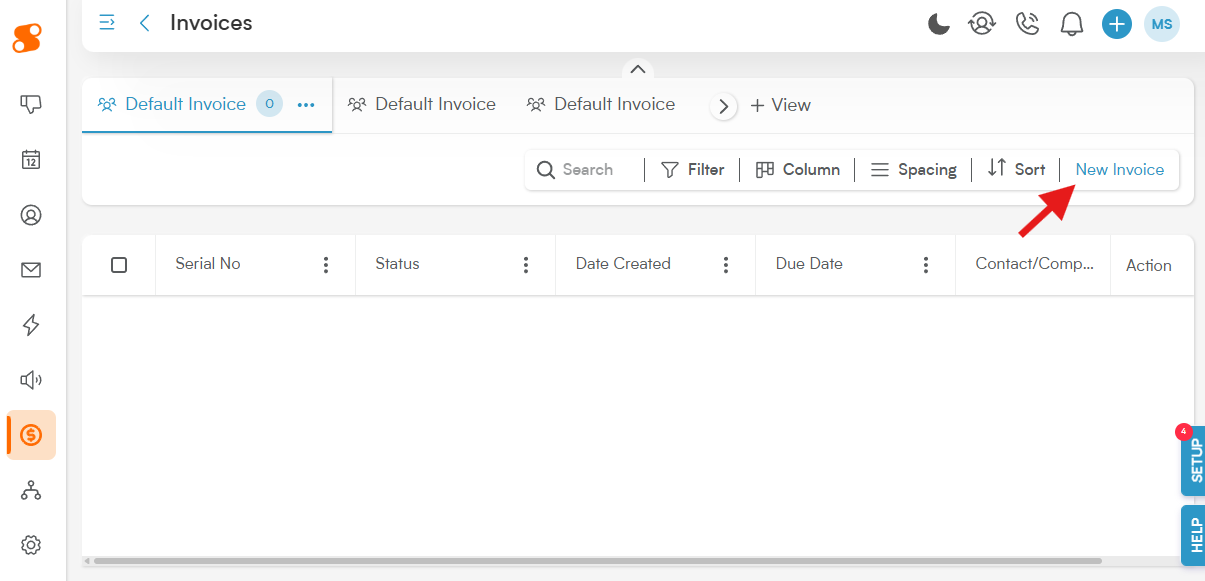
To create a new Invoice, start by going to Sales>Invoices, and then click the "New Invoice" button in the top right:
You will then be redirected to the Invoice Details page:
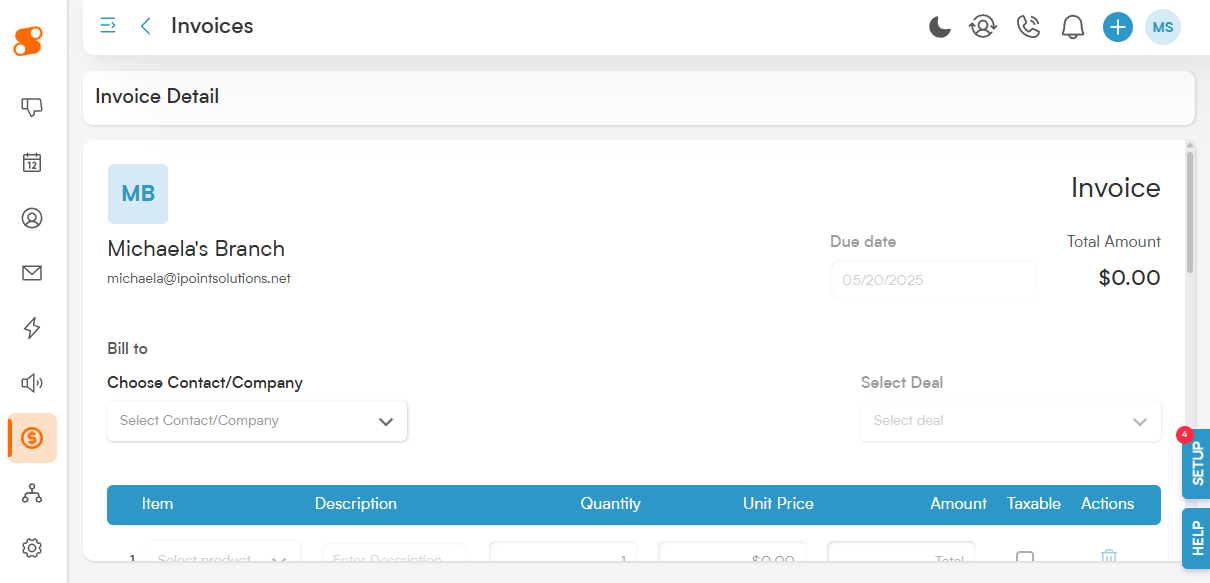
Now to start building your new invoice!
Bill to/Choose Contact/Company: This is where you'll select who you want to send this invoice to - either a customer or company in your contacts/company lists.
Invoice Number: After choosing your contact/company to bill to, you can change the invoice number by clicking on it! It will automatically change to an input box where you can change the number to anything you want!
Due Date: This will be the date you want to receive payment by.
Select Deal: If you have deals related to this contact, it will automatically be selectable in this drop down menu.
In the Item List area (under the blue bar), you have the ability to select Products to add to the invoice (please note: these products must be entered in Sales>Products before you will be able to select them to add to an invoice).
Item: This is the name you gave the item when it was created.
Description: The description of the item when it was created - you can also customize this text on this invoice.
Quantity: The number of units of this product you want to sell.
Unit Price: The price of the item for your customer.
Amount: The sub-total of this line item.
Taxable: Check or un-check this box to mark it as taxable.
Actions: Icons that allow you to remove the item from the invoice (the garbage can icon), or will allow you to edit that line item in detail. It will bring you to the "Edit Invoice Item" page:
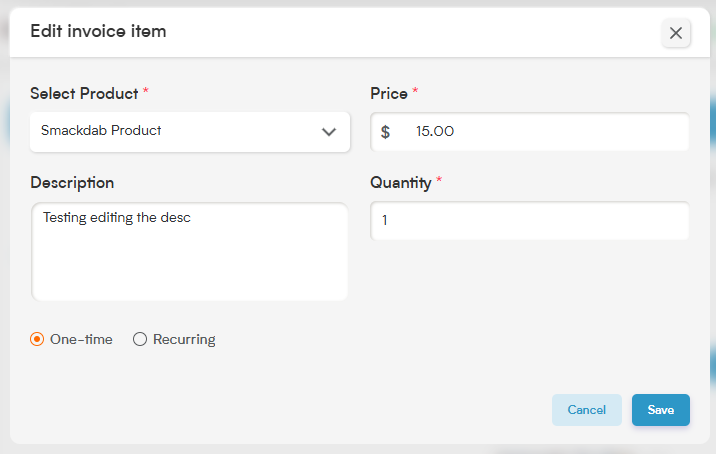
This will also allow you to make this item a One-time or Recurring charge.
Discounts: You can easily add a discount line to any invoice. Plus, with a quick click of the shuffle icon, you get to choose exactly how it's applied. Decide whether the discount is taken off before taxes are calculated, or if it comes off the grand total after taxes have been included. This gives you precise control to apply savings in the way that works best for you and your customer.
Sales Tax: Here you can select the sales tax rate that you want applied to your customer's invoice. Just click the v arrow button next to Custom Sales Tax or Automatic Sales Tax on the invoice, and select the type of sales tax you want to use.
Automatic Sales Tax: This rate calculates sales tax automatically based on the zip code of the customer shown on the invoice.
Custom Sales Tax: Have a customer whose home is in a different zip code than their billing address? No problem! New custom sales tax rates can be added in Settings>Sales>Sales Tax.
Notes: Want to provide your customer with a specialized note about their work? Go ahead and spill your heart here.
Terms: A nice little Terms and Conditions area for your customer.
Attachments: Want to add images of the work done, a copy of the proposal, or a copy of their signed contract? Go ahead and add it right here!
Add Payment: The "Add Payment" button will allow you to apply a customer's payment to the invoice.
At the top of the page is a drop-down menu titled "Invoice Option", which gives you access to the following:
Send Invoice: Allows you to send the invoice within Smackdab via email (to connect your email to Smackdab, go to Settings>Personal Communication>Email). You can write a personalized email to your customer, attach additional documents, add an email signature, and even use your own templates!
Print Invoice: Brings up the print dialogue for your computer.
Preview Invoice: Allows you to see what it will look like to the customer!
View History: Shows every change made to the invoice and who made that change.
Copy Invoice Link: Copies the link onto your clipboard to send to your customer.
Delete: Deletes the invoices from your Smackdab.
Clicking the blue "Next" button on the top right of the page will take you to the final step of generating the invoice:
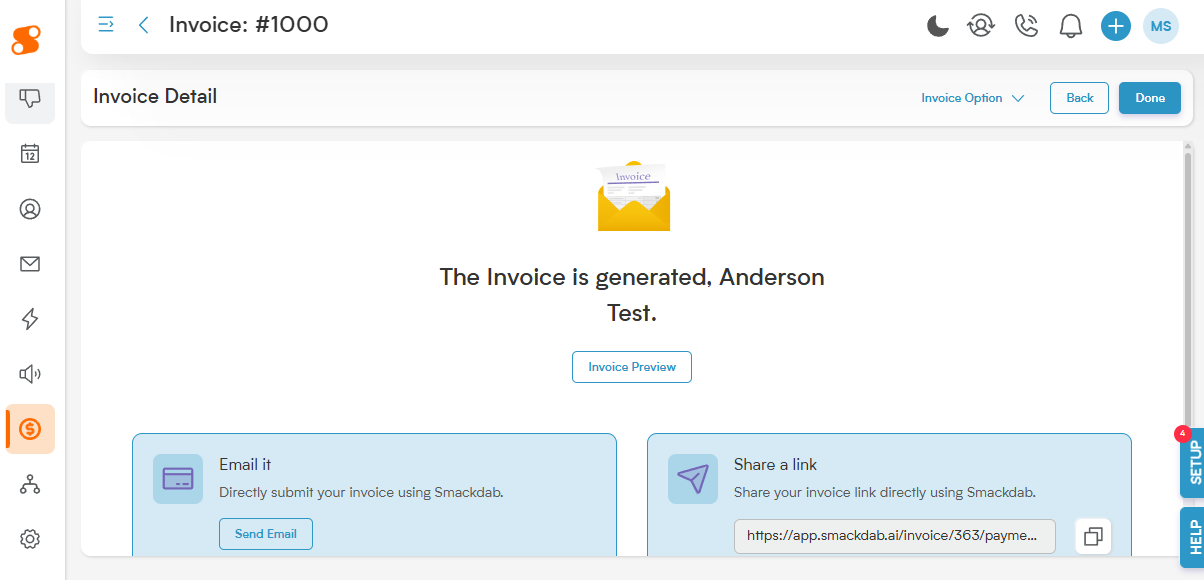
From this screen, you can Email the invoice, share the link, or apply a payment to the invoice by clicking the "Select Options" button in the Charge Manually section.