
Booking Types:
Start by clicking the Booking icon, and selecting "Booking Types".
You'll be greeted by this screen, which gives us a lot of options and information:
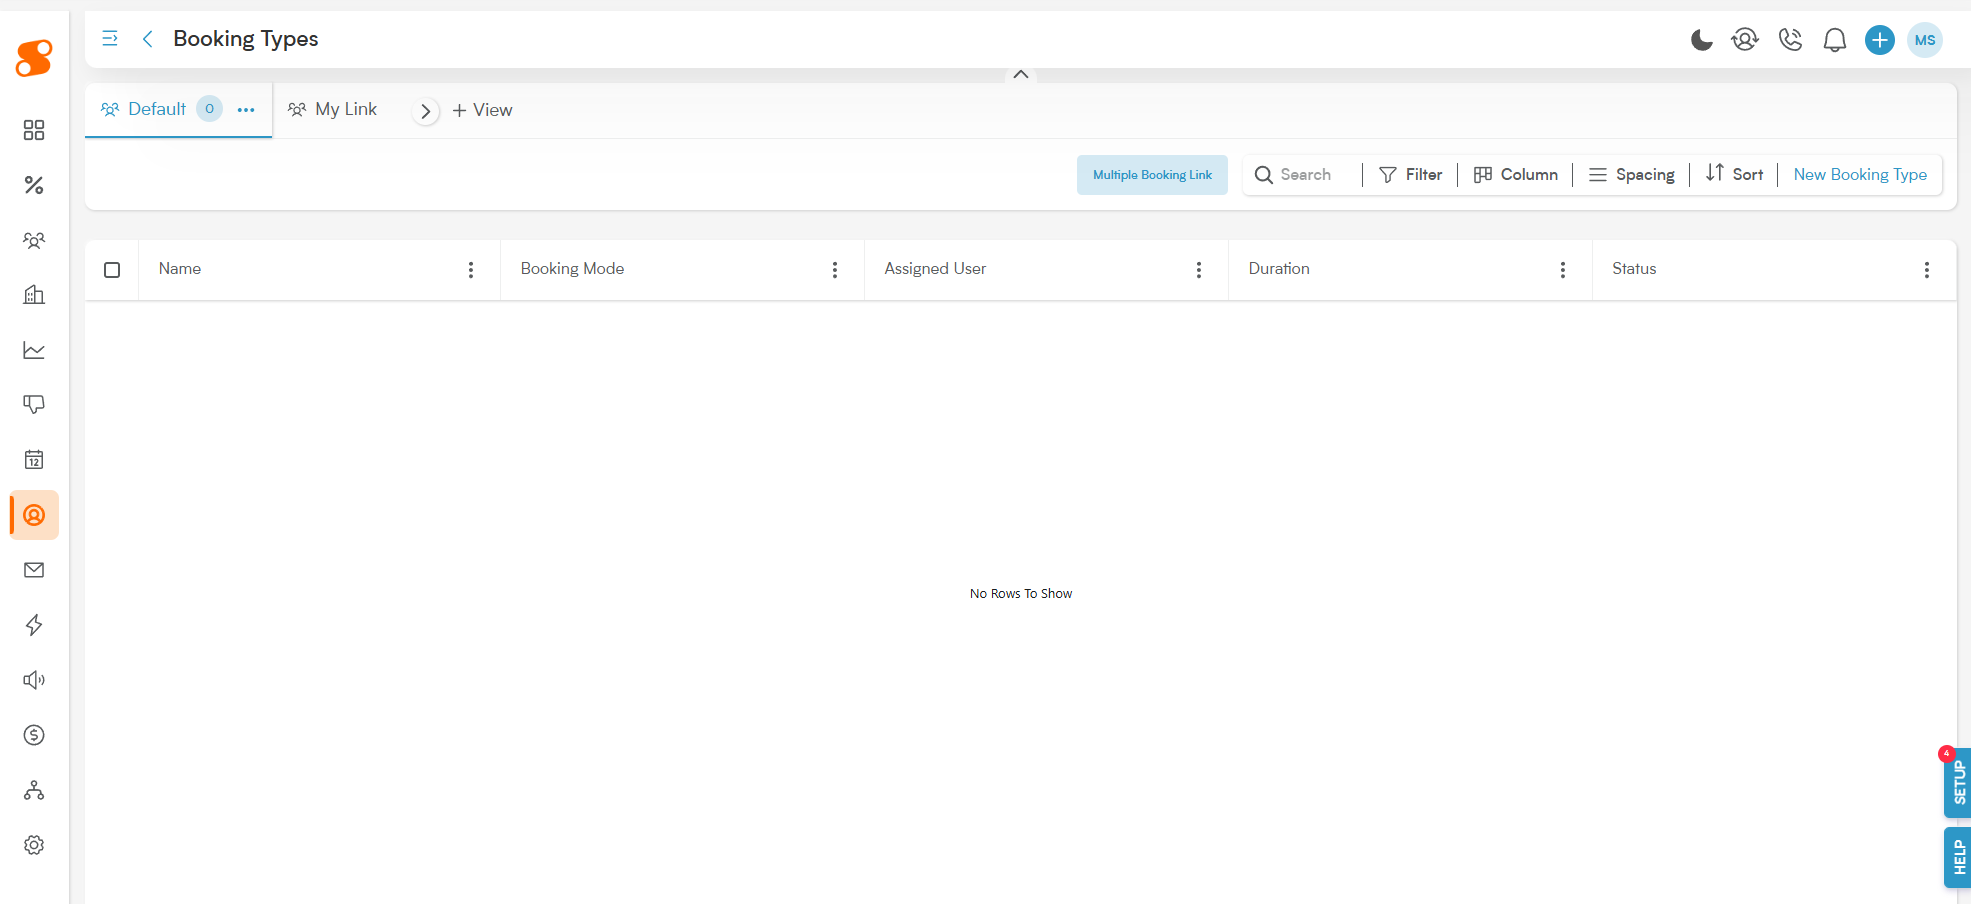
The Default view shows us all of our created Booking Types.
My Link view gives you quick and easy access to the links for Booking Types that are assigned to you.
The Multiple Booking Link button lets us create a link with multiple Booking Types or Schedules included - for example, if you wanted to set up a Phone Call and an In-Person Meeting all in one go for your customer, you would start here (more on that in a future article!).
The New Booking Type button allows us to create new meetings, activities, and more for your customers to schedule.
Then we have the listing of Booking Types - this includes the Booking Type Name, the Booking Mode, who this type is assigned to, the meeting/activity duration, and if that type is active.
Creating and customizing Booking Types:
Okay, let's dive in and create your first Booking Type! Clicking "New Booking Type" kicks off a super straightforward creation process. Just follow these simple steps, and you'll have a new meeting option ready in no time!
Here’s a quick run-down of how to create a Booking Type:
-
Info: The Basics!
Think of this as giving your booking a name tag. You'll enter key details like the booking name (e.g., "Product Demo Call"), a quick description, and who on your team owns this type of booking. This helps everyone know exactly what it is!
-
Schedule: When Can Folks Book?
This is where you set the rhythm! Choose which days of the week are open for this type of meeting, the specific time slots available, how long each meeting will last (e.g., 30 minutes, 1 hour), and even add buffer times between meetings so no one feels rushed.
-
Meeting Invite: All the Details for Connecting!
Let's customize that invitation! Here, you'll set up the meeting link (like your Zoom or Google Meet room), craft a catchy meeting title, and specify the location – whether it's virtual or an in-person spot.
-
Guest Form: Get to Know Your Attendees!
Time to gather some info! You'll create a simple form to collect essential details from anyone booking this meeting. Think name, email, company, and you can even add custom fields for any other information you need.
-
Style: Make It Yours!
Let your brand shine! In this step, you get to customize the look and feel of your booking page. Choose your company's color scheme, upload your logo, and decide on the layout. Make it inviting!
-
Notification: Keep Everyone in the Loop!
No more missed meetings! Set up friendly email and even SMS reminders that go out to both your team member (the host) and the guest. You can schedule these before and after the meeting to make sure everyone's prepared and followed up with.
-
Automation: Put Your Workflows on Autopilot!
This is where the magic happens! You can set up cool automated actions. For example, automatically assign a follow-up task to the sales rep or send a thank-you message once a booking is confirmed. Super efficient!
-
Settings: Fine-Tune the Details!
The final polish! Here you can manage permissions (who can use this booking type), ensure it syncs beautifully with calendars, set the correct time zone, and explore other advanced options to make it work perfectly for you.
And just like that, once you’ve gone through these steps, congratulations! Your brand new Booking Type will be successfully created and ready to roll! You're all set to make scheduling smoother than ever.
So let's get started!
Click on "New Booking Type" to get started on how to set up the form your customers will use to schedule time with your sales reps.
Booking Types - Info:
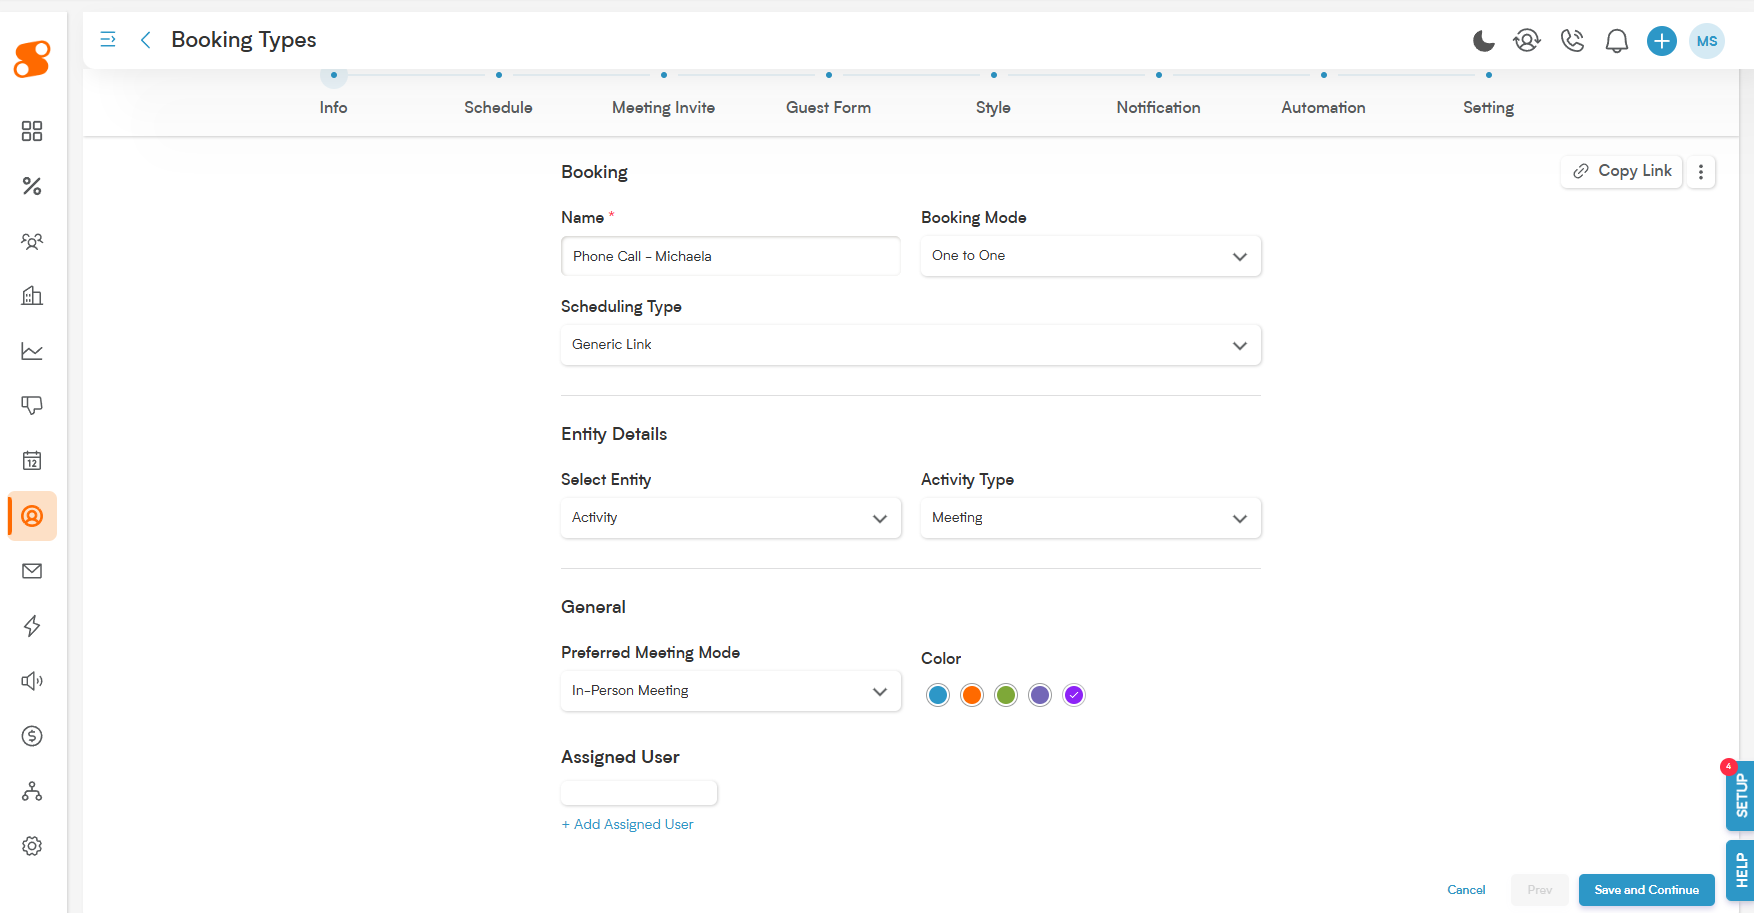
In the Info section, you'll give your meeting a clear name, decide how customers choose their time slot, define the activity type, specify if it's an in-person, Zoom, or phone meeting, and select which team members will be available for this specific booking.
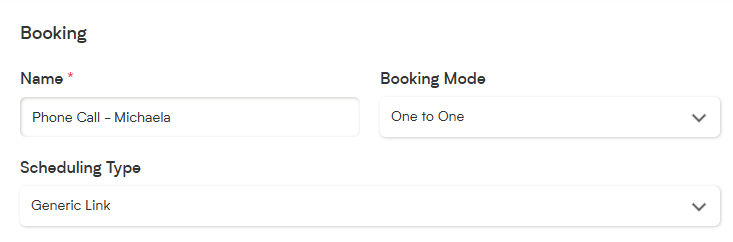
Name: This is your chance to give this Booking Type a great title – what do you want to call this specific kind of meeting or appointment? Make it clear and inviting!
Booking Mode: Think about the setup! For instance, choosing "One to One" sets up a personalized meeting, perfect for a dedicated session between one of your team members and a customer.
Scheduling Type: This is all about how your booking link works its magic!
Generic Link: Imagine a form that shows your customers a list of all available time slots, automatically considering your schedule settings and your team's real-time availability – super convenient!
Selected Time: With this option, you're the architect! You can create specific blocks of time on particular days, offering customers a curated list of options to choose from. (Note: With this setting, you will need to manually add time slots to each day. Better for temporary booking types.)
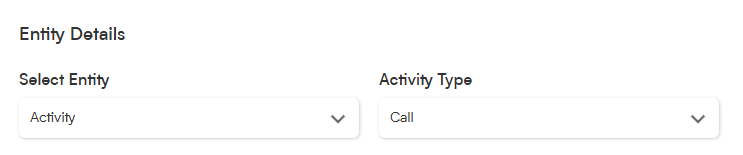
Select Entity: Specifies the CRM module linked to the booking (at this time, it only supports the Activity module).
Activity Type: This list is based on the Activities created in Settings>Customization>Modules>Activity>Setting - meaning you can personalize it the way that best fits your company!
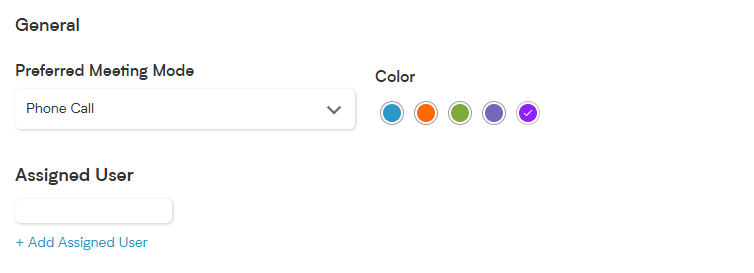
Preferred Meeting Mode: Choose from In-Person, Zoom, or Phone Call, depending on what works best for your customer.
Color: Choose the color to help organize this Booking Type in your calendar or dashboard.
Assigned User: Here you can select the User or member of your team that you want to handle this Booking Type. You can add multiple users to each Booking Type, so you don't have to create a new type for each user.
When you're done with each section, click on the "Save and Continue" button to move on.
Booking Types - Schedule:
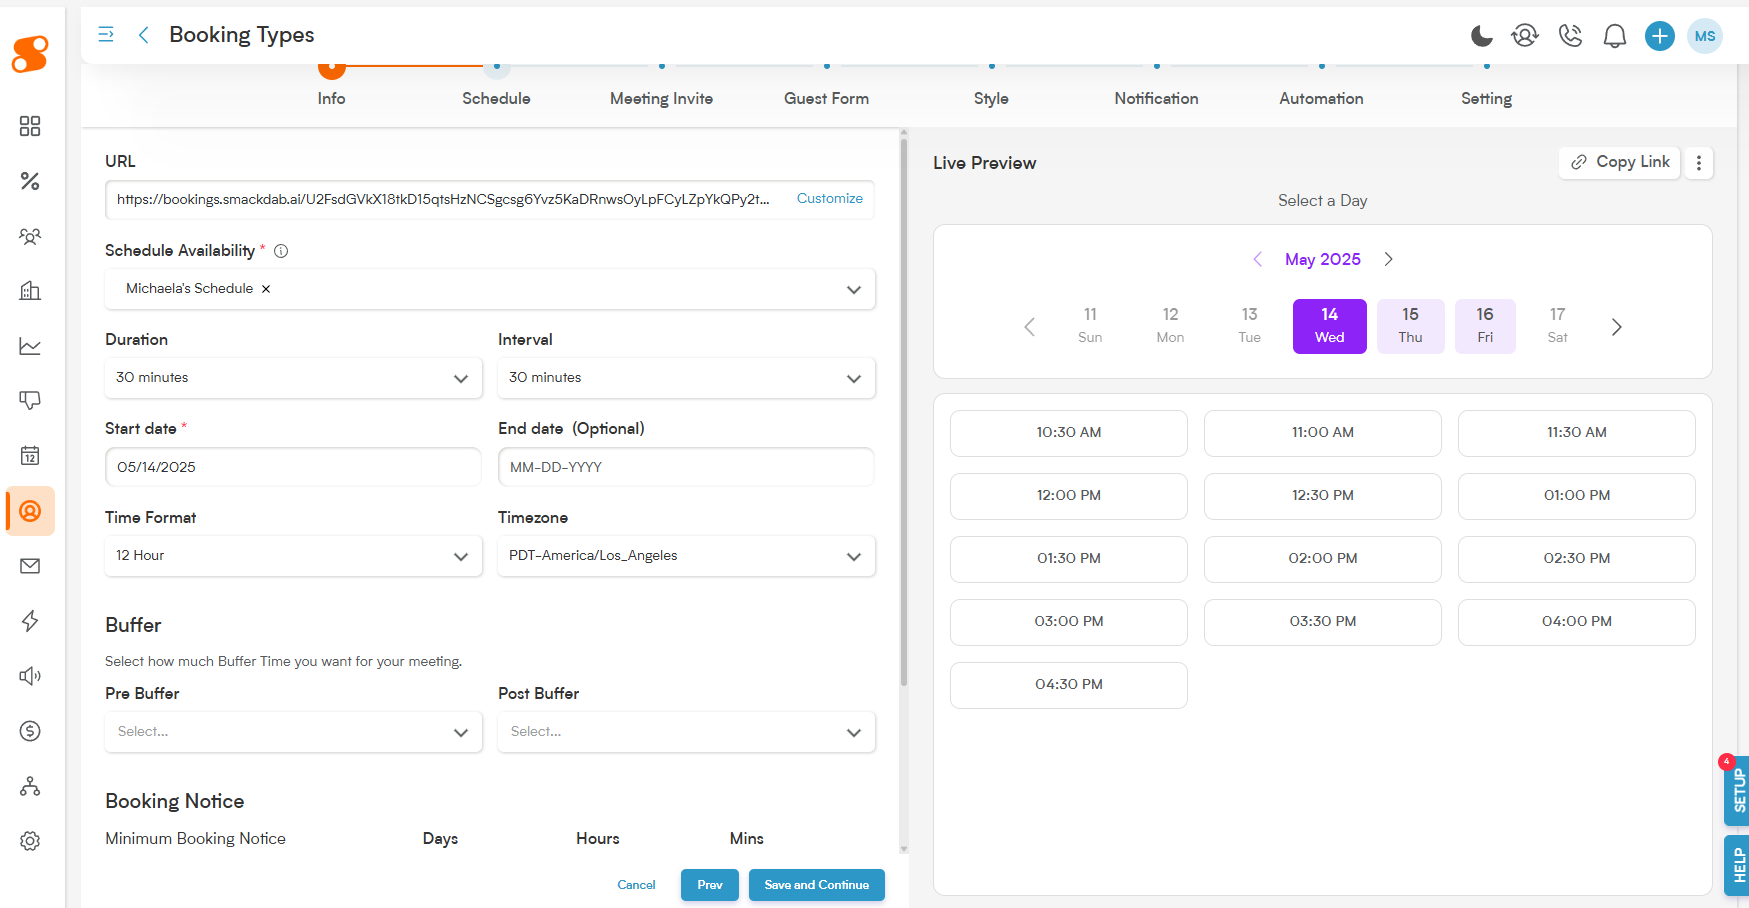
This is where you'll set up how the schedule functions and which availability it works with (the system will automatically pull the unavailability for the users the Booking Type is assigned to).
URL: Your Unique Booking Link. Once your Booking Type is ready, we'll whip up a unique link that takes your customers straight to the scheduling form. The best part? You can even personalize a section of this link! Just click the "Customize" button to add your own special touch.
Duration: How Long Will You Connect? This is where you decide the perfect length for this type of meeting. Whether it's a quick 5-minute check-in or an in-depth 180-minute session, you're in control! To get you started, we've set a handy 30-minute default, but feel free to adjust it to your needs.
Interval (For Generic Link Scheduling): If you're using the "Generic Link" scheduling type, this setting helps you define how often available time slots appear. For instance, with a 30-minute meeting duration and a 30-minute interval, your customers will see neat blocks like 12:00 PM - 12:30 PM, then 12:30 PM - 1:00 PM. If you set a 45-minute interval (with that same 30-minute duration), the slots would appear as 12:00 PM - 12:30 PM, then 1:15 PM - 1:45 PM, giving a nice breather in between. It's all about creating a smooth flow of options!
Start Date / End Date (For Generic Link Scheduling): Define Your Availability Window. This feature lets you specify exactly when this particular Booking Type becomes available for scheduling. You can set a "Start Date" for when it goes live. The "End Date" is totally optional – if you leave it blank, this Booking Type can be available indefinitely, offering ongoing access for your customers!
Time Format: Your Preferred Way to See Time! Choose how you and your customers see the time! You can select either the familiar 12-hour format (e.g., 2:00 PM) or the 24-hour format (e.g., 14:00). It's all about what works best for you.
Timezone: Keeping Everyone on the Same Page. Say goodbye to timezone confusion! You can set the timezone to automatically match your own or, even better, adjust to your customer's timezone. This ensures everyone is looking at the correct times, no matter where they are in the world!
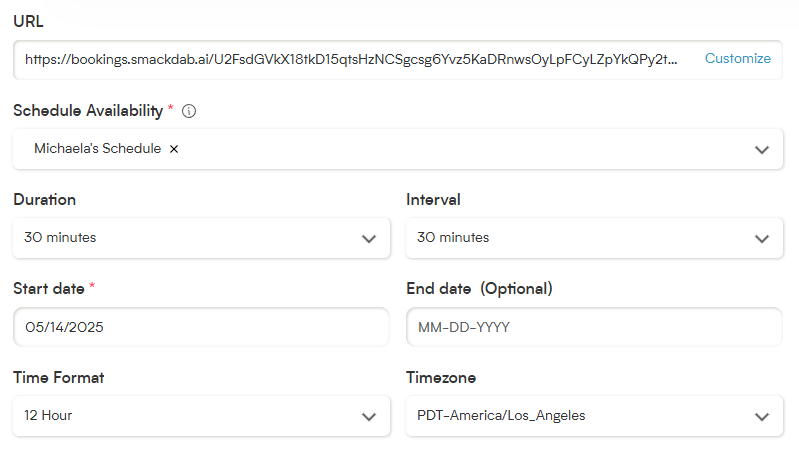
Our Buffer feature helps you seamlessly manage your time around meetings. Smackdab automatically blocks off time slots that clash with your set buffers, so you can stay organized and avoid feeling rushed.
Pre Buffer: Need a moment to get ready before a meeting? Set a Pre-Buffer to give yourself that essential prep time for any activity.
Post Buffer: Want to ensure you have time to jot down notes, send follow-up emails, or simply take a breather after a meeting? The Post-Buffer carves out that valuable time for you right after your session.
Minimum Booking Notice: Stay prepared by deciding how much advance notice you need before someone can book a meeting with you. This feature ensures you're never caught off guard.
Maximum Booking Notice: Plan your schedule effectively by setting a limit on how far in advance customers can book appointments. For instance, if you prefer not to have bookings a month out, you can easily set a one-week booking window.
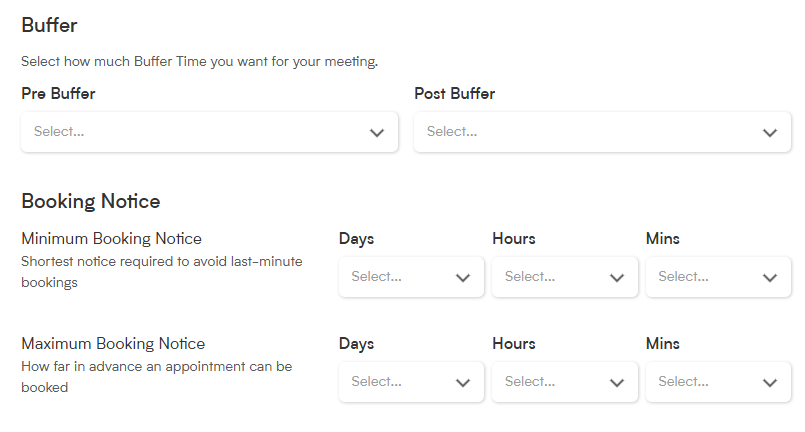
Setting the Schedule in the Booking Types:
If you're using the Scheduling Type of "Generic Link", this is what the Live Preview on the schedule section will look like:
No extra work will be needed from you in order for the available time slots to be shown to the customer!
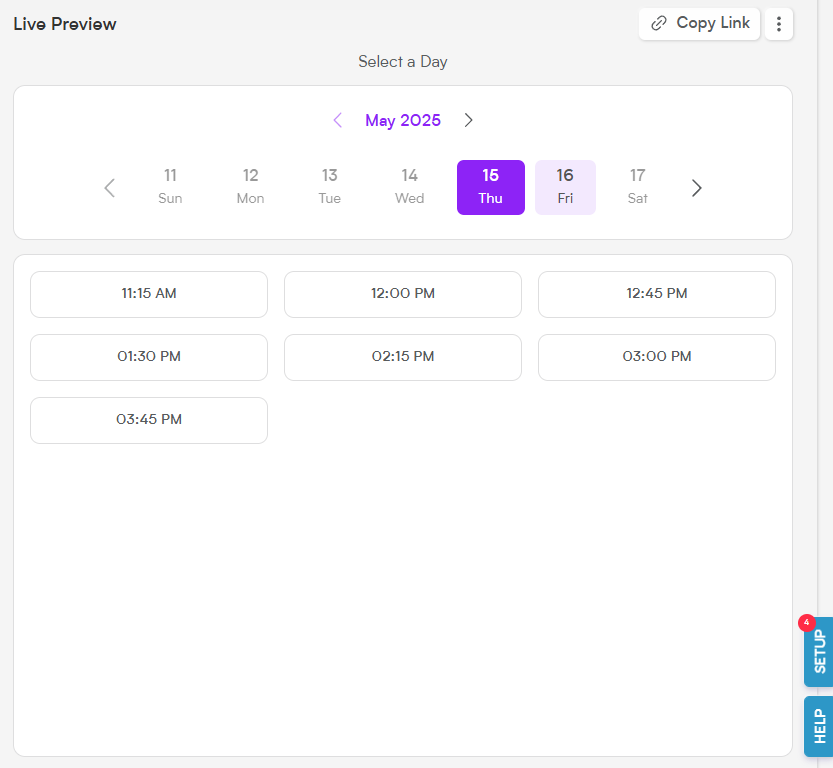
However, if you use the Scheduling Type of Selected Time, the live preview will appear like this:

If Selected Time is chosen, you will need to go through the process of adding time slots to each day that your user is available for your customer to choose from. Just click on the day you want to add time availability to, and click "+ Add Time Slot" to be brought to this page:

Here you can add as many time slots as you want - choose the time for the first time slot, then click the + button to automatically add additional time slots in the duration that you chose.
Booking Types - Meeting Invite:
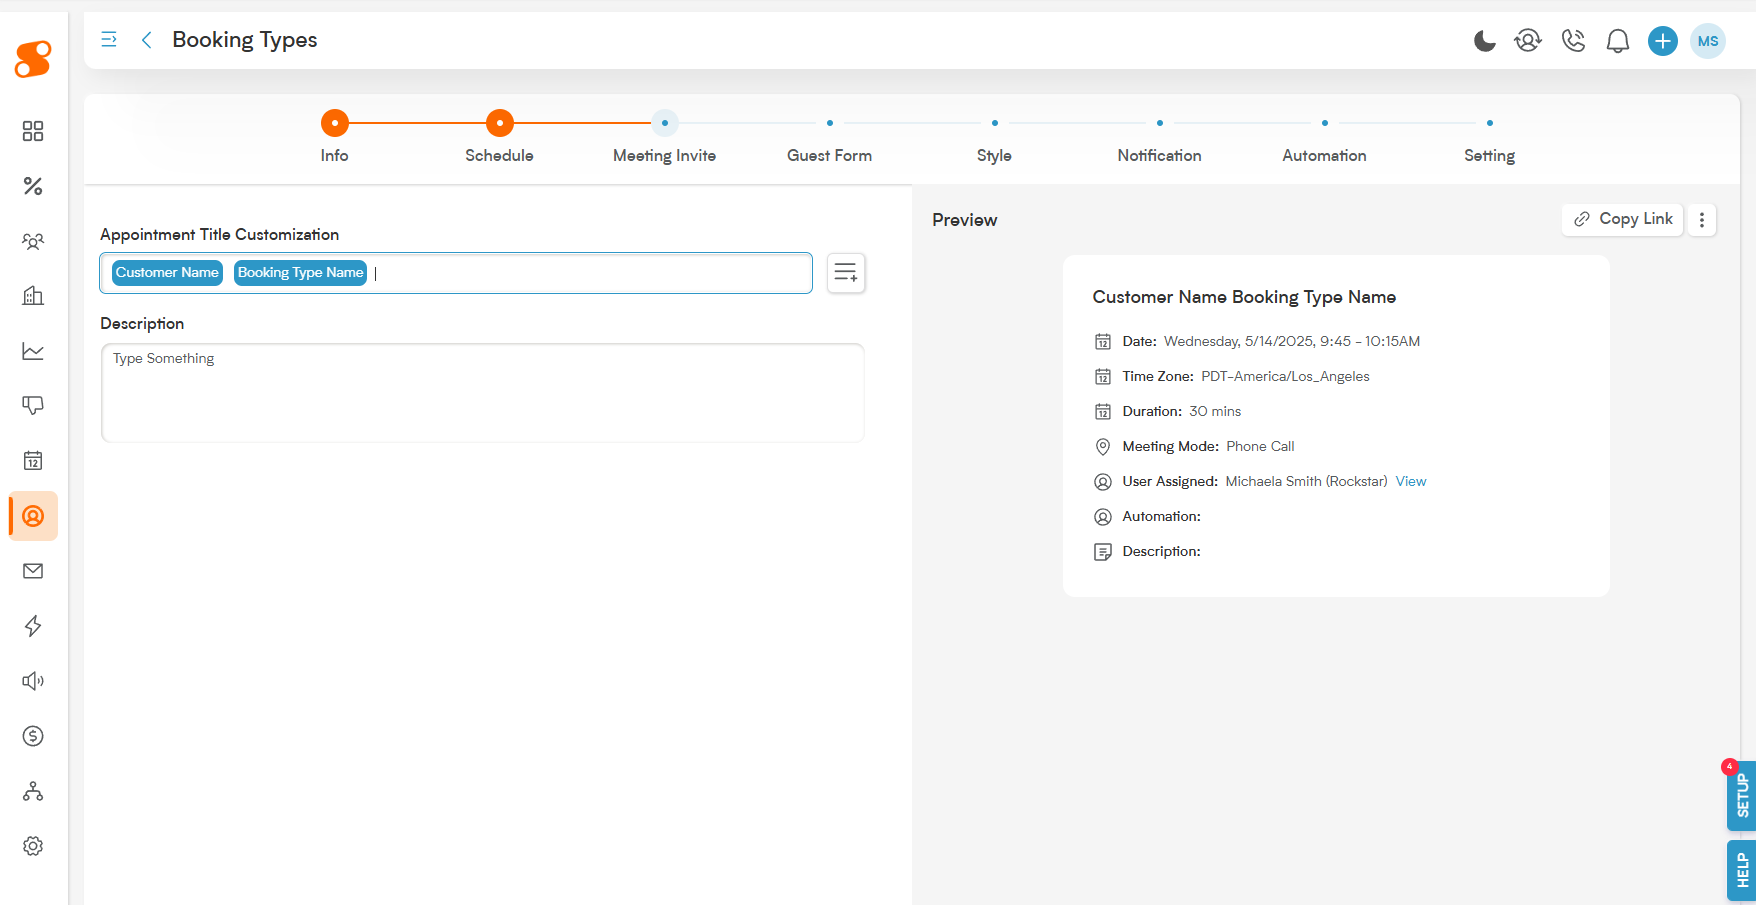
Appointment Title Customization: Make a great first impression! This is the title your customer will see on the live booking form and their confirmation page (check out the handy preview on the right!). Want to get creative? Click the button next to the input box (the one with the horizontal lines and a '+' sign) to explore automatically generated title options, type in your own custom title, or even blend both for the perfect fit!
Description: Keep everyone informed and prepared! Use this space to add a friendly message, a detailed meeting agenda, or any other important information. This description will be included in the invitation sent to your customer and their guests, ensuring everyone is on the same page.
Booking Types - Guest Form:
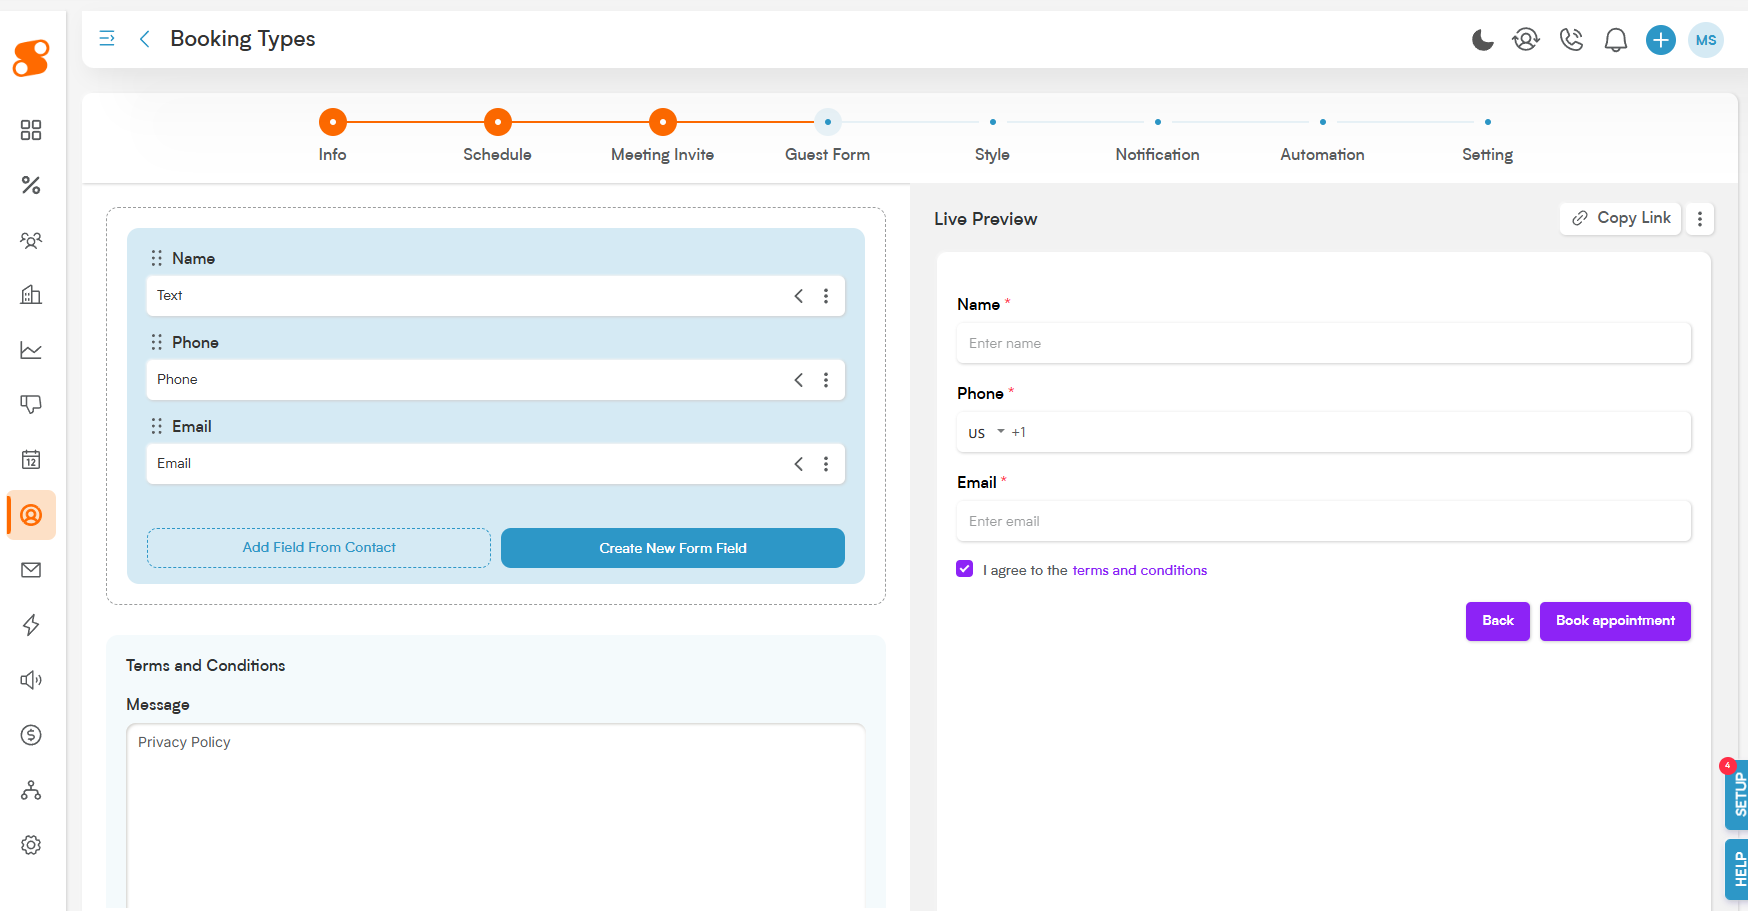
In the Guest Form section, you have the power to decide exactly what information you'd like to gather from your customers when they book an appointment with your user. You can see a live preview of how your form will look to customers on the right-hand side of the page!
We've started you off with some common fields like "Name," "Phone," and "Email" - but you can add additional fields by clicking on the blue "Create New Form Field" button or the "Add Field From Contact" button (which adds them from the Contact module).
You can also move the fields around on the form by grabbing the dots on the left side of each field and dragging.
Terms and Conditions Message: You'll notice a checkbox in the live preview on the right where customers can agree by selecting "I agree to the terms and conditions." This section allows you to customize the important message and information that appears when they click the "terms and conditions" link, ensuring everything is clear and transparent.
Booking Types - Style:
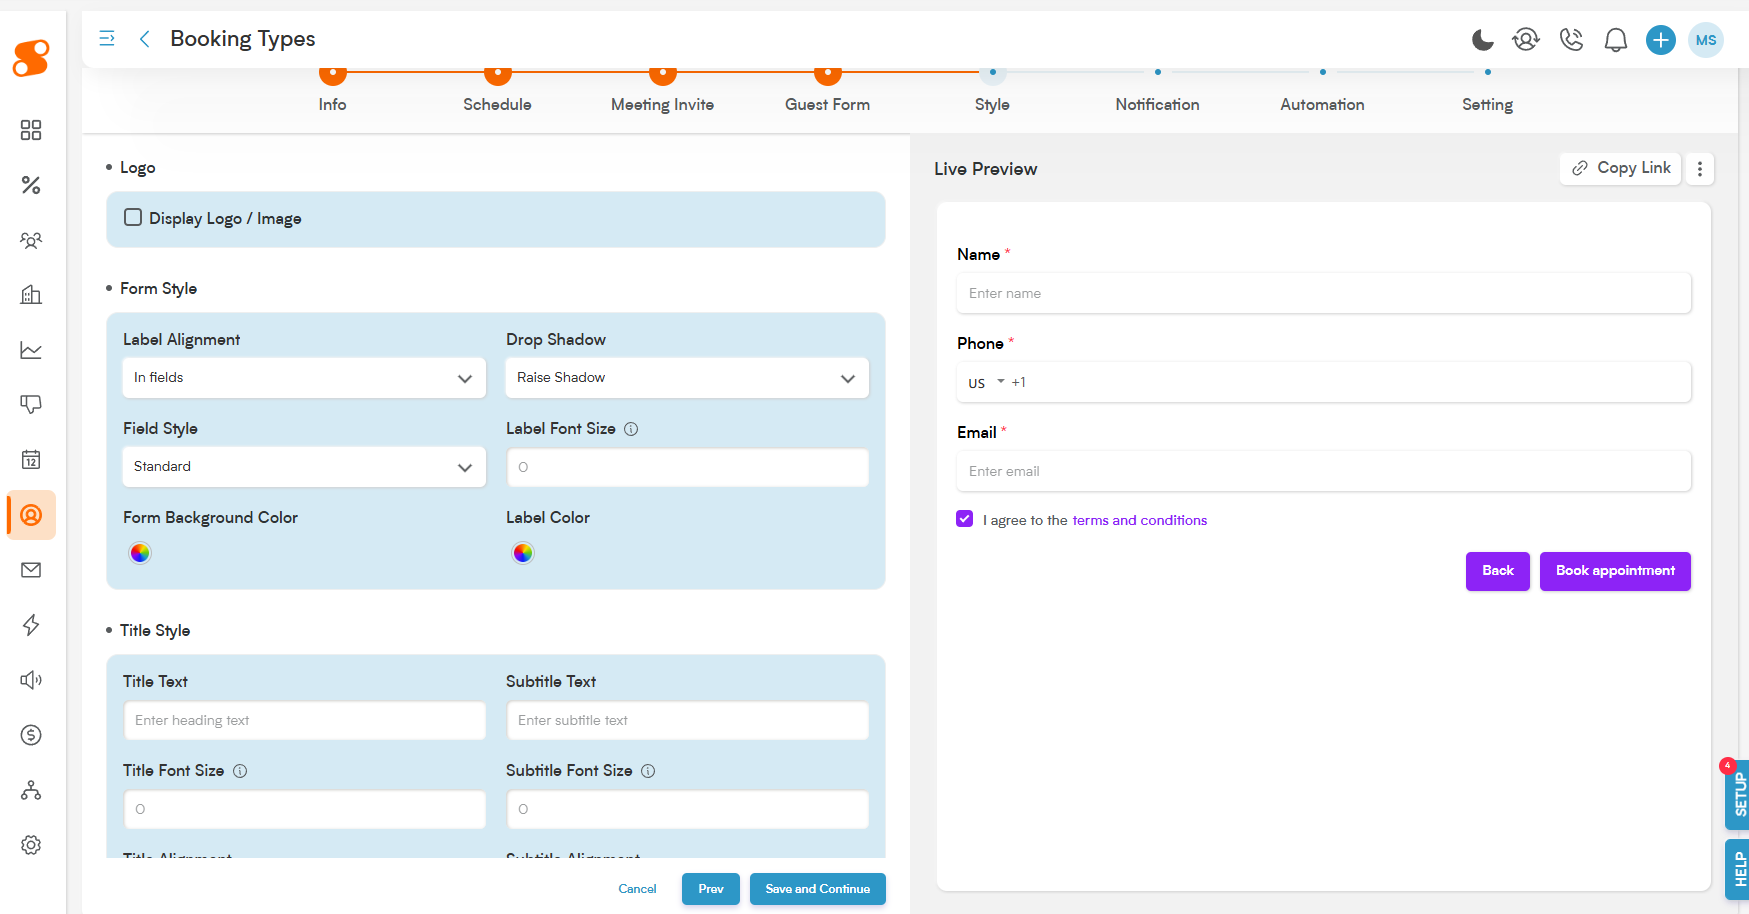
In the Style section, you can customize the form's appearance - including adding a logo, changing the style and colors of the font, adding drop shadows, and other fun additions to make the form yours.
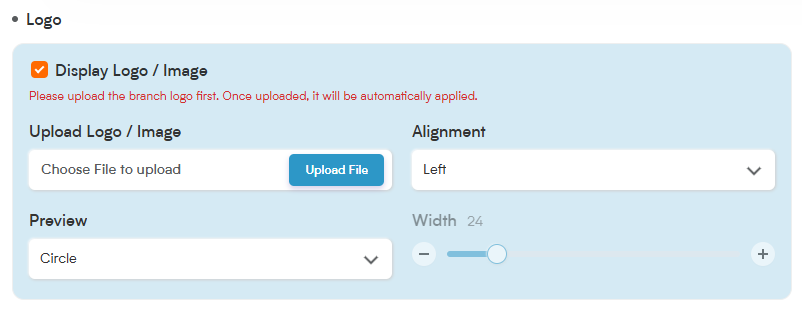
Display Logo/Image: Want to add a personal touch or reinforce your brand? Simply click on "Display Logo/Image" to upload your chosen logo or image directly onto your form.
Alignment: You decide where your image looks best! Choose to align it to the left, right, or center at the top of your form.
Preview:
Circle: This option displays your image as a neat, circular logo.
Square: Opt for a clean look with your logo framed in a rounded-corner square.
Full: Showcase your entire image! Selecting "Full" also activates the Width option, giving you the control to adjust the size of the image to perfectly fit your form's design.
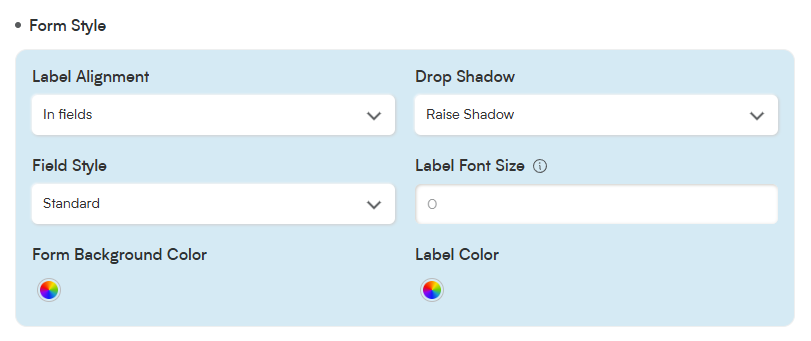
Label Alignment: This shows how the label of each field appears on the form - either In Field, Above Field, or Below Field.
Drop Shadow: Allows you to choose how you want the input boxes on the fields to look - either Raise Shadow, Recess Shadow, or Medium Float Shadow. Play around and see which option you prefer!
Field Style: This changes the shape of the input box of each field. The options available are:
Standard: A clean, flat design for a professional look.
Boxy: Fields with sharp edges and a solid border for a structured appearance.
Rounded: Fields with smooth, rounded edges for a softer design.
Recessed: Slightly indented fields for a sleek, modern effect.
Raised: Input fields with subtle shadows for a 3D effect.
Smackdab Standard: A bold variation ensuring high readability.
Label Font Size: This changes the size of the field labels, from between 12 and 18 pixels.
Form Background Color: Allows you to customize the background color of the form.
Label Color: Allows you to set the color of the field label.
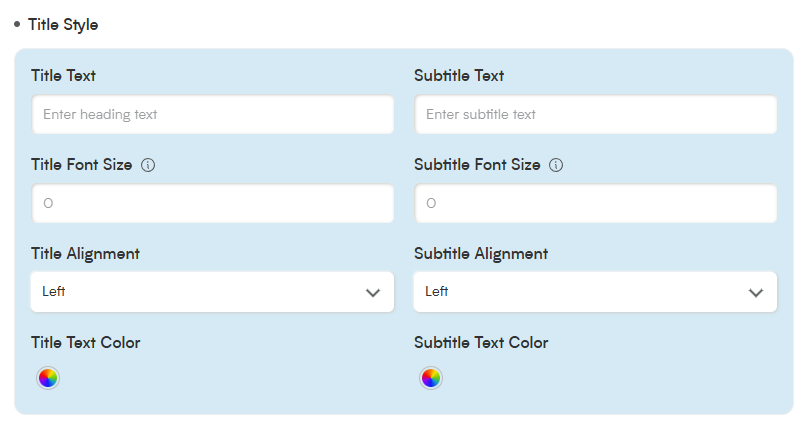
Title Text: You can add a heading text to grab the attention of your customers, or leave it blank.
Subtitle Text: This allows you to add smaller text below the title.
Title Font Size: Set the font size of the title text, between 14 and 40 pixels.
Subtitle Font Size: Set the font size for the subtitle text, between 12 and 26 pixels.
Title Alignment: This will allow you the change the alignment of the title text. The available alignments are left-aligned, right-aligned, or centered.
Subtitle Alignment: Set the alignment for the subtitle text - this can be different from the Title Alignment. The available alignments are left-aligned, right-aligned, or centered.
Title Text Color: Choose any custom color for your title text.
Subtitle Text Color: Choose any custom color for your subtitle text.

Button Alignment: Allows you to change the alignment of the "Back" and "Book Appointment" buttons at the bottom of the form.
Button Font Weight: Changes the weight style of the text on the buttons.
Button Font Size: Changes the size of the text on the buttons, which can be set between 14 and 40 pixels.
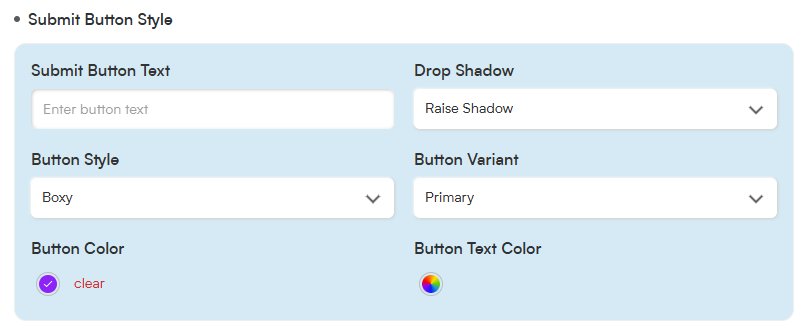
While the Common Button Style section allows you to change the general appearance of both buttons, the Submit Button Style and Back Button Style allow you to adjust the text and appearance of each button individually.
Submit Button Text: Allows you to change the text on the submit button from the default "Book Appointment", to anything your heart desires!
Drop Shadow: Changes the style of drop shadow on the button. Available options are Raise Shadow, Recess Shadow, and Medium Float Shadow.
Button Style: Change the shape of the button between Boxy and Rounded.
Button Variant: Change the style of the button between Primary, Secondary, Outline, or Text.
Button Color: Allows you to pick a custom color for the button.
Button Text Color: Allows you to choose a custom color for the text on the button.
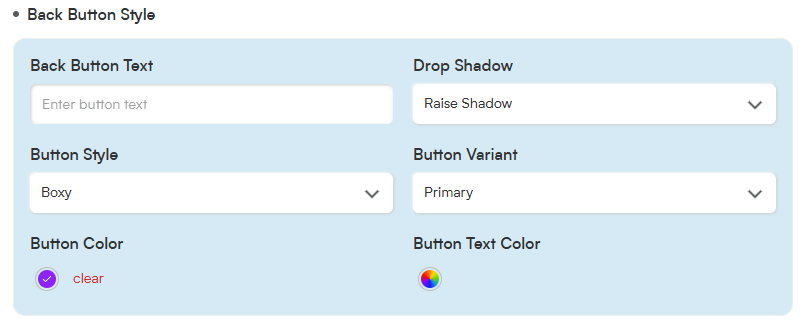
Back Button Text: Allows you to change the text on the submit button from the default "Back", to your own custom option.
Drop Shadow: Changes the style of drop shadow on the button. Available options are Raise Shadow, Recess Shadow, and Medium Float Shadow.
Button Style: Change the shape of the button between Boxy and Rounded.
Button Variant: Change the style of the button between Primary, Secondary, Outline, or Text.
Button Color: Allows you to pick a custom color for the button.
Button Text Color: Allows you to choose a custom color for the text on the button.

Primary Color: Changes the colors for styling on other form pages.
Schedule Page Color: Changes the color theme for the booking page.
Terms and Conditions Color: Changes the color of the link text for the Terms and Conditions.
Booking Types - Notification:
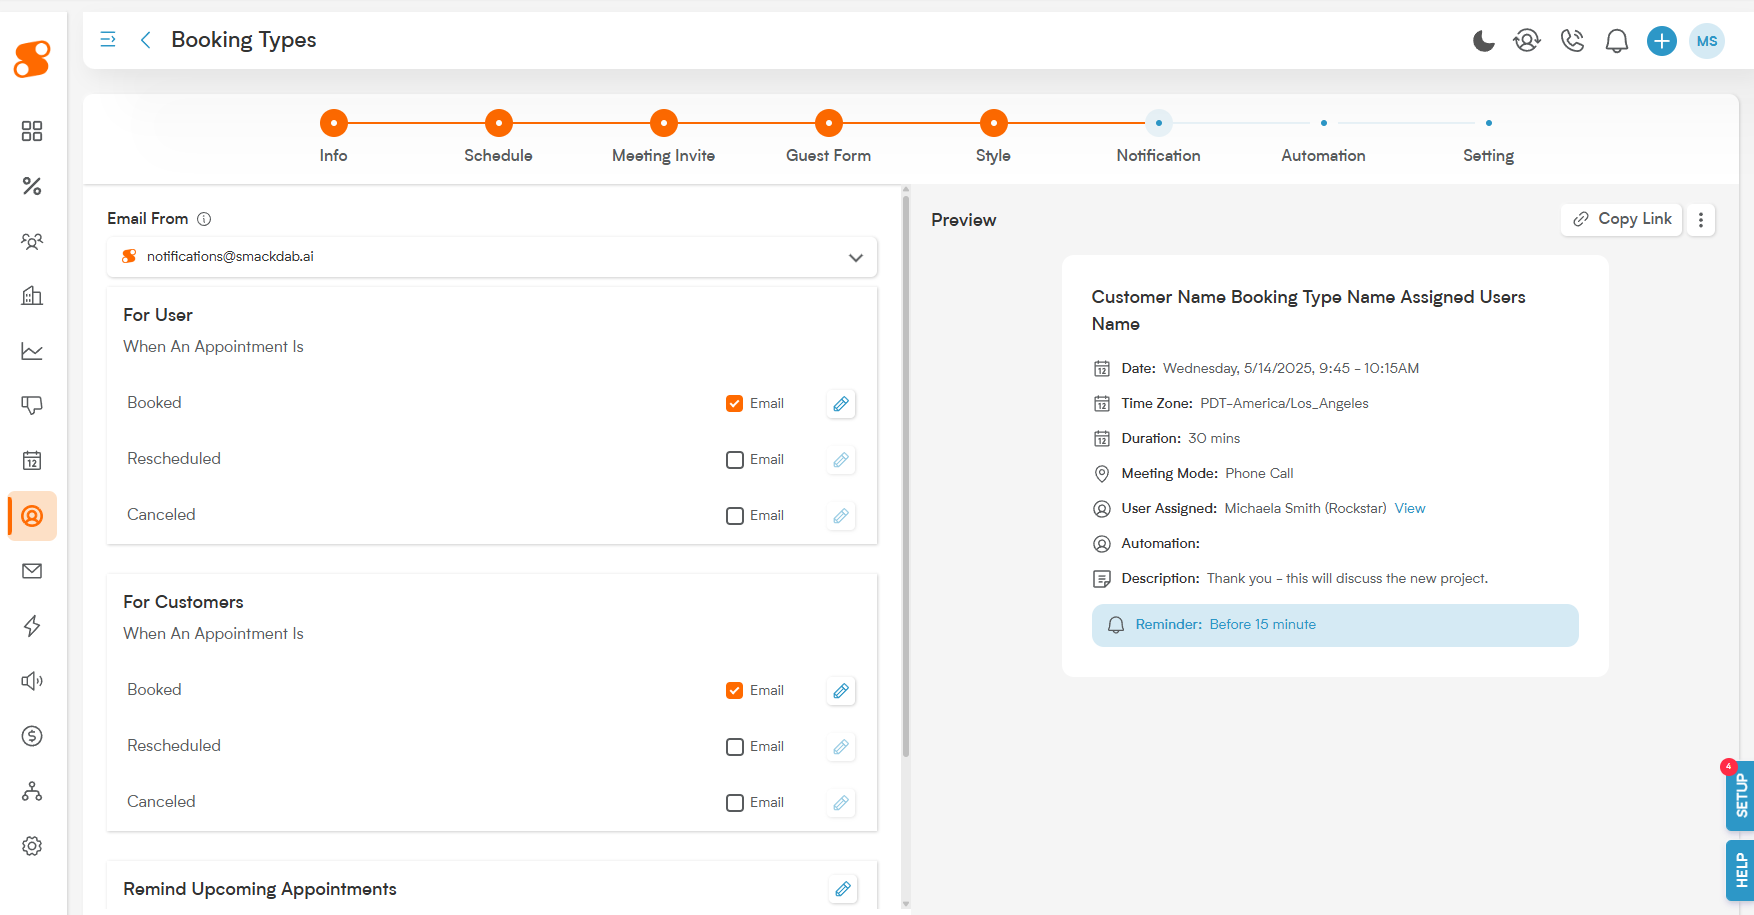
This section allows you to choose when and how the user and your customer receives notifications about the booking.
Our Notification section helps you ensure both your team and your customers stay up-to-date with booking details effortlessly.
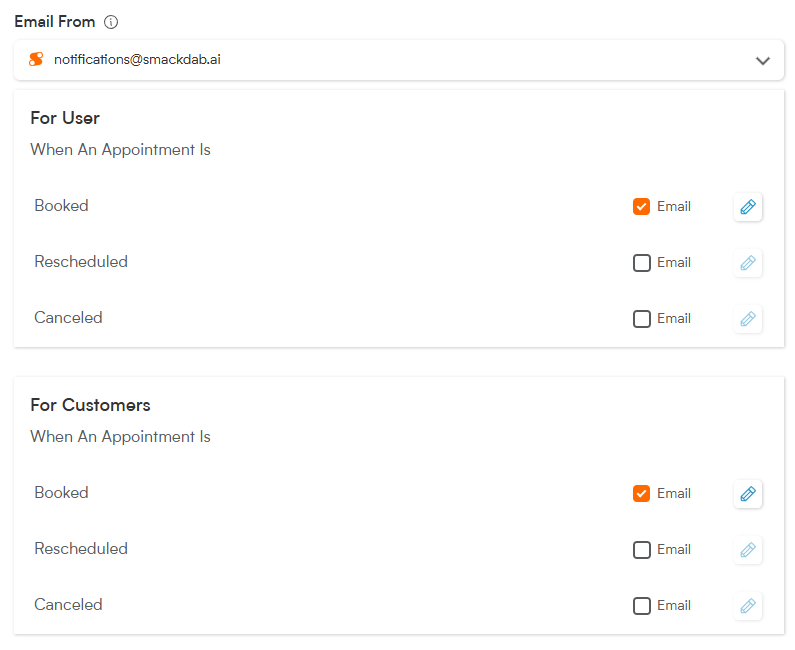
Email From: Decide whether notification emails should come directly from the user's personal email address or a general Smackdab notification email. This flexibility allows you to manage communications in the way that best suits your workflow.
For User: Empower your users by choosing if they receive an email notification when a booking is scheduled, rescheduled, or cancelled. This helps them stay organized and aware of any changes to their calendar.
For Customers: Provide excellent service by opting to send your customers email notifications when their booking is scheduled, rescheduled, or cancelled. This keeps them informed and reduces any potential confusion.
For all the notification emails mentioned above (for both users and customers), you can easily tailor the content. Simply click the Pencil icon next to each notification type to edit the email template and ensure the message perfectly matches your brand voice and provides all necessary information!
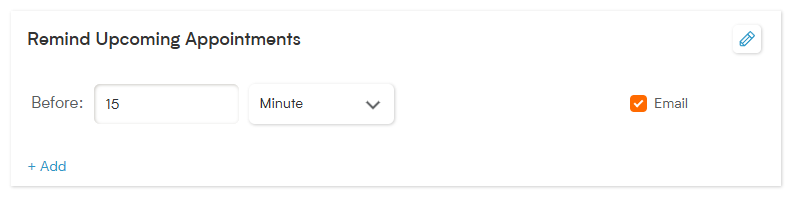
Remind Upcoming Appointments: If you want to send reminder emails about the upcoming appointment, you can fill out this section. Set up multiple reminders by clicking the "+ Add" button. Reminders can be set up as minutes, hours, days, weeks, or months in advance of the appointment.
Booking Types - Automation:
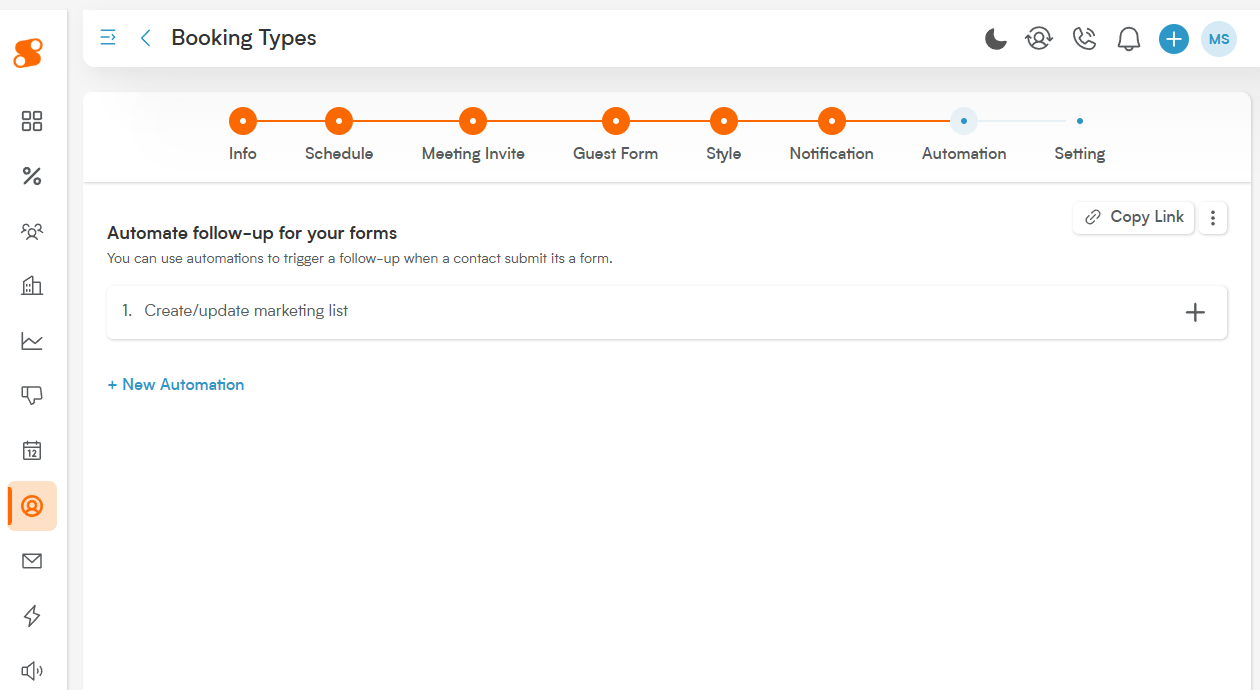
Make your new Booking Type work smarter for you with our intuitive Automation section! You'll find a selection of ready-to-use automations that you can effortlessly apply to trigger when a booking is scheduled (these are created in our Automation module). Plus, if you'd like to create a brand new automated response for when a customer submits this particular booking form, just click "+ New Automation" – it will take you directly to our Automation module to set it up in a few simple steps!
Booking Types - Setting:
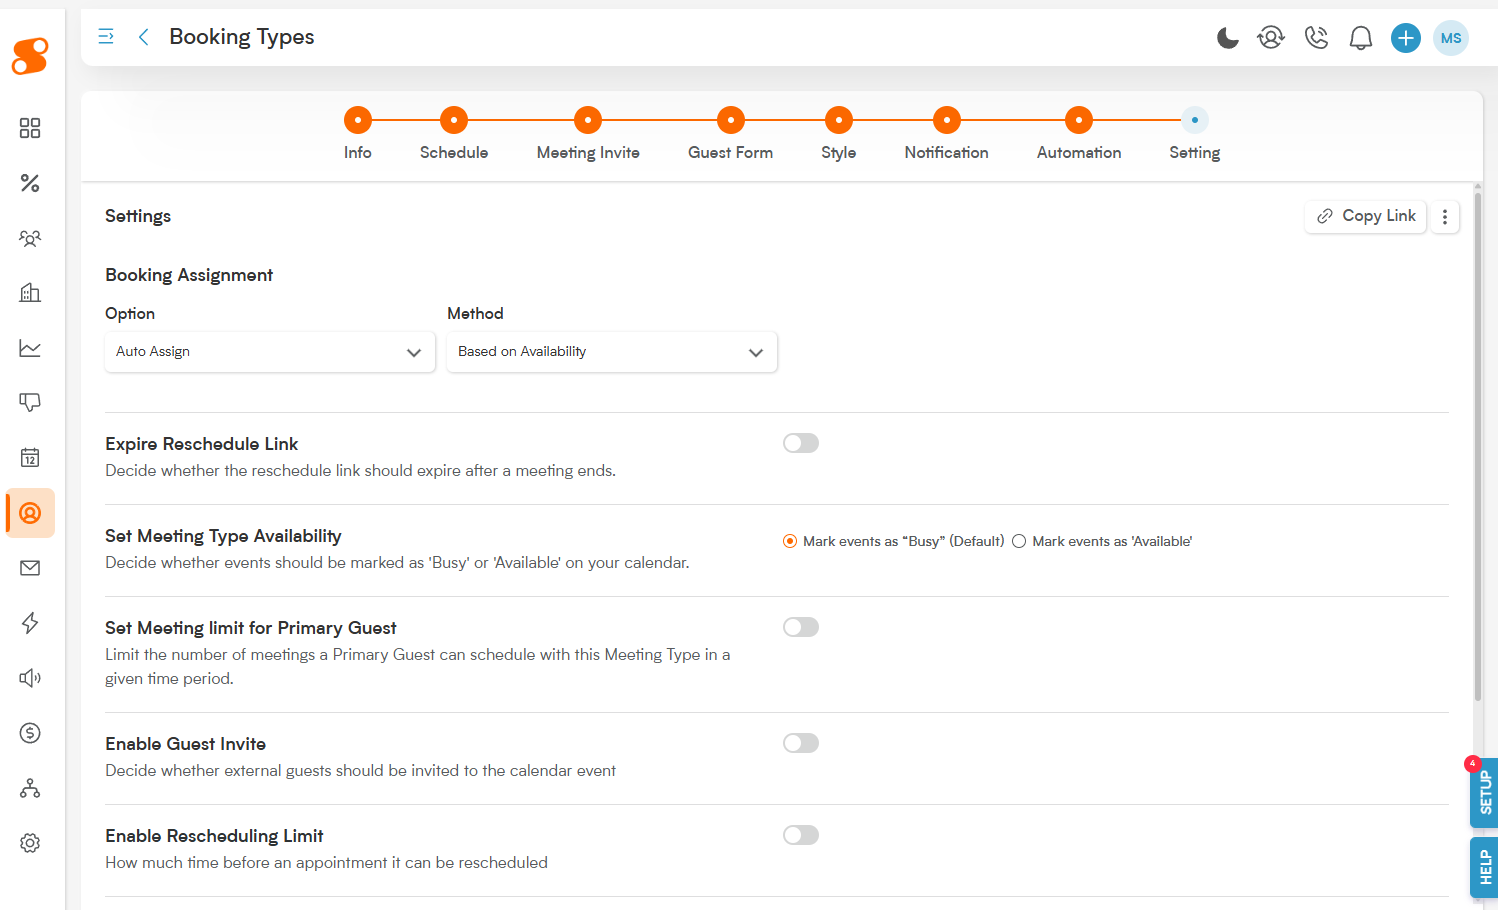
The Setting section gives your company a lot of control over how the booking will be handled.
Booking Assignment:
Option: If you have multiple users assigned to this booking type, this allows you to choose between Auto Assign (letting Smackdab assign the user to connect the customer with) or Let Customer Select User.
-
Method: If "Option" is set to Auto Assign, then this dropdown menu will be available for you to choose the method in which Smackdab assigns the customer to the user.
Based on Availability: This option will assign the customer to the first available user, based on their available and schedule.
Strict Round Robin: This will distribute bookings evenly between users in order - ignoring any availability for the users.
Flexible Round Robin: Similar to Strict Round Robin, except that it keeps in mind availability for users, ensuring no scheduling conflicts.
Expire Reschedule Link: Do you want to avoid allowing the customer to reschedule after the meeting time has ended?
Set Meeting Type Availability: If this booking is scheduled, should the user be set to "Busy" or "Available"?
Set Meeting limit for Primary Guest: Allows you to limit the number of meetings a customer can schedule with this booking type in a specified time period. You can also choose if that limit applies only to their individual email address, or to their entire company's email.
Enable Guest Invite: Should customers be able to invite guests? This is great for when a customer wants to add a partner to the meeting!
Enable Rescheduling Limit: Gain more control over your schedule with our Rescheduling Limit feature! By activating this option, you can set a maximum number of times a customer can reschedule their appointment. Plus, you can define how close to the appointment time changes are permitted, helping you prevent last-minute adjustments and keep your schedule running smoothly.
Enable Cancellation Limit: Protect your team's valuable time with the Cancellation Limit. This handy feature allows you to specify how far in advance a customer must cancel an appointment. Similar to the rescheduling limit, this helps you avoid unexpected gaps and last-minute disruptions to your team's schedule.
Show Booking Confirmation Page: Customize your customer's booking experience with our Booking Confirmation Page option. Prefer to use your own company's confirmation page instead of the standard one? Simply activate this feature and enter the web address for your desired confirmation link. It's an easy way to maintain brand consistency and direct clients to your preferred thank-you page.
Enable Honeypot Spam Protection: This helps protect your form from being spammed by online bots!
Now your Booking Type setup is complete!
From here, you can go back to the Booking Types page, and you or your user can go to the My Links view in order to copy the link to send to the customer!
Once the customer has the link, they can fill out the form and choose their time slot on the schedule, and that time will be added to the user's calendar and dashboard automatically.