
Unleash the power of effortless communication! An Email Marketing Template is a brilliant pre-designed format, making it a breeze for sales and marketing teams to send personalized, automated emails. Get ready for seamless brand consistency, huge time savings, and sky-high engagement!
How to Create an Email Template
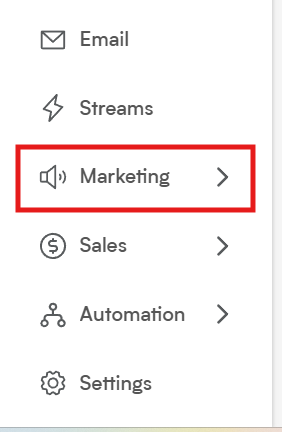
Go to "Marketing"
Select "Marketing" from the main menu.
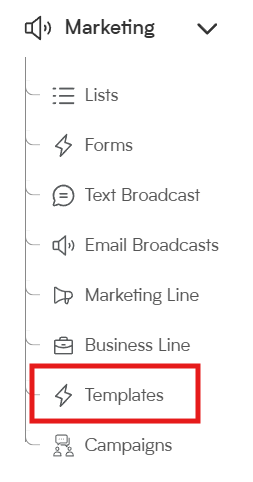
Under "Marketing", click on "Templates"
Select "Create a New Template"
Click on the "Create a New Template" button in the upper, right-hand corner.

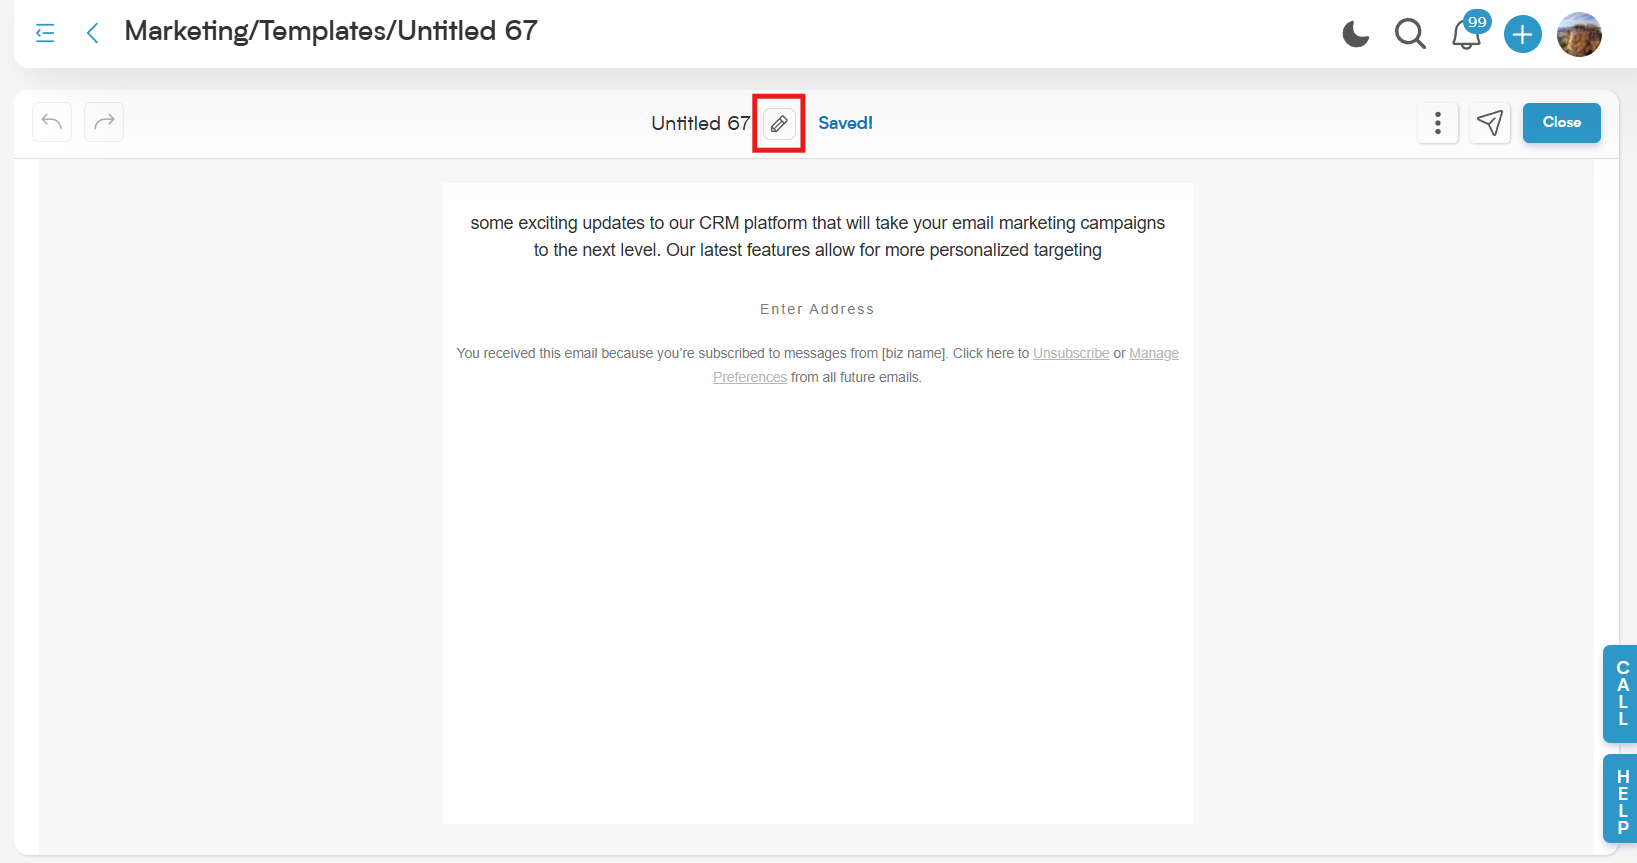
Email Template Design Page
The Email Template Design Page will open. Start by clicking on the pencil icon at the top of the screen to name your new template.
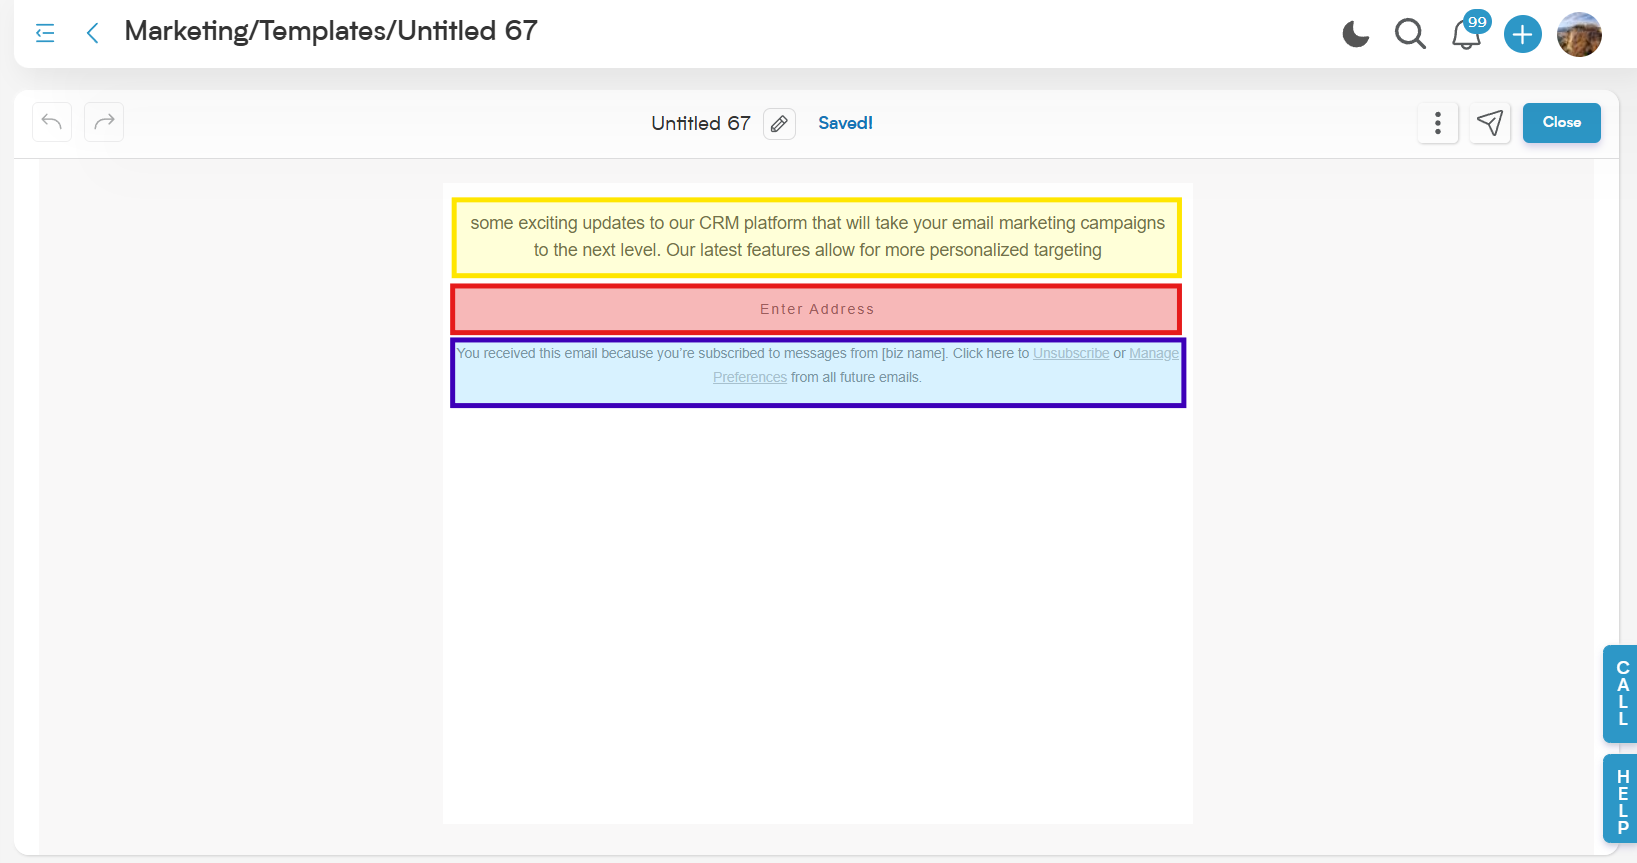
Template Blocks
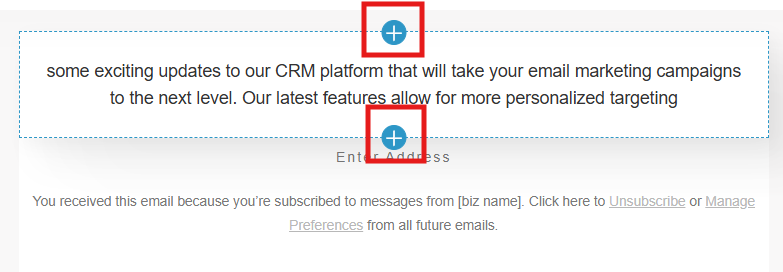
The Email Template Design Page comes with three default blocks, highlighted in the image below:
Header (Yellow)
Address (Red)
Footer (Blue)
You can add your own template blocks by hovering over an existing block and clicking the plus (+) button.
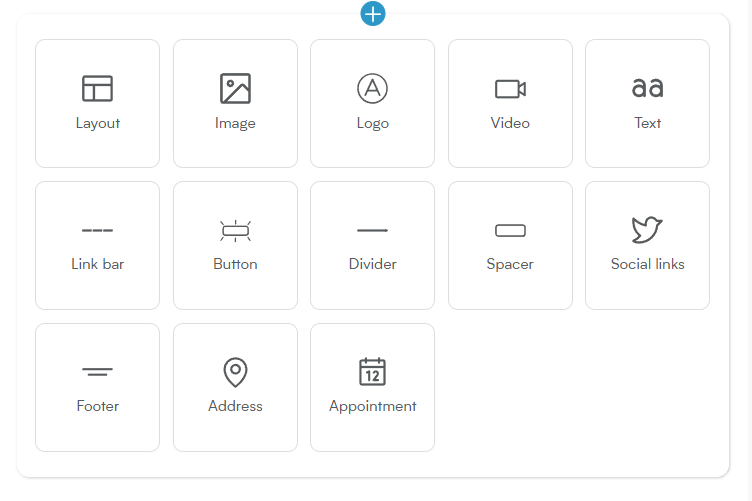
A list of block types will appear. These include:
Layout: Choose single- or multi-column structures for content arrangement.
Image: Insert custom images.
Logo: Add your company logo.
Video: Embed video thumbnails or links.
Text: Add customizable text content.
Link Bar: Insert navigation bars with clickable links.
Button: Add CTA buttons linking to URLs.
Divider: Insert horizontal lines to separate content sections.
Spacer: Add vertical spacing between content blocks.
Social Links: Insert social media icons linked to your profiles.
Footer: Customize with branding or disclaimers.
Address: Add your physical address (compliant with email laws).
Appointment: Include a booking link for direct appointment scheduling.
Click on any block to add it to your email template. You can later rearrange a block by clicking on the block and dragging it to where you want it to go.
Global Styles
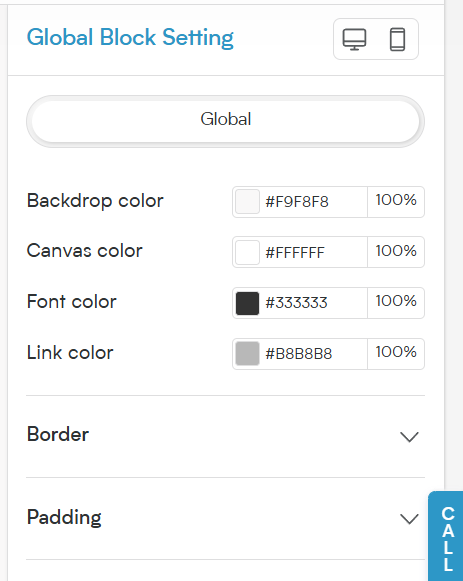
You can apply colors and styles to the entire email template by clicking on a blank part of the template outside a block. The Global Block Setting will appear in the right-hand side, which allows you to set:
Backdrop Color
Canvas Color
Font Color
Link Color
Border Color & Thickness
Padding (Top & Bottom)
Block Styling
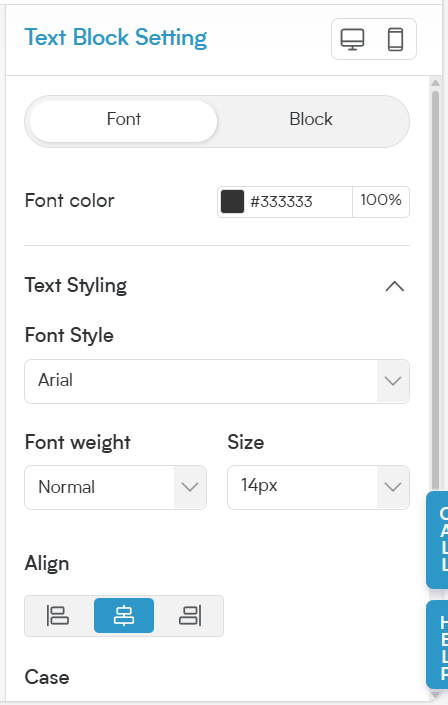
You can apply colors and font styles to a specific block of the email template by clicking inside that block. The Text Block Setting will appear on the right-hand side, which allows you to set:
Font Color
Font Style
Font Weight
Font Size
Font Alignment
Additional Controls
You can find additional controls for the blocks by clicking on the blocks. A menu will appear to the side of the block with options.
Reorder Blocks: Change where the block appears in the template
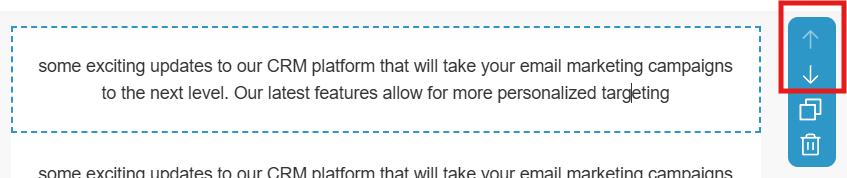
Duplicate Block: Make a copy of the block (preserves styling)

Delete Block: Get rid of that block

Undo/Redo: Make a mistake? No worries! There is an undo button at the top left of the design screen.

How to Send a Test Email
Go to "Marketing"
Select "Marketing" from the main menu.
Under "Marketing", click on "Templates"
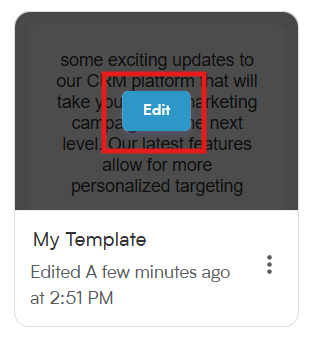
Select Template
Hover over the template you want to test. A "Edit" button will appear. Select the "Edit" button.
"Send Test"
Select the "Sent Test" button located in the upper, right-hand corner.

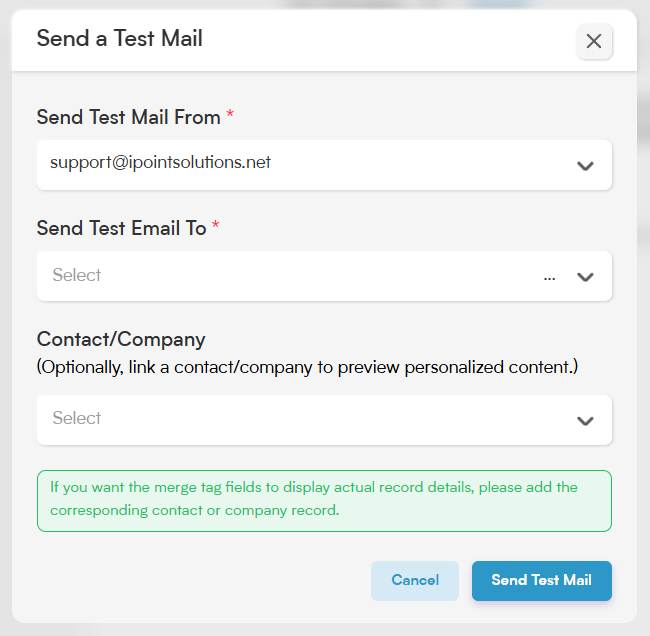
Send a Test Mail
In the "Send a Test Mail" pop-up window, complete the following:
Send Test Mail From: Select the email address that will send the test mail
Send Test Email To: Enter the email address to receive the preview
Contact/Company (Optional): Select a CRM contact or company to populate dynamic fields
Click “Send Test Mail” to send the preview.
Tips:
You can only select a Contact/Company if your broadcast campaign is approved.
You can insert entity fields by typing "/" within a text block to access Contact/Company field options.
Smackdab's easy to use template creator means anyone on your team can build great-looking emails without needing design or tech skills. It streamlines the whole process—from layout to launch—so you can focus on connecting with your audience, not wrestling with formatting. Smackdab makes email marketing feel simple, fast, and even fun!