
Managing emails efficiently is the key to staying productive, and Smackdab CRM makes it easier with custom email views.
By creating, cloning, pinning, or rearranging views, you can tailor your email interface to match your workflow.
This means quicker access to important emails, better organization, and a more streamlined experience.
How to Create an Email Custom View
Creating a custom email view in Smackdab CRM allows you to filter and categorize emails based on your specific needs, making it easier to track conversations and manage your inbox.
-
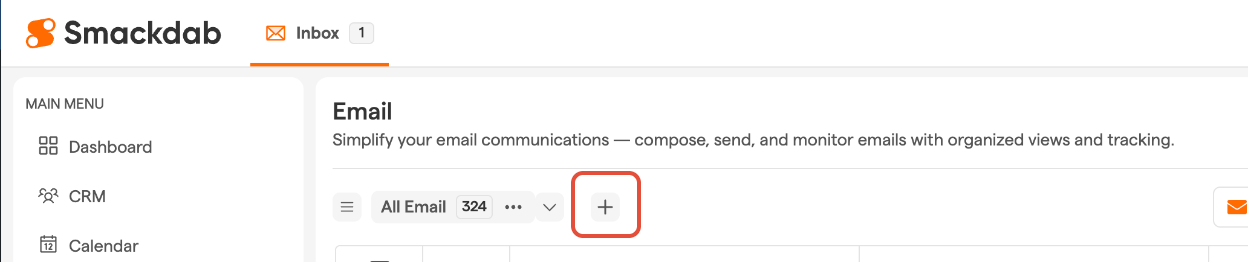
Go to "Email"
Open the "Email" module from the main menu.
-
Create Custom View
Click the “+ View” button to create a new custom view.
-
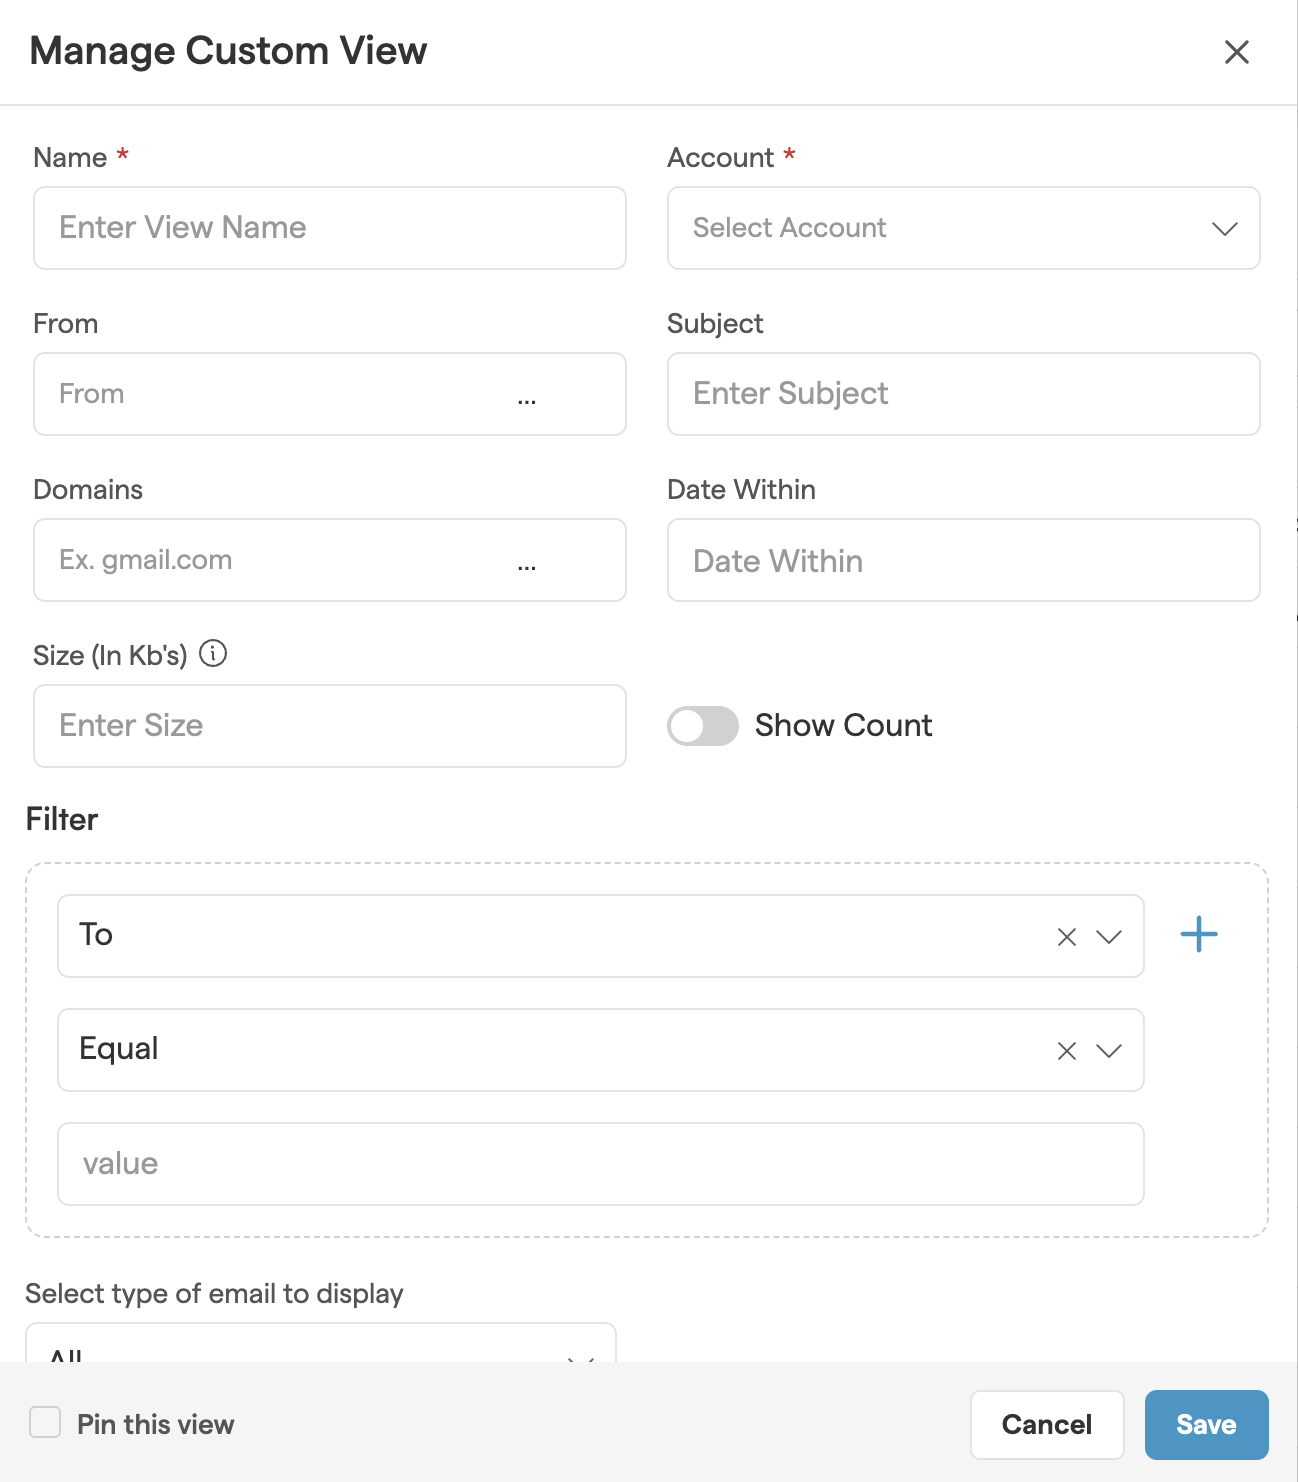
Manage Custom View
When the pop-up window opens, configure your view with the following options:
Name: Give your view a unique name
Account: Select the email address to apply this custom view to
To: Filter emails by recipient’s email address
Subject: Search emails by keywords in the subject line
Domain: Filter emails based on the sender’s or recipient’s domain
Date Within: Select a time range to view emails from a specific period
Size (In KB): Filter emails by size to identify large attachments
Count: Choose whether to display the total count of filtered emails
Email Type: Select whether to display all, read, unread, starred, or unstarred emails
-
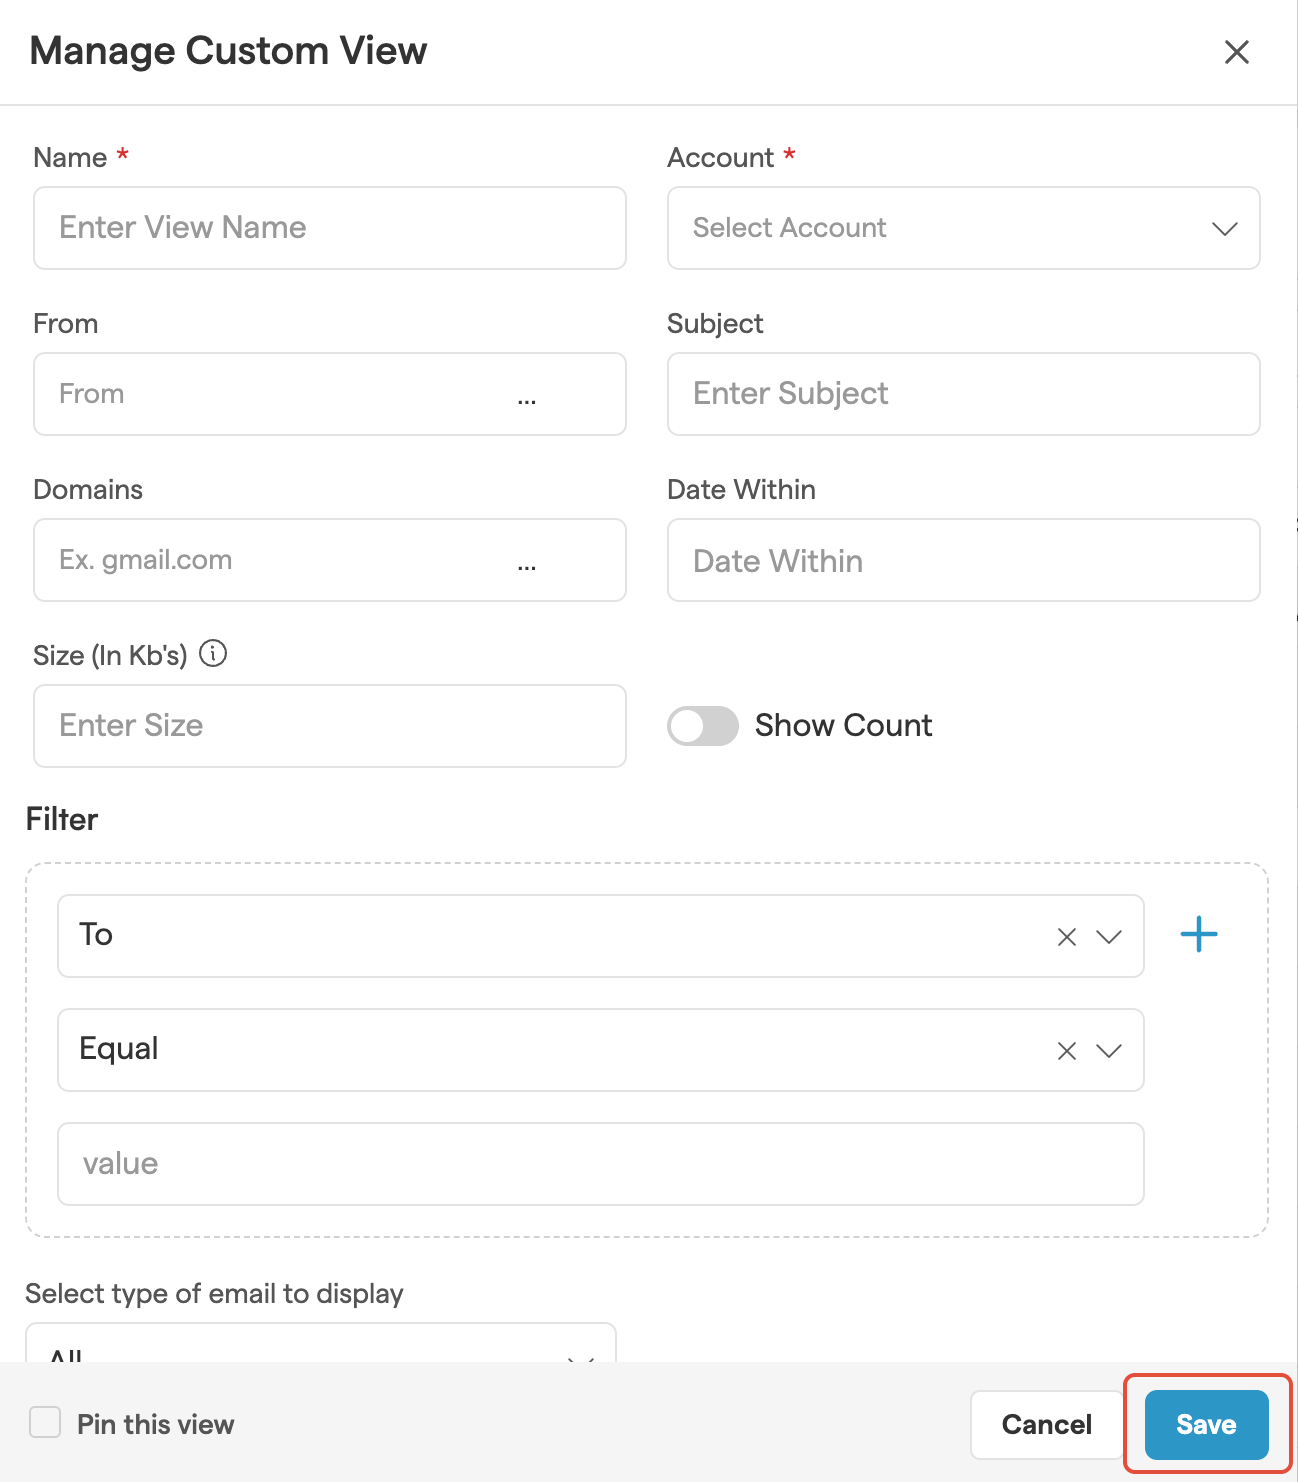
Save
Click "Save" to apply the custom view. Once saved, the view will be available in your email list.
How to Clone a Custom View
If you frequently adjust your email filters, cloning a view can save time by providing a copy that you can modify without altering the original.
Duplication: Creates an exact copy of the selected view.
Editable Copy: Rename and modify the cloned view without affecting the original.
Independent Configuration: Changes to the cloned view do not impact the original view.
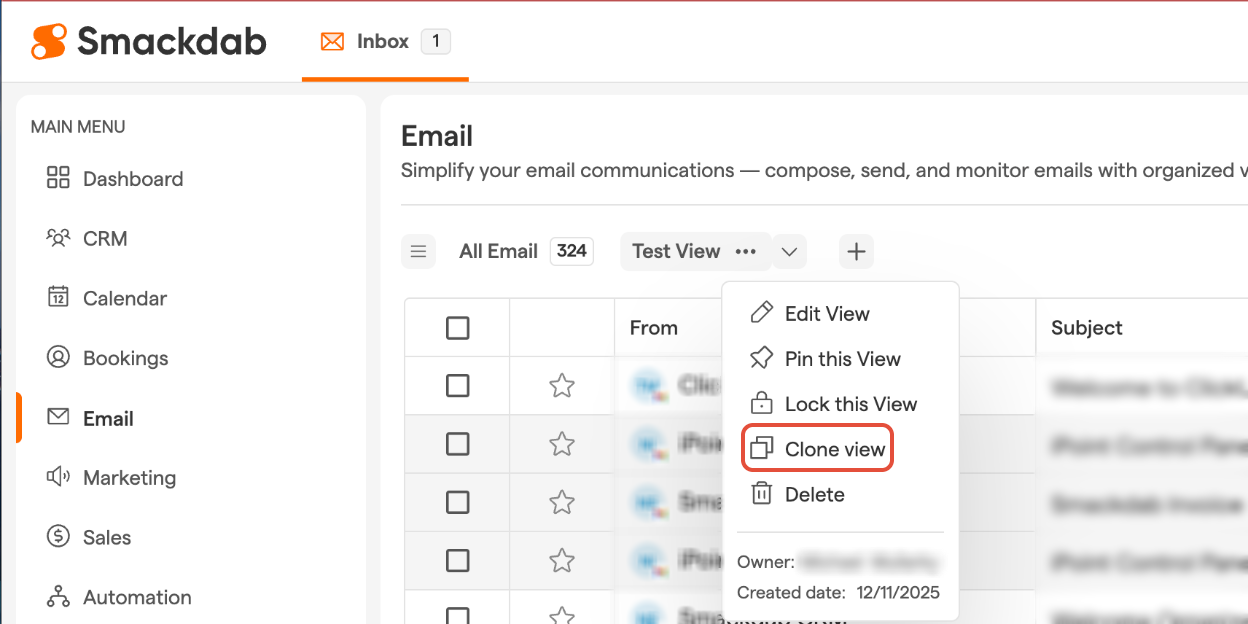
Steps to Clone a Custom View:
Go to the View Pane.
Click the three dots next to the view you want to clone.
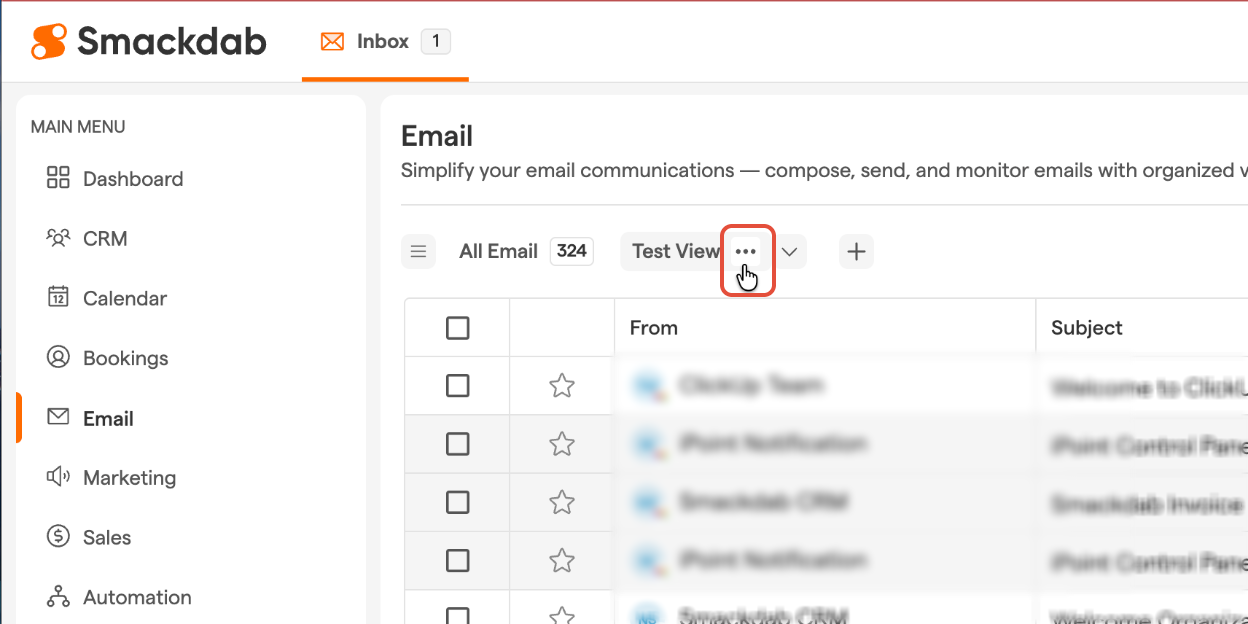
Select “Clone View” to create a duplicate.
How to Pin Views?
If you regularly use certain views, pinning them ensures they remain easily accessible at the top of your list.
Key Features of Pinning Custom Views:
Enhanced Visibility: Pinned views appear at the top for quick access.
Quick Navigation: Access pinned views with one click.
Flexible Customization: Pin or unpin views anytime based on your workflow.
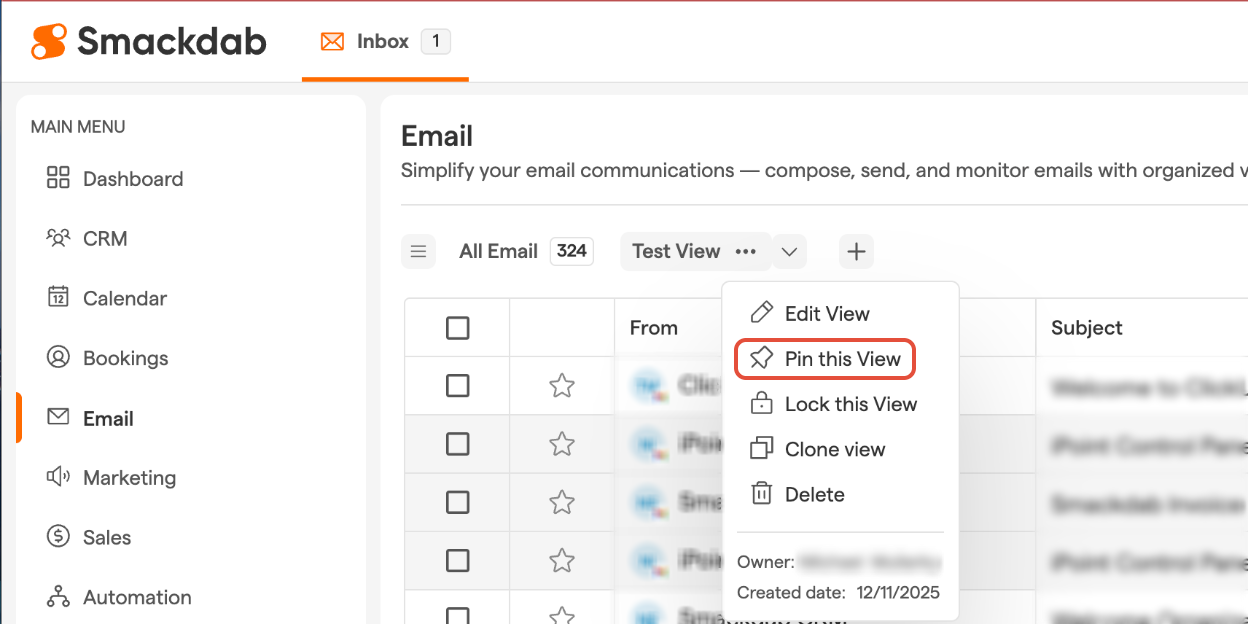
Steps to Pin a View:
Navigate to the View Pane.
Click the three dots next to the view you want to pin.
Select “Pin This View” to keep it at the top.
How to Change View Position
Rearranging your views helps you keep the most important ones in an order that best fits your workflow.
Key Features of Changing View Position:
Custom Order: Organize views based on priority.
Drag-and-Drop Interface: Simply move views around as needed.
Persistent Order: Your arrangement remains saved across sessions.
Steps to Change View Position:
Go to the View Pane and click the down arrow to see all views.
Click and hold the left mouse button on a view.
Drag the view up or down to reorder it.
Smackdab CRM makes managing email views effortless, ensuring you spend less time searching and more time getting things done.
Whether you need custom filtering, quick access, or personalized organization, these features help keep your email workflow smooth and efficient.