
In Smackdab, you can personalize how you view and work with your records by setting a default layout for each entity.
Setting a default layout means you’ll always land on your preferred view, making your workflow smoother and faster.
Here’s how you can set a Default Layout:
Go to Settings.
Click the gear icon located in the top-right corner to open the Settings menu.
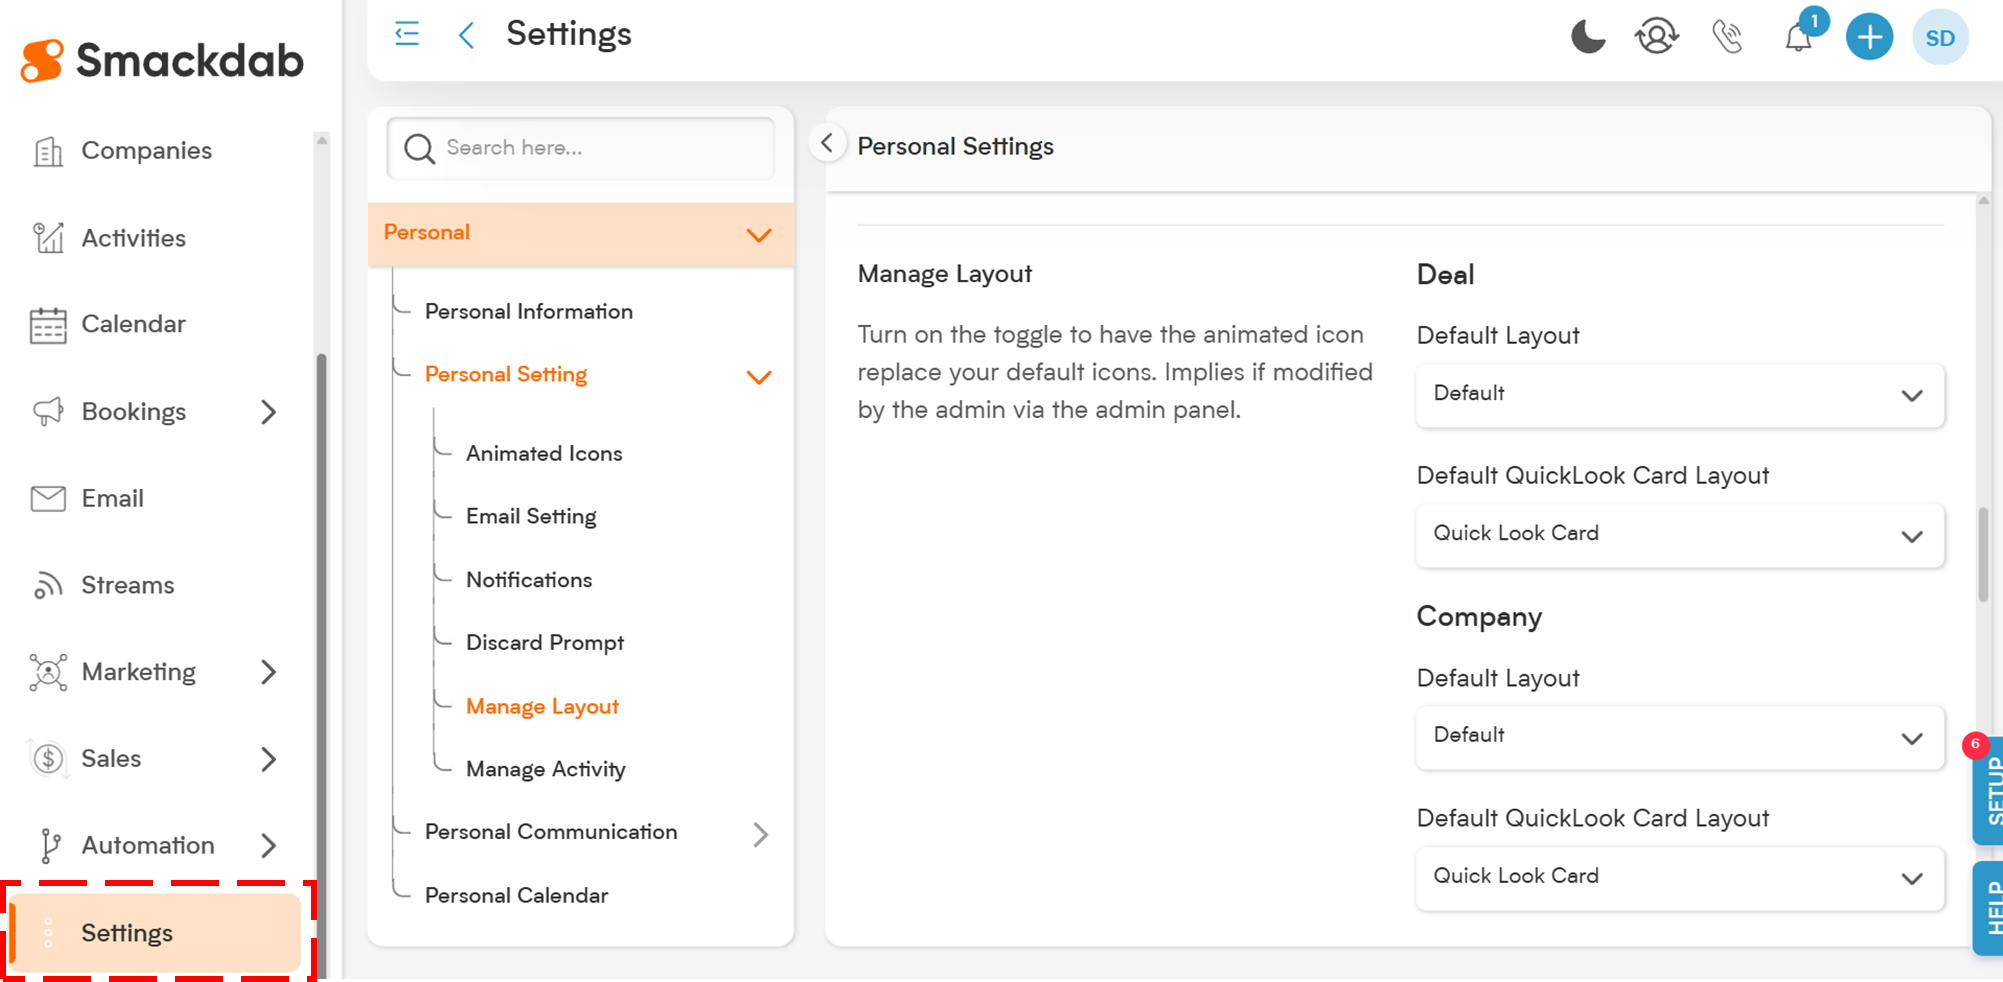
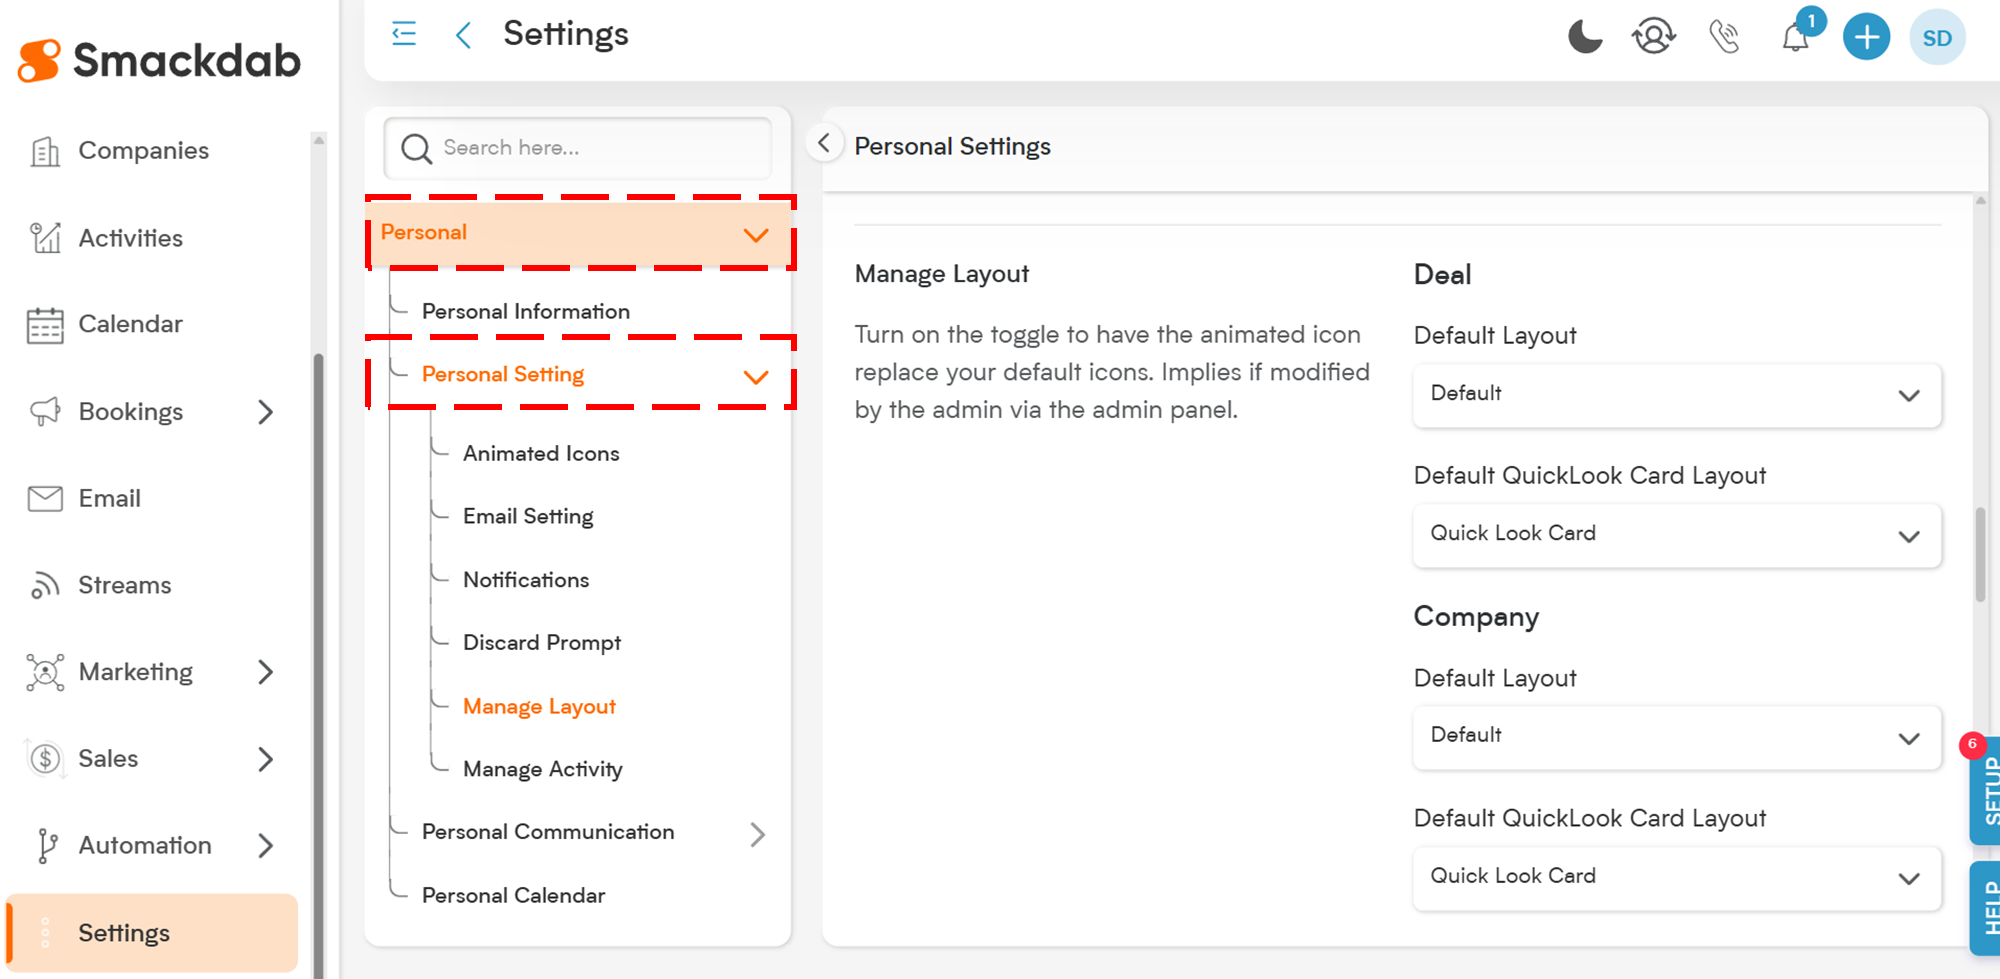
Select Personal Settings.
Inside Settings, click on Personal → then select Personal Setting.
This section allows you to manage personal preferences that customize your Smackdab experience.
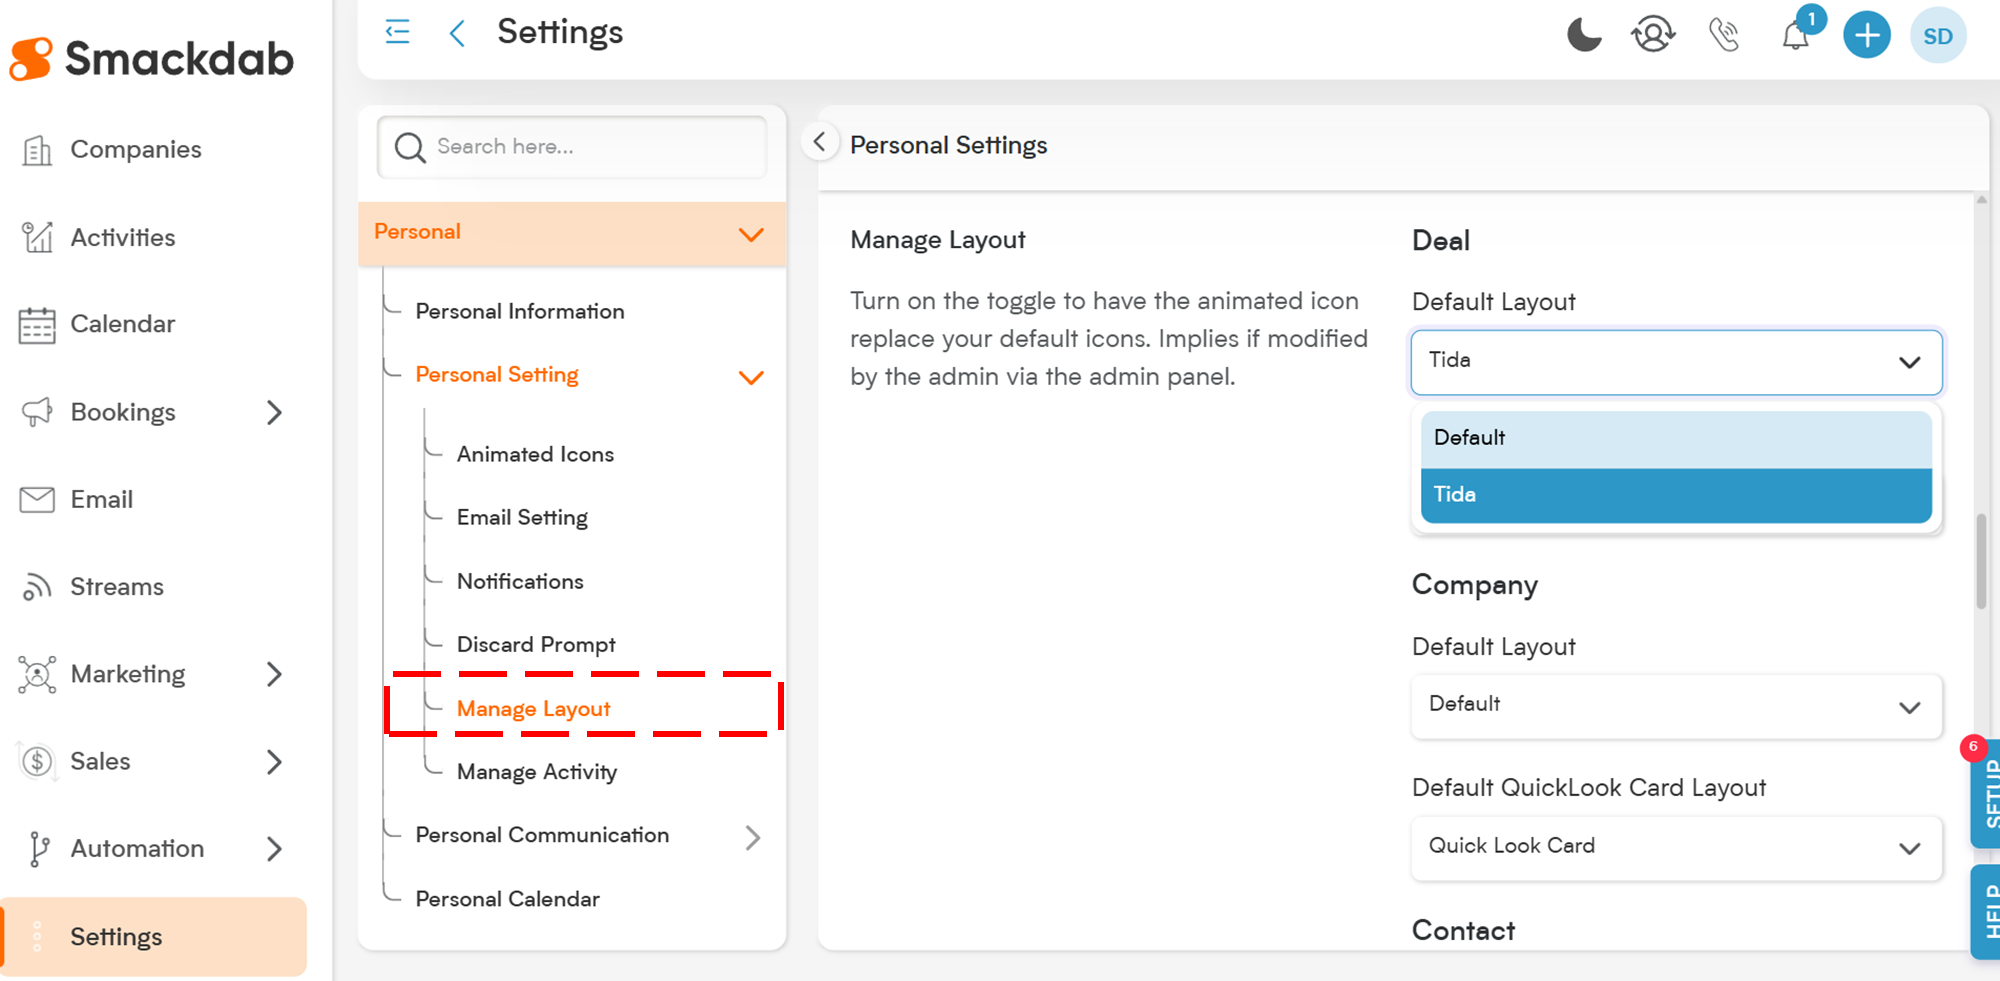
Click on Manage Layout.
Under Personal Settings, click on the Manage Layout option.
This is where you can see and control layout settings for different entities like Deals, Contacts, Companies, and Activities.
Choose the Entity.
In the Manage Layout section, you’ll see a dropdown menu.
Select the entity (for example, Deal, Contact, Company, or Activity) for which you want to set a default layout.
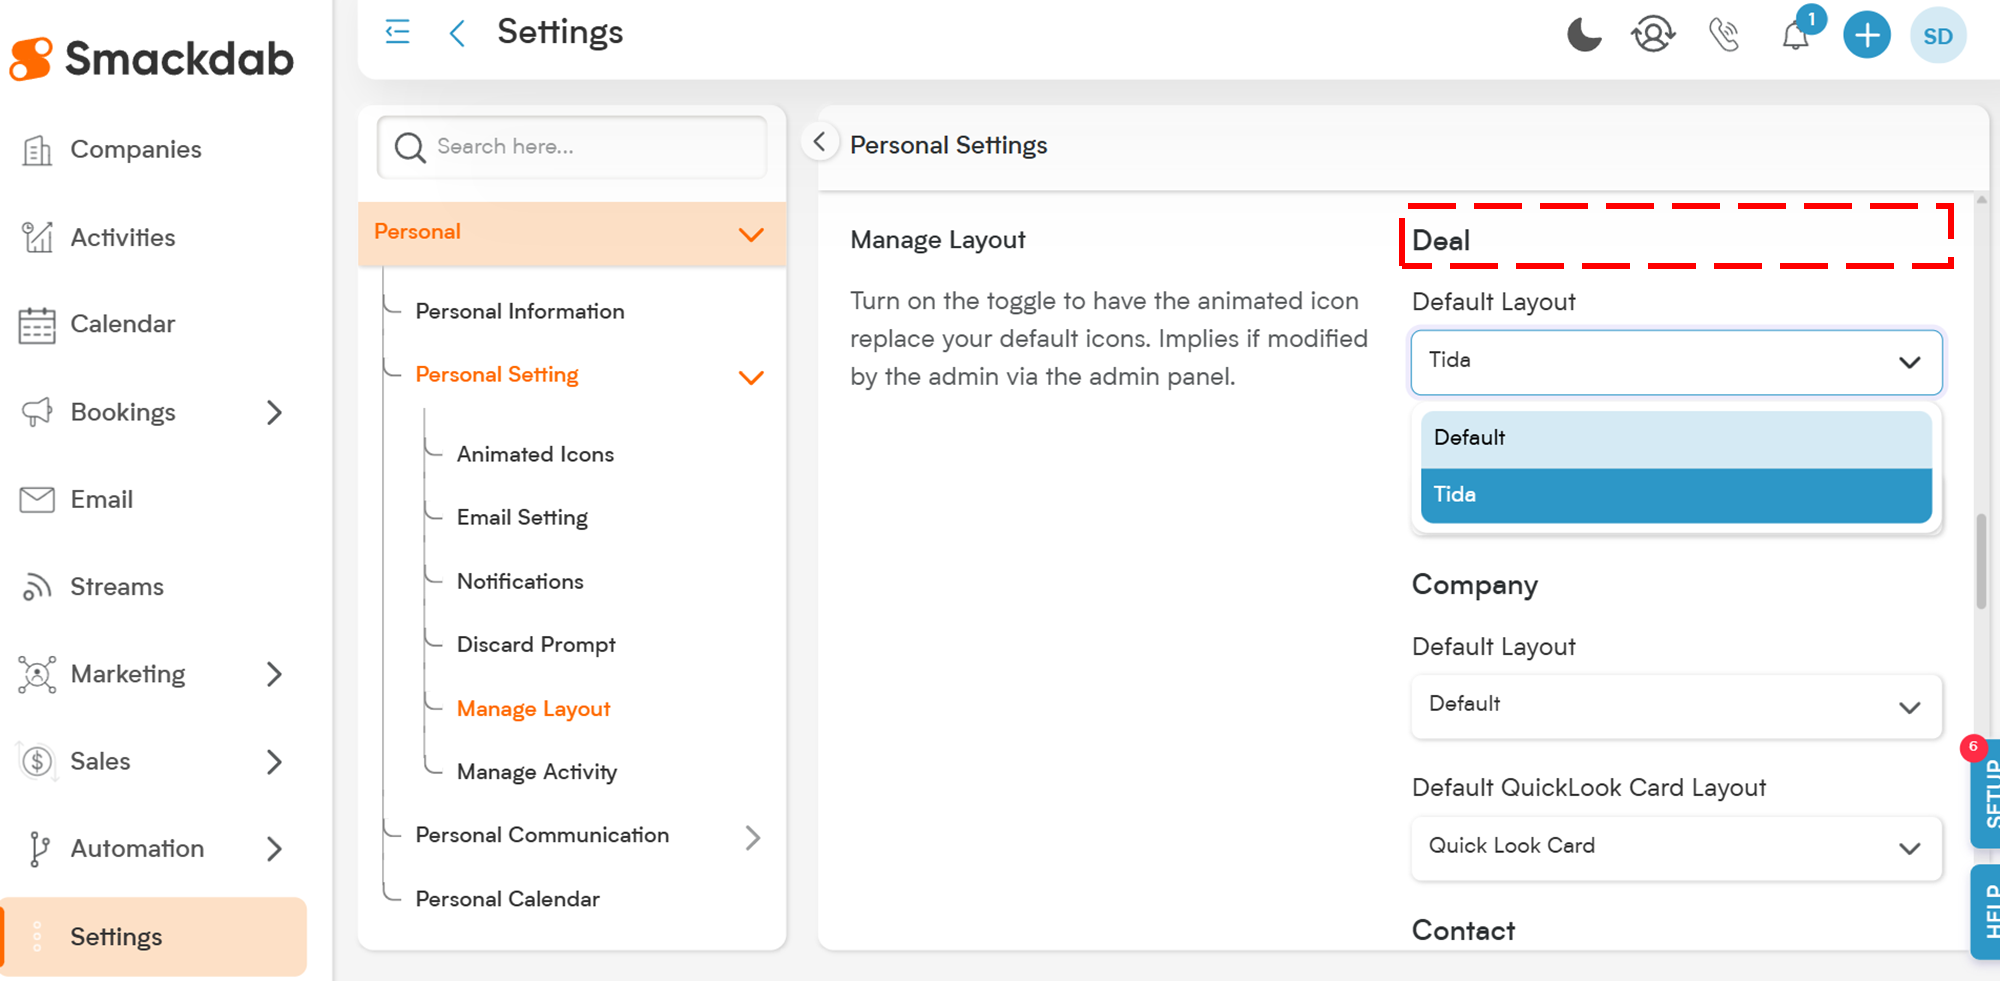
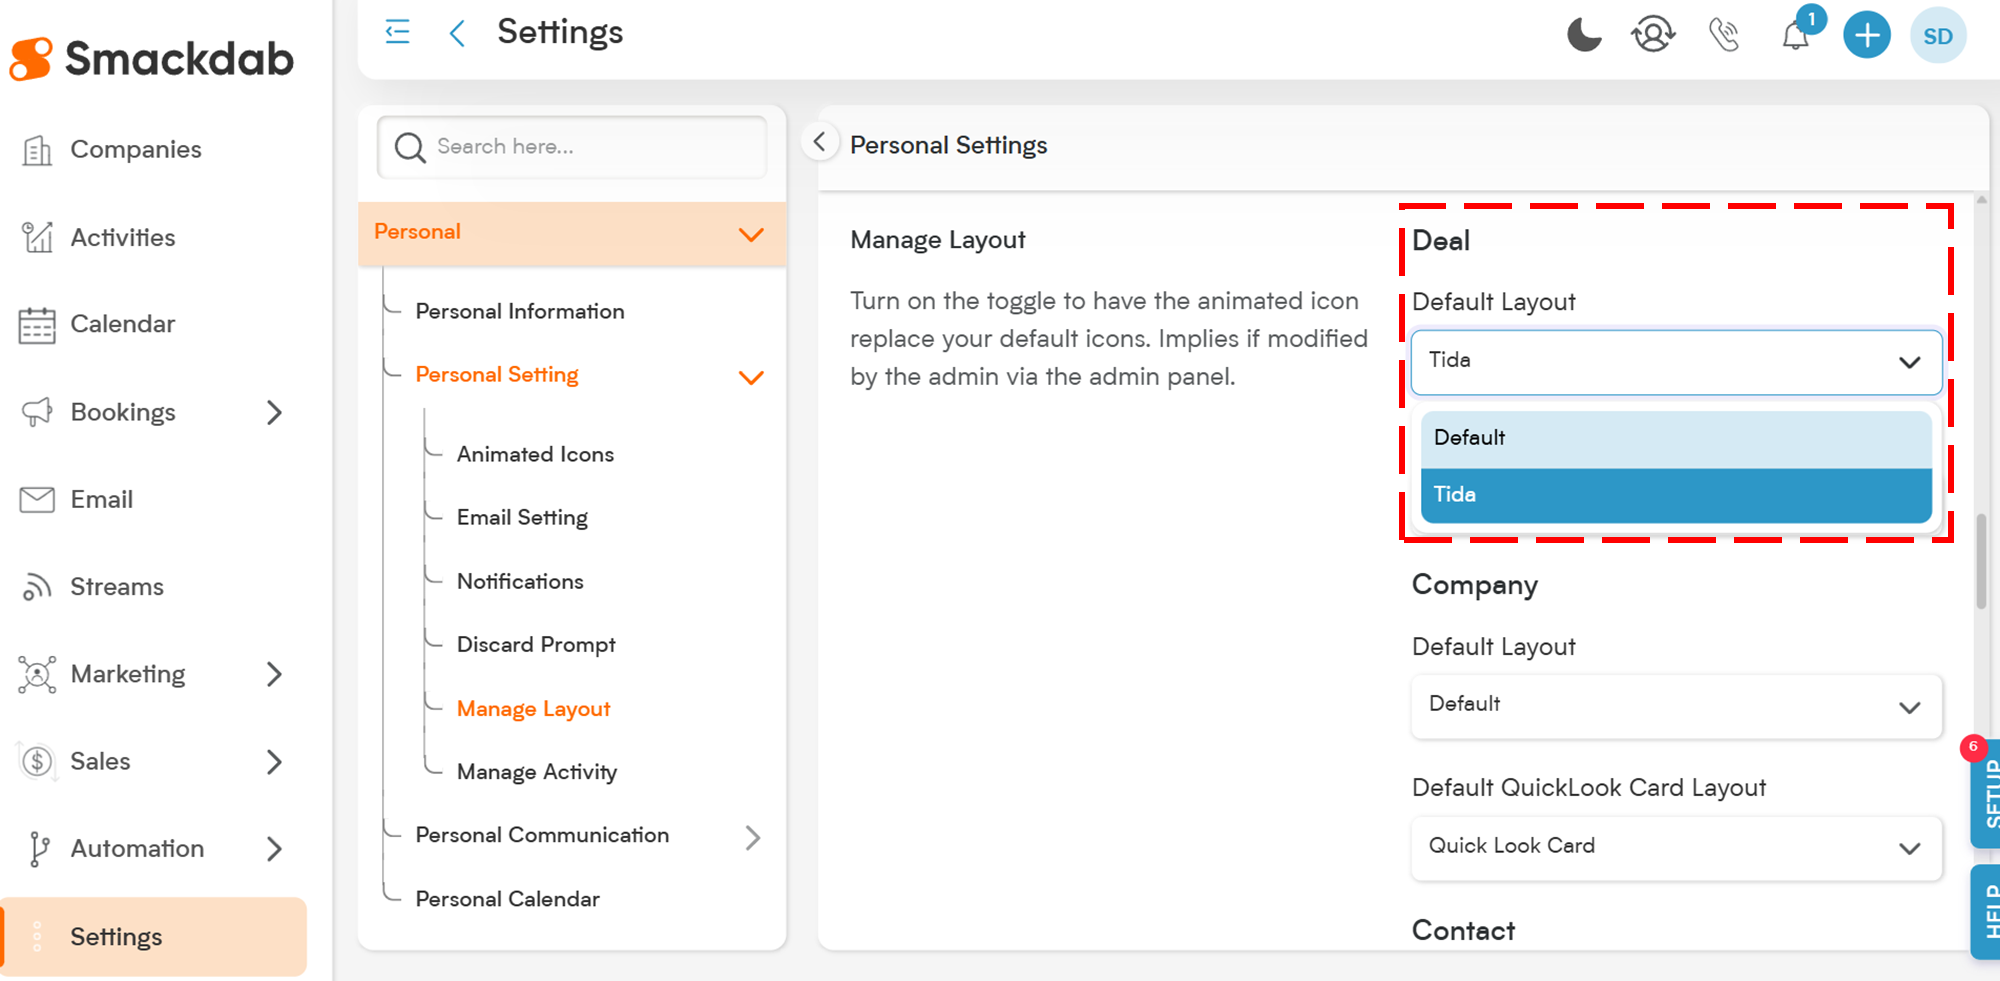
Set Your Default Layout.
Once you pick the entity, you’ll see a list of available layouts.
Find the layout you want to make default and click to set it as your default layout.
That’s it!
Now, every time you open a record under that entity, it will automatically use your selected default layout — saving you clicks and making sure you always see information the way you like it.
Check article below to know more about
How to Delete a Layout?
Deleting a Layout
Go to Settings → Customization → Modules → Layout.
Hover over a layout number sequence to reveal a Checkbox or use the Trash icon on the right.
Click the checkbox or trash icon to delete the layout.
Only custom layouts can be deleted.
Default layouts can be edited but not deleted.